How to Create Color Transition with Blend Tool in Adobe Illustrator
Difficulty: beginner
Estimated completion time: 15 minutes
In this tutorial we will take a close look at the technique of creating blend objects that will help us to create smooth color transitions. We’ll also talk about the problems you may encounter and about the technique that will allow you to avoid unpleasant artifacts.
Using the Blend Tool (W), we can obtain smooth transitions between colors, obtaining the shadows, glares, or simply color spots. Artworks below are examples in which blend objects were mostly used.
Mirror by Alexei Oglushevich

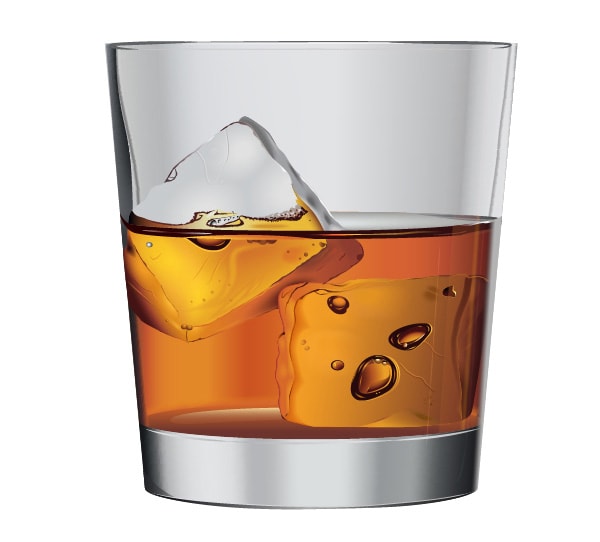
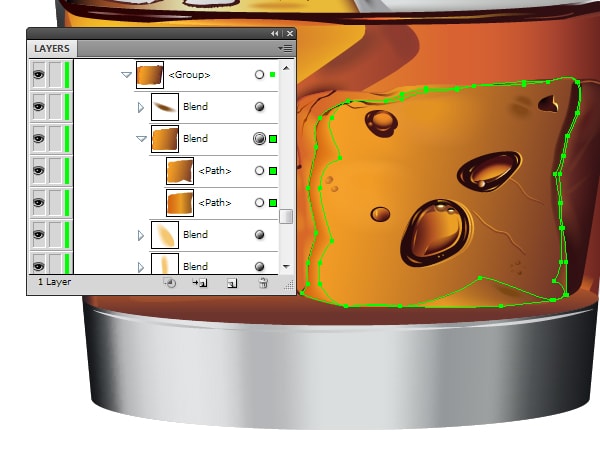
Whiskey on the Rocks by Iaroslav Lazunov
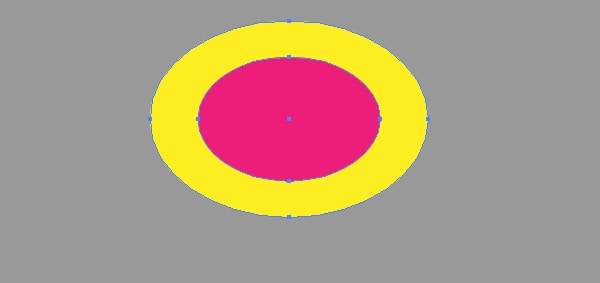
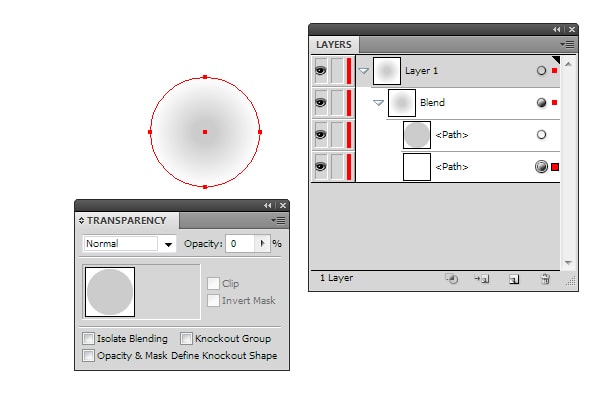
Let’s take a closer look at the technique of creating blend objects. Create two ellipses with fills of different colors. Ellipses are located on a neutral grey background, as it is shown on the picture below.
With Postcards Email Builder you can create and edit email templates online without any coding skills! Includes more than 100 components to help you create custom emails templates faster than ever before.
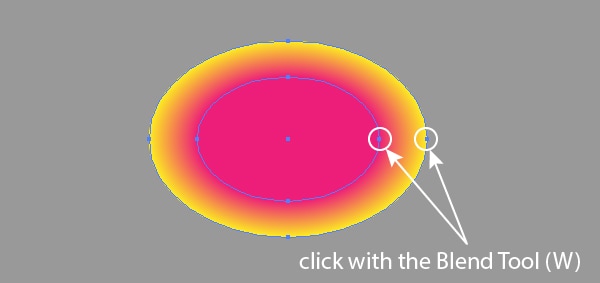
Free Email BuilderFree Email TemplatesThere are two ways to create a blend object out of the available shapes. In the first method, take the Blend Tool (W) and then consistently click on the edges of the shapes.
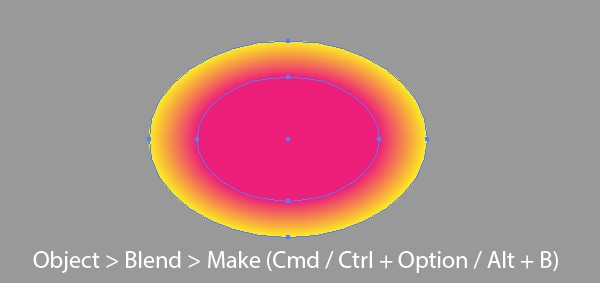
In the second method, select both shapes, then go to Object > Blend > Make (Cmd / Ctrl + Option / Alt + B).
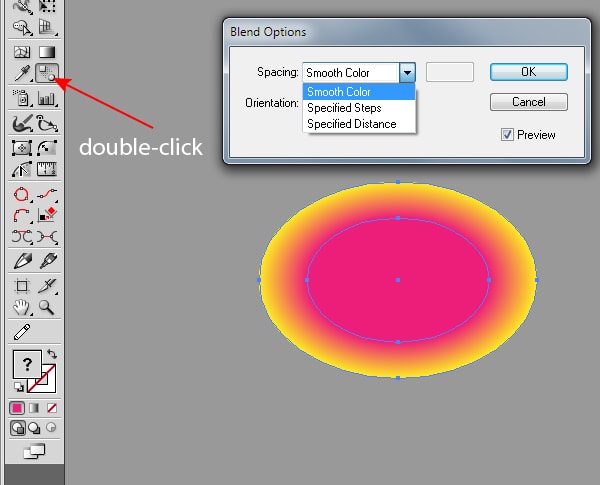
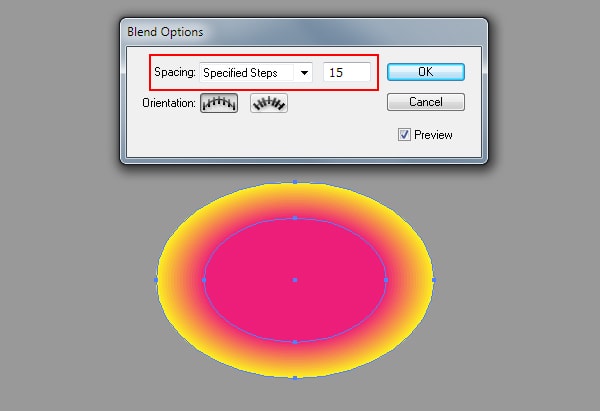
To control the parameters of the blend object, double-click on the Blend Tool (W) icon on the Tools panel or go to Object > Blend > Blend Options….
In the process of work, blend objects can significantly slow down the speed of Adobe Illustrator, especially while zooming the artboard. Also the number of steps of the object influences the size of the final vector file. Therefore, I advise you in the process use a small amount of the Specified Steps and seek for their optimum quantity, which does not greatly impair the quality of color transition.
With Startup App and Slides App you can build unlimited websites using the online website editor which includes ready-made designed and coded elements, templates and themes.
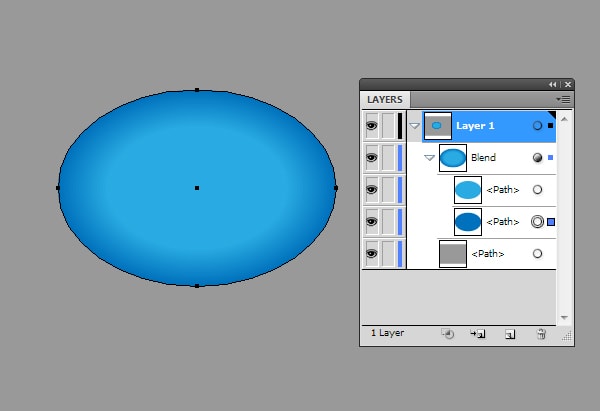
Try Startup App Try Slides AppOther ProductsBlend object is a dynamic effect. This means that after it is created you can change the colors of the objects, of which it consists, or apply gradient fills to them. It is convenient to select objects with the help of the Direct Selection Tool (A) or in the Layers panel.
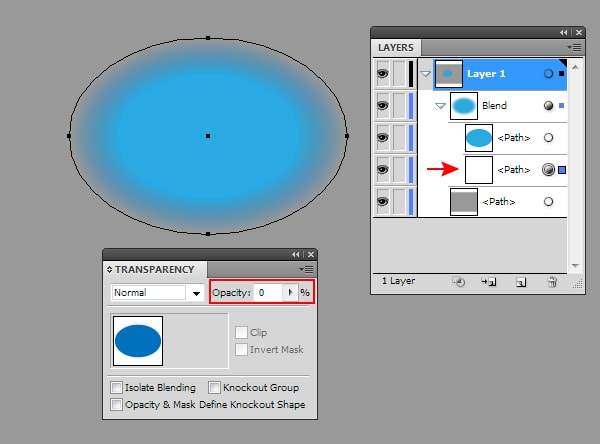
You can also change opacity of the objects in the Transparency panel. Very often the opacity of the lower object is set zero. This allows getting a smooth transition between the blend object and the underlying objects, such as background, for example.
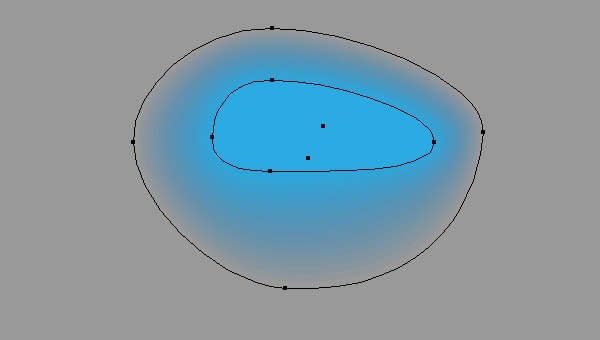
Finally, you can change the shape of objects using the Direct Selection Tool (A).
The above mentioned properties can solve most of the artistic goals.
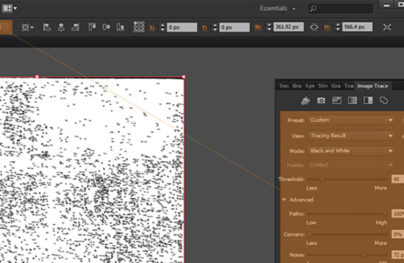
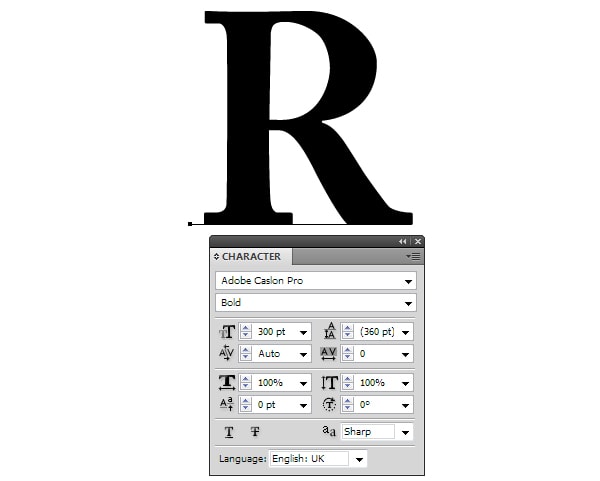
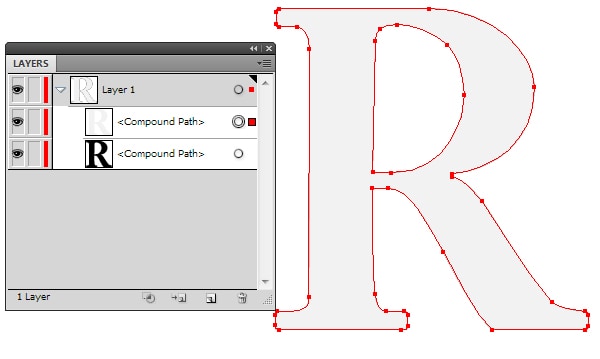
But it is not so simple when it comes to complex shapes, on the basis of which blend object has to be created. Let’s take look at the problems that you may encounter. With the help of the Type Tool (T) print the letter R.
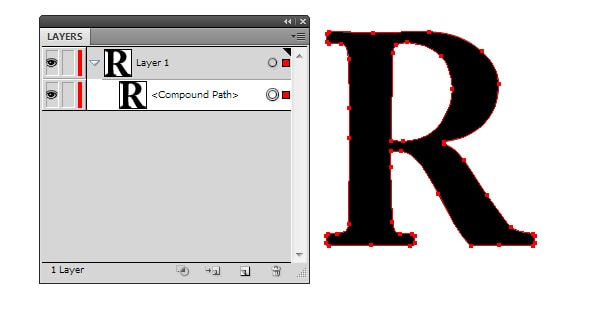
Now go to Type > Create Outlines. As a result of these actions, the letter is converted into Compound Path. The first object is ready.
Let’s create the second object, to do this, go to Object > Path > Offset Path … and set the offset value.
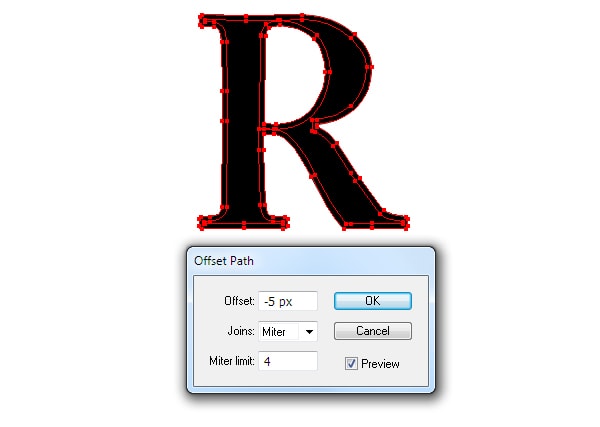
Change the color of the new object, then apply the Blend Tool (W) to two objects.
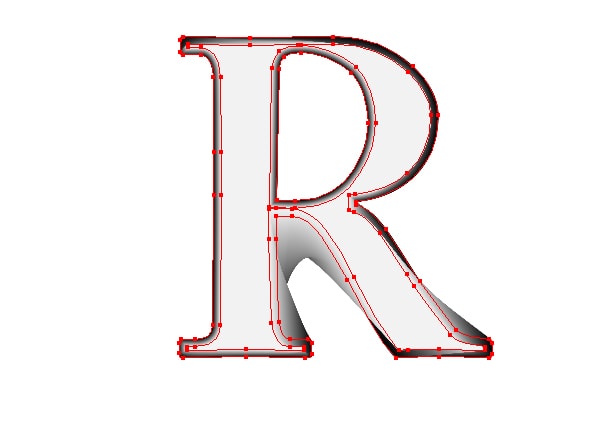
It looks ugly, since there are created artifacts outside the shapes included into the blend object. You can spend tons of time fixing the resulting object by editing its shapes, but I absolutely cannot guarantee you that you will achieve the desired result. Of course, the second shape of the blend object can be created in another way, for example using the Pen Tool (P) or Pencil Tool (N). But I am telling you that the result will not be better then one illustrated in the picture above. In the case of using complex objects, you need another technique and of course we will consider it. So let’s two steps back to our letter.

Try to simplify its outline as much as you can by removing extra points, at the same time the shape of the letter should not change significantly. To do this, a great help will be Delete Anchor Point Tool and Direct Selection Tool (A). Copy the shape and paste it in front (Cmd / Ctrl + C; Cmd / Ctrl + F), then fill it with another color.
Select both objects, then go to Object > Blend > Make. Now we just need to move the points on the upper object and control their handles.
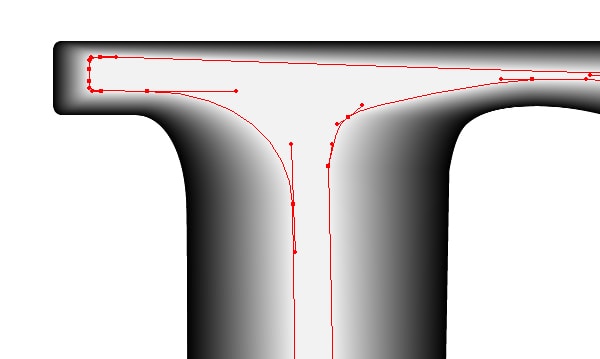
While using this technique, you will not get problems with the blend object. The secret of this trick is simple: the shapes included in the blend object must have the same amount of points. Using this technique, I created a “liquid logo” as shown in the picture below.

At the end of today’s tutorial I would like to share another secret with you. Blend objects can be saved as brushes, for example, such as Art Brushes.
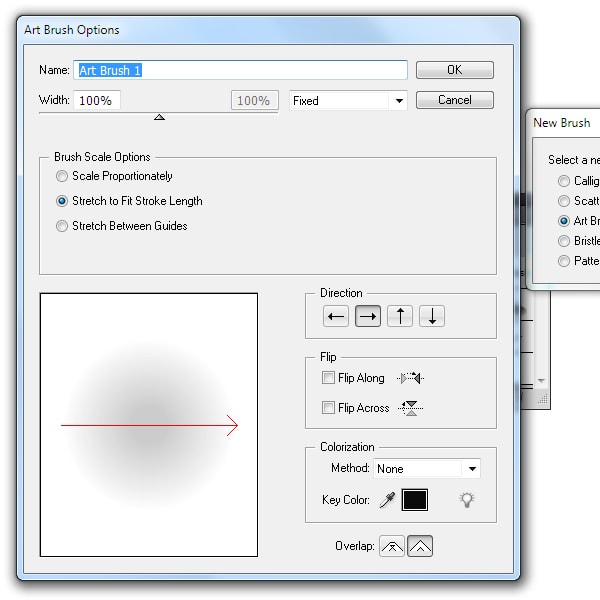
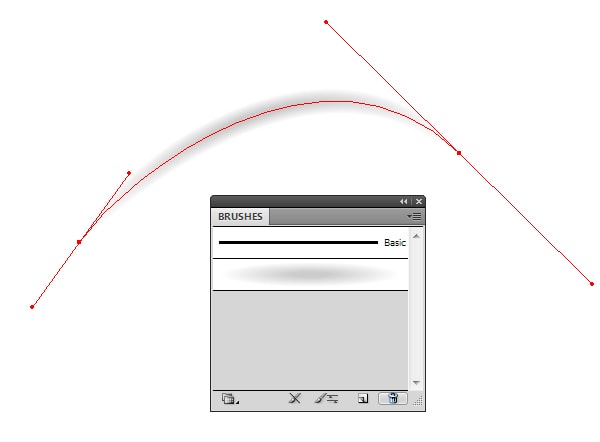
This allows us to create brush strokes with soft edges.
I used this feature of blend objects in a lot of my vector artworks, for example for creating festive fireworks.

I hope that today’s tutorial was useful for you. Next time, let’s talk about Gradient Meshes.