How to Animate a Flat Design Bicycle in After Effects (Part 2)
In this tutorial we will learn how to animate the flat design bicycle from the previous tutorial.
Step 1: Set Up the File
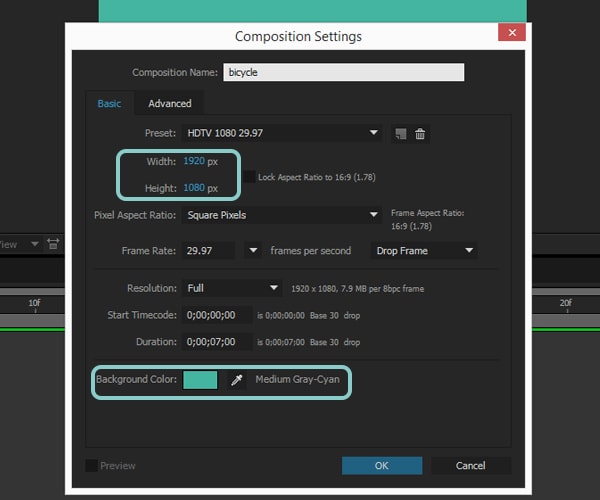
1.1 Open After Effects and click on composition – new composition.
Make your composition 1920×1080 px. And choose a background color #44B5A0 and click OK.
1.2 On the left side you can see the project panel, click with the mouse two times to open the import window. Or go to file – import – file.
Select the file we created in Part 1 and on the bottom you will see a drop down menu, select composition – retain layers size. This is very important; that’s why we created separate layers, if we choose this option layers will remain separated.
With Postcards Email Builder you can create and edit email templates online without any coding skills! Includes more than 100 components to help you create custom emails templates faster than ever before.
Free Email BuilderFree Email Templates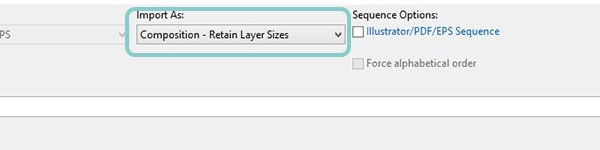
1.3 On the project panel, you will see your file as composition, drag this composition down next to timeline.

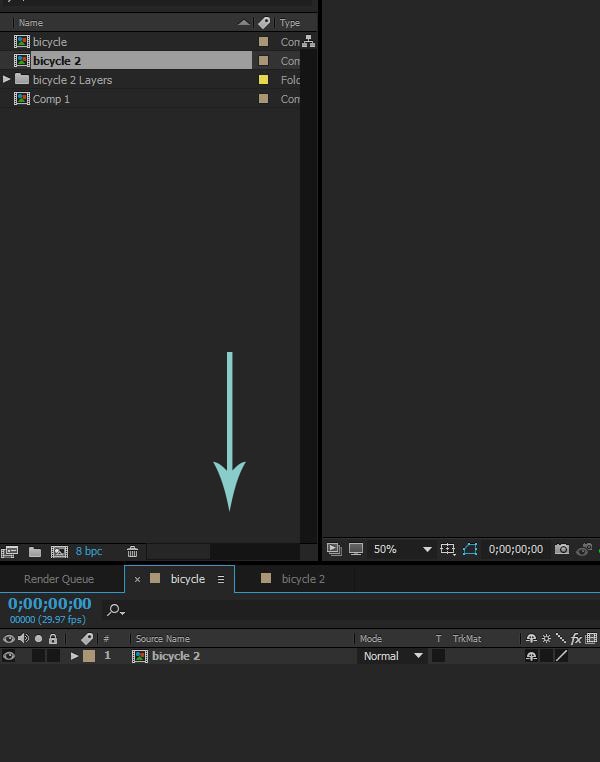
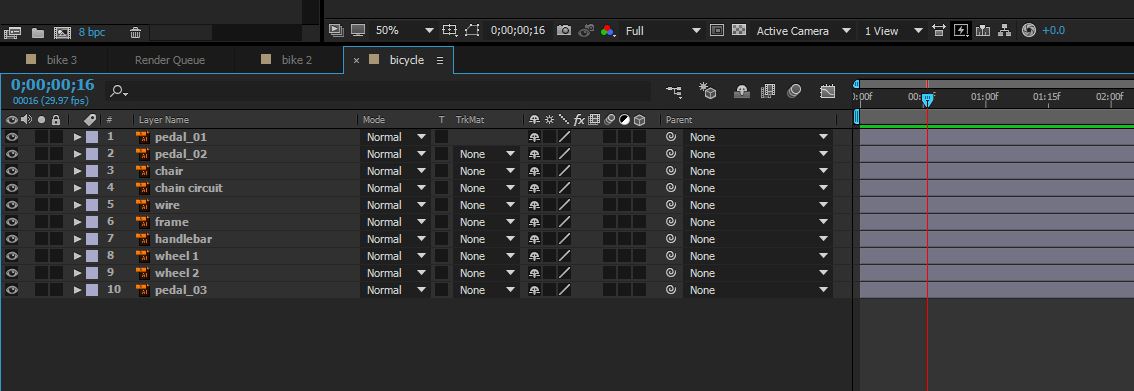
1.5 Double click on the bicycle layer. This will open the composition where the animation will happen. This is similar to groups, in After Effects you create compositions instead. You can see now that every layer is separated.
Step 2: Animate
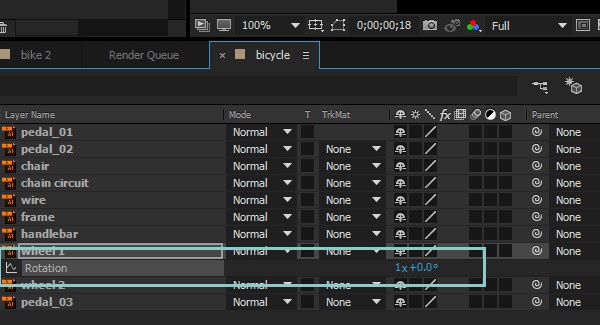
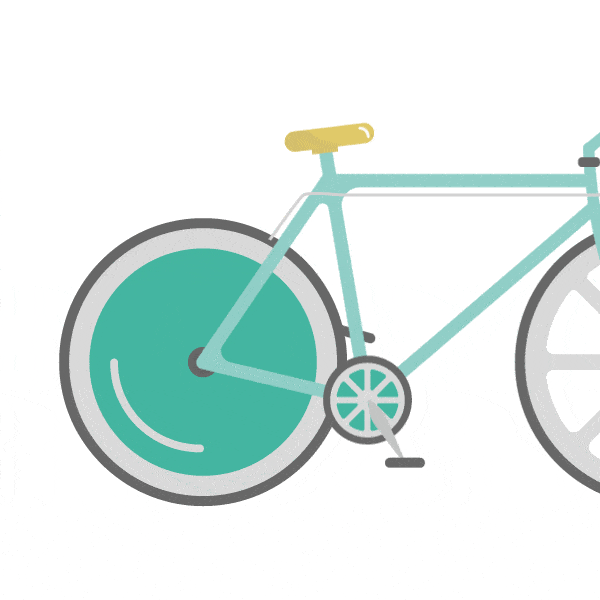
2.1 Start with the wheels. Select Wheel 1. Notice the eye symbol on the left; you can toggle it on and off.
Press R on keyboard, this will open the rotation option. Click on the stopwatch.
With Pulsetic you’ll be instantly notified the moment your website, API, or server becomes unavailable. Monitor uptime from multiple global locations and respond to incidents before your users are affected.
Create beautiful status pages in minutes to keep customers informed during outages and build trust with transparent communication.
Start Monitoring for Free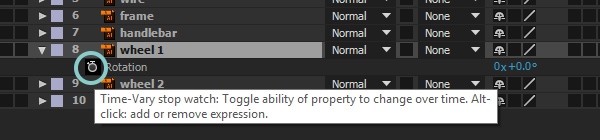
By doing that, you will add a keyframe on the timeline.
2.2 Move the time indicator to the right to the 16th frame and press the rotation stopwatch again.
To the right of rotation you can see 0x+0.0° change it to 1x+0.0°, this will rotate bicycle wheel 360°.
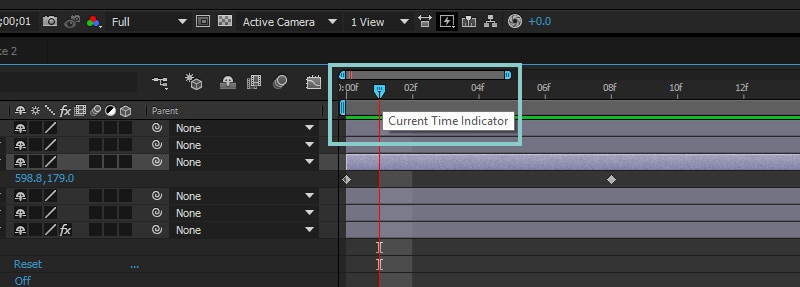
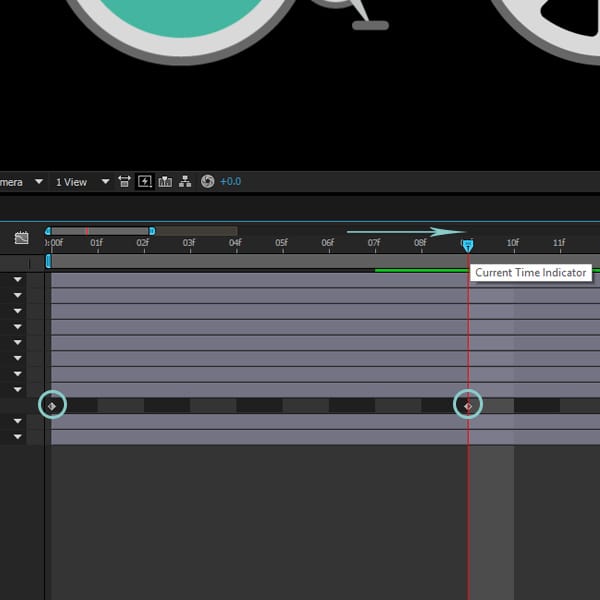
Make sure the first keyframe stays 0x+0.0°.
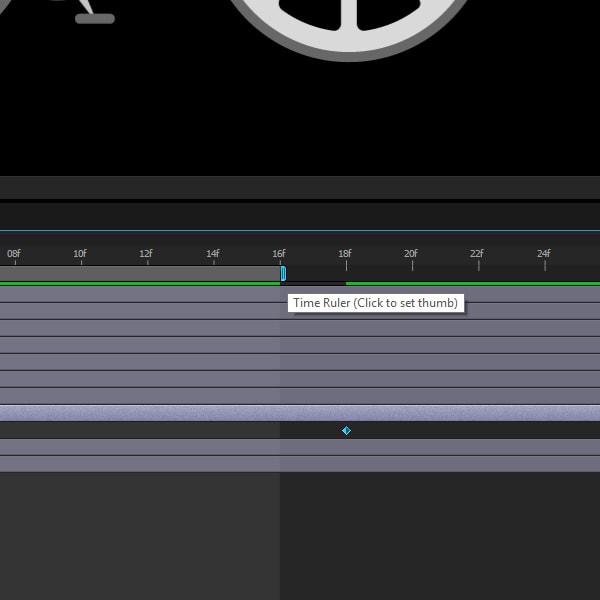
2.3 Move the time ruler to the 16th frame and press 0 to render your animation.
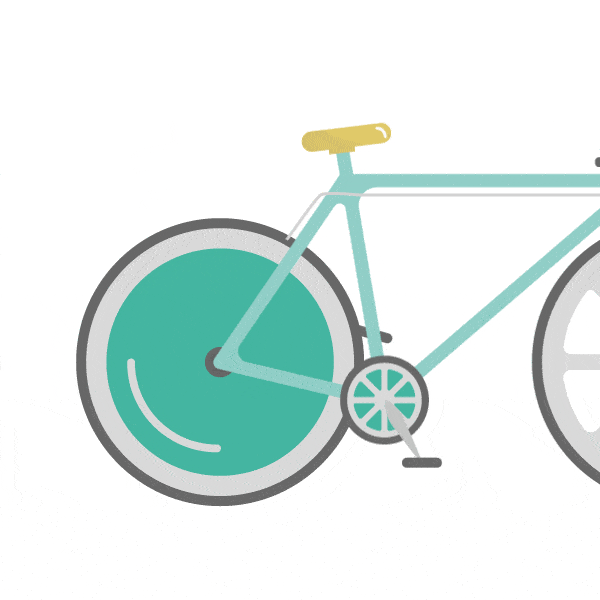
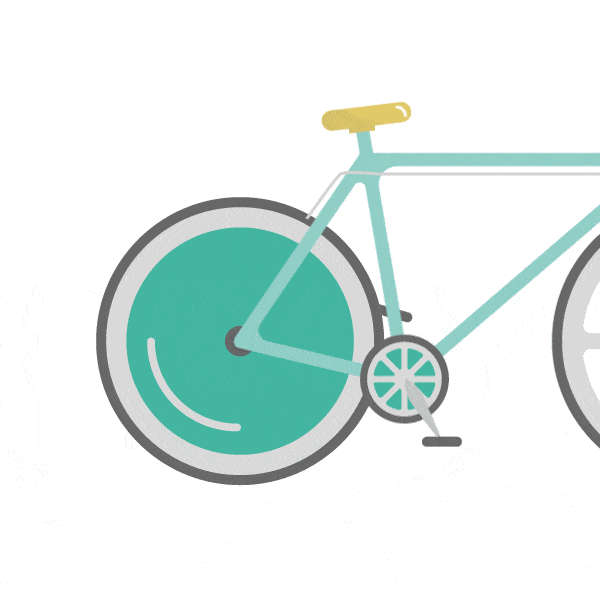
You should see your wheel move like this:
You can see it’s kind of stiff right now. With Wheel 1 layer still selected, press P to bring up the position option. Create a keyframe on frame 0 , move the time indicator to the eighth frame and select the wheel with your mouse and drag it a little down and to the left. The main goal is to make a bumpy road. When you do that, move time ruler to the 16th frame, copy ( Ctrl+C ) the first keyframe and paste it (Ctrl+V) in 16th frame to create a loop. Press 0 to see how it looks.
Now it looks a little better, but the frame is out of place.
2.4 Use the puppet tool (Ctrl+P).

Select the frame layer and create pins around the frame. These are the points we want to move.
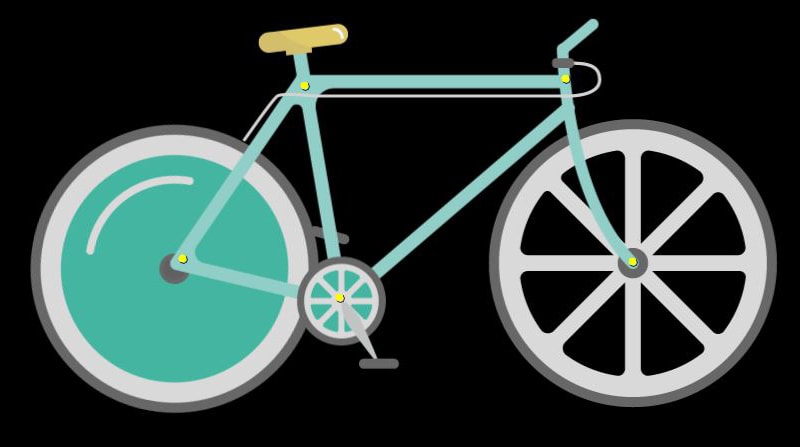
Go to Puppet-Mesh1- deform and open the puppet pins as shown.

Select the the puppet pin in the wheel we have been working with. If you drag it you will see how it stretches. The goal is to stretch the frame along with the wheel. Go to the eighth frame and stretch the frame to match it the wheel’s motion.
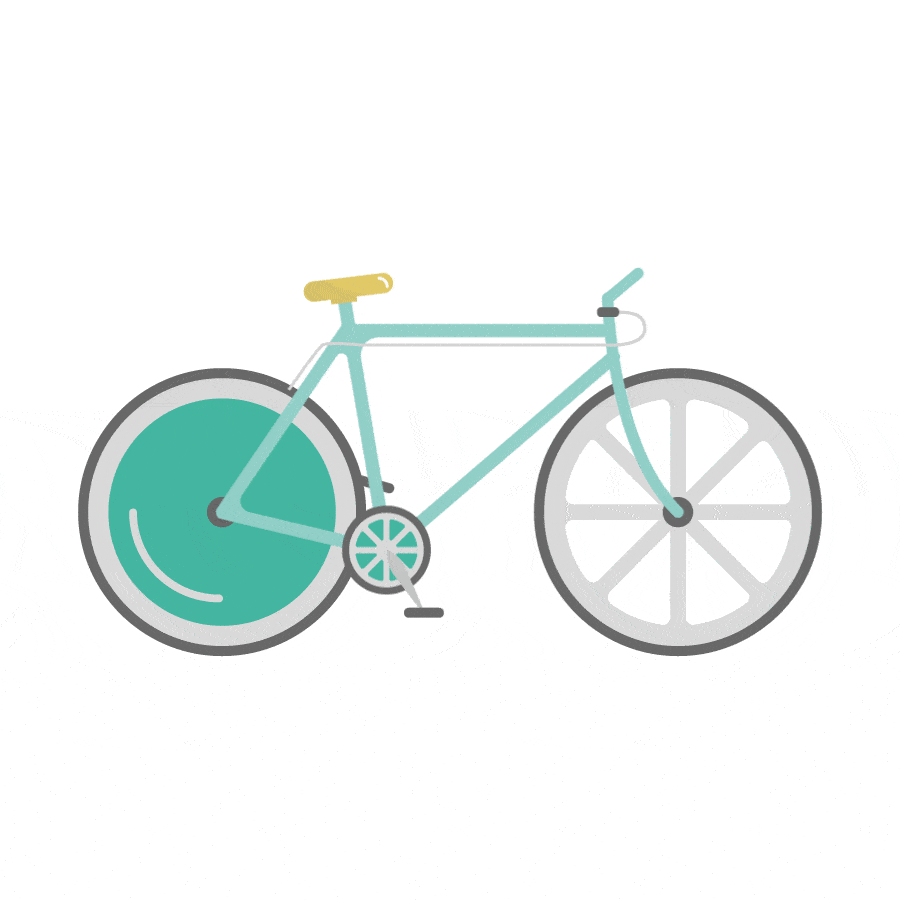
You should end up with this kind of motion.
Well done! Easy, right? Now do the same for the second wheel to lock that knowledge in.
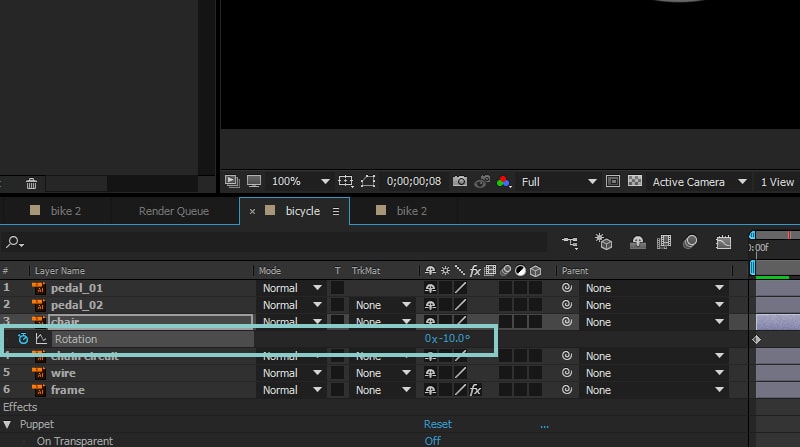
2.5 Select the chair layer and press P to bring up the position. Make a keyframe on 0 and go to the eighth frame and select the chair with your mouse and move it up. Move the time indicator to the 16th frame and copy/paste the first keyframe. Press R on the keyboard to bring up the rotation option and do the same, only add -10 on the eighth frame.
Don’t forget to create a loop.

2.6 Select the chain circuit layer and rotate it the same way.
2.7 Select Pedal_01, Pedal_02 and parent them to chain circuit as shown.
Do the same with Pedal _03


2.8 It’s almost done, but the pedals are not very realistic. The goal is to keep Pedal_01 as horizontal as possible.
Select the pedal_01 layer and hit R on keyboard. Create a keyframe on 0 frame and go to sixth frame and put in these numbers:
![]()
Then 11th:
![]()
Then 14th:
![]()
Then copy/paste the first keyframe to 16th.
And you are done! Press 0 to see your animation in action.

Hope you enjoyed this series of tutorials and they were not too difficult. Let me know what you think in the comments.
Previous article: