A Design Workflow Comparison: Photoshop vs Illustrator vs Sketch
The ever-expanding world of design can be tough to comprehend as a newcomer. With so many tools and techniques available it’s hard to know where to start.
Three of the most widely used design programs are Adobe Photoshop, Adobe Illustrator, and the newer Sketch by Bohemian Coding.
In this guide I want to compare these three titans of industry to see how they stack up for common design tasks. All three programs are incredible, but they each have their own strengths and weaknesses for certain creative tasks. One you know which tool best fits the task at hand you’ll have a much easier time learning and mastering digital design work.
UI Design
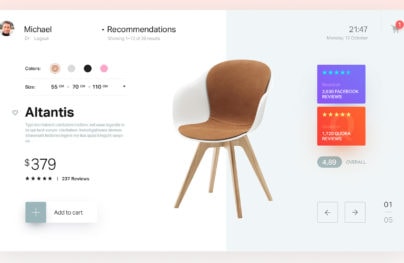
Interface design usually relates to websites and mobile apps, but can also include game UIs or any digital screen that takes user interaction.
For years Photoshop was the #1 choice for UI design. In PS you can build vector icons and textured backgrounds to mix into one common layout. But Photoshop was always intended to be a photo editing suite, and while Fireworks was better it has since been discontinued by Adobe.
This is where Sketch comes into play. The very first release of Sketch App was in late 2010. It has since grown massively with a large community fostering learning materials and entire websites dedicated to free Sketch resources.
With Postcards Email Builder you can create and edit email templates online without any coding skills! Includes more than 100 components to help you create custom emails templates faster than ever before.
Free Email BuilderFree Email Templates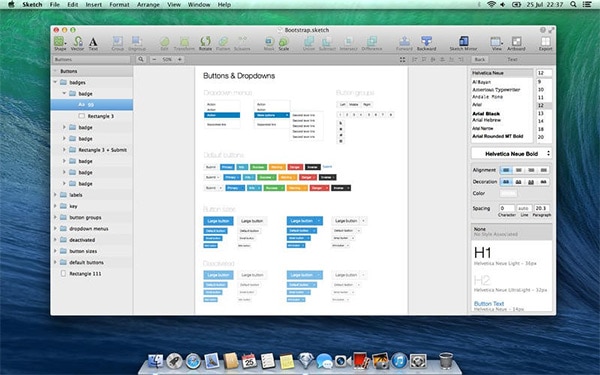
When it comes to UI design Sketch is currently the king. This program’s purpose was to be a UI design suite for web & mobile. Patterns, textures, and vectors all intermingle with each other much easier than in Photoshop.
The only downside is that Windows users cannot run Sketch because it’s OS X exclusive.
There are some people who prefer to use Illustrator for UI work, but to me it’s far too tedious. Illustrator wasn’t made to be a pixel-perfect design program and that’s exactly what’s needed for crafting interfaces.
Sketch actually blends vector and pixel work together into one interface. Shapes & vectors are easier to customize and layers can be manipulated much easier.
If you’re looking for the best UI design program Sketch is currently the best choice hands down. But if you’re on a Windows machine you won’t have this option, so Photoshop will be your best choice. It works just as well but the workflow in Sketch is much smoother for UI work.
Photoshop users thinking of switching should read this piece written by Sagi Shrieber explaining why he made the switch and what he likes most about Sketch. And if you want to get started practicing Sketch UI work you can grab the free trial and follow a few of these tutorials.
- How to Create a Website Header Design Using Bohemian Coding Sketch
- Sketch for Beginners: Design a Login Form Interface
- Sketch for Beginners: Design a Bold Email Newsletter
Icon Design
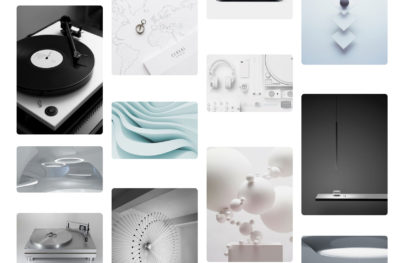
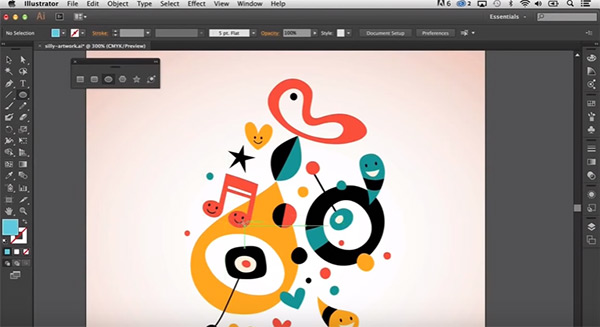
The vast majority of icon work revolves around vectors. Many designers will sketch their ideas on paper first and import them into a design program for tracing. My experience always leads me towards Illustrator because the AI pen tool is so much more intuitive.
With Pulsetic you’ll be instantly notified the moment your website, API, or server becomes unavailable. Monitor uptime from multiple global locations and respond to incidents before your users are affected.
Create beautiful status pages in minutes to keep customers informed during outages and build trust with transparent communication.
Start Monitoring for FreeI’ve used Photoshop’s pen tool many times and I am comfortable with it. This is great for tracing basic icons or even mapping a sketch if you paint in Photoshop. But vectors made in PS aren’t easy to edit in Illustrator and vice-versa.
But between the two I’ve always found the workflow easier moving from Illustrator into Photoshop. Icons can be carefully manipulated in Illustrator and the layers are so much easier to use than Photoshop’s paths palette.
Sketch also offers great tools for icon design. It actually mimics Illustrator and with enough patience you can learn the basics through online tutorials.
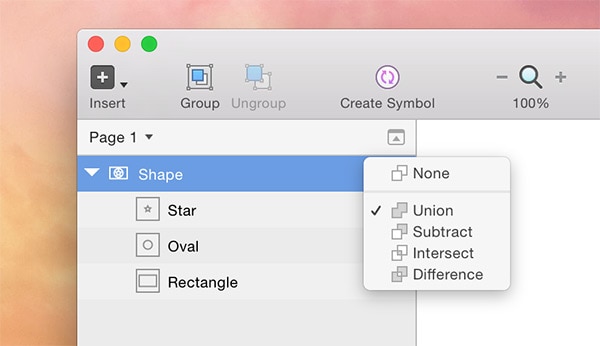
A vital feature of icon design in Sketch is the Union button for merging shapes. This mirrors the Pathfinder in Illustrator and it’s an essential tool for designing realistic icons.
In my personal opinion Illustrator is still the king of vector icon design. But Sketch is basically just as good and it genuinely deserves credit as a program you can rely on for icon design work.
If you want to delve further into icon design for Sketch check out some of these tutorials.
- How to use Sketch to build great icons
- Create an Eye-Catching Water Droplet Icon With Sketch 3
- How to create a flat styled icon in Sketch 3
Photo Editing
Adobe Photoshop was built to do one thing really well: photo editing. Whether you’re photobashing a unique idea or retouching old photos, everything you need to do can be accomplished with Photoshop.
Photoshop comes bundled with tools made for reducing red eye, duplicating & patching certain areas, blending colors/textures, and exporting photos as optimized images.
Illustrator and Sketch simply cannot compete.
Granted there are Photoshop alternatives like Affinity and GIMP. But very few come close to the natural workflow you get with Photoshop.
For some tasks you’ll be able to switch between programs like doing icon work in Photoshop or an interface design in Illustrator. But when it comes to photo editing don’t even both opening Illustrator or Sketch.
Photoshop has been around for over 25 years and it’s the premiere photo editing suite for good reason.
Graphic Design
The phrase “graphic design” can relate to so many different tasks. Icon design can fit into graphic design. So can identity design, logo work, and print design.
Photoshop is great at some of this stuff. Primarily anything to do with photo editing & manipulation. PS also has decent text editing tools, although in my opinion Illustrator offers much more for custom typography.
Sketch is definitely OK for graphic design. But since most people use Sketch for digital interfaces, the tutorials out there focus primarily on web & mobile work. This is the target audience for Sketch so outside of that bubble it’s really not the best tool for graphic design work.
Between all three options I think Illustrator is the most versatile program for graphic design. This can include posters, stickers, brochures, and even t-shirt designs. Graphics are always made to scale so they can fit any size for any project.
Granted there is still plenty of value in photo manipulation with Photoshop. Print advertising often employs photo manipulation for ad spots in magazines.

If you want to learn about this you’ll find a lot of great photo manipulation tutorials on TutsPlus. All of them center around Photoshop.
But for everything else it’s hard to beat Illustrator. It’s been around even longer than Photoshop and I’ve yet to find a replacement that that can merge flawlessly when switching between PS and AI.
To be a skilled graphic designer you’ll probably need to learn both programs. They’ll both come in handy for different purposes and at different stages of a creative project. But either way this is one area that Sketch does not seem best suited for the task.
One other tool I recommend learning for print work is Adobe InDesign. Since it’s an Adobe product you can easily move files between PS, AI and ID without confusing import settings.
Digital Painting
When artists move from traditional to digital mediums they often have two questions: which tablet to buy and which program to use. Digital painting has many options like PaintTool SAI and Krita.
But the majority of people will prefer Photoshop for digital painting. And if we’re juggling between Illustrator or Sketch as the alternatives there’s absolutely no contest.
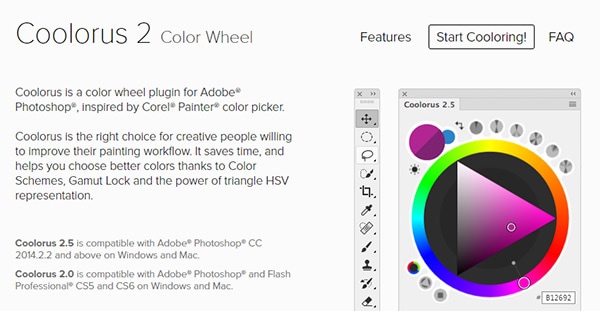
Photoshop has the best pixel-based paintbrush tool I’ve ever used. Custom settings allow for smooth flowing lines, pressure sensitivity, and compatibility with a wide array of drawing tablets. And with plugins like Coolorus it’s even easier to find a digital painting workflow in Photoshop.
The reason painting doesn’t fit well with Illustrator is because it’s a vector tool. Painting in vectors doesn’t really make sense when you need to get into the nitty-gritty details.
Photoshop’s focus on pixel design is best with the brush tool and it fits the bill perfectly for digital artwork.
If you want to learn more about painting in Photoshop here are some great websites to get you started.
- Ctrl+Paint Blog
- Concept Art Empire Blog
- Tuts+ Digital Painting
- The basics of digital painting(tutorial)
Wrapping Up
All three of these programs could be useful to a designer based on the task at hand. It’s hard to generalize because each person’s workflow will be different. But I’d break down these three programs like so:
- Adobe Photoshop: best for photo editing and digital painting
- Adobe Illustrator: best for icons and most graphic design work
- Sketch App: best for all UI/UX work and some icon design
Each of these programs dominate their respective niches and are lauded to excess by professionals. No single program is better than all the others, but they’re each better at individual tasks. Keep this in mind as you journey into the creative field or branch out into new areas of design work.