How to Combine Several Gradients in Adobe Illustrator
Difficulty: beginner
Estimated completion time: 15 minutes
In this tutorial we will deal with some combination of gradient fills with the help of Blending modes, gradients with transparent sliders, and Opacity masks. These techniques allow us to create complex color blends, which typically have real world objects.
Gradient Combining with the Help of Blending Modes
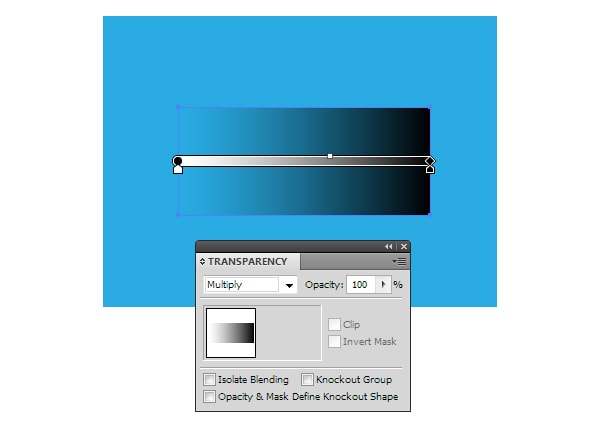
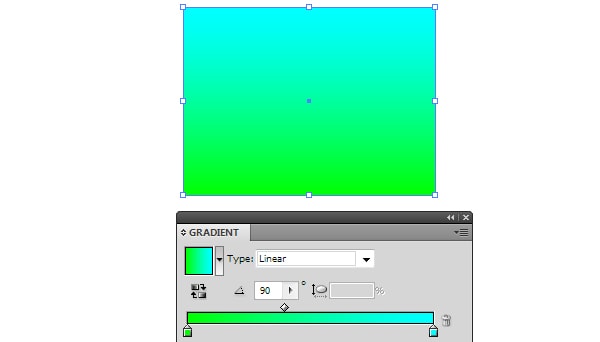
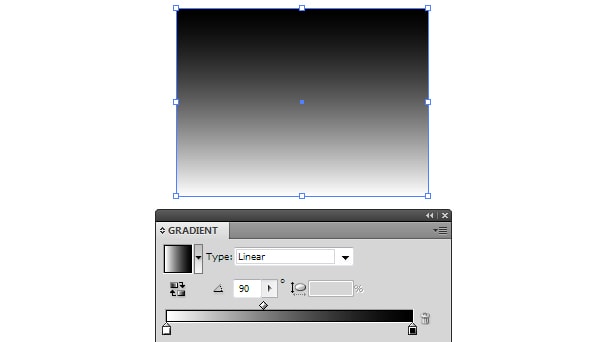
Let’s check out some opportunities of object transparency change with two Blending modes. Create two rectangles, one of which should have a color fill, and the other is filled with black-and-white linear gradient.
Apply the Multiply blending mode in the Transparency panel to the object with gradient fill. As you can see, the white color became absolutely transparent after usage of this mode.
And now apply the Screen blending mode to this rectangle. This time, the black color became transparent.
With Postcards Email Builder you can create and edit email templates online without any coding skills! Includes more than 100 components to help you create custom emails templates faster than ever before.
Free Email BuilderFree Email Templates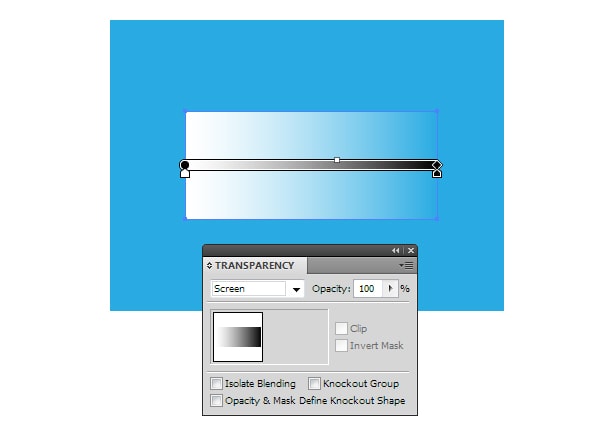
Here I want to note, that this trick works fully only in RGB color mode. In addition, we need to use absolutely black color R=0; G=0; B=0 for the black color.
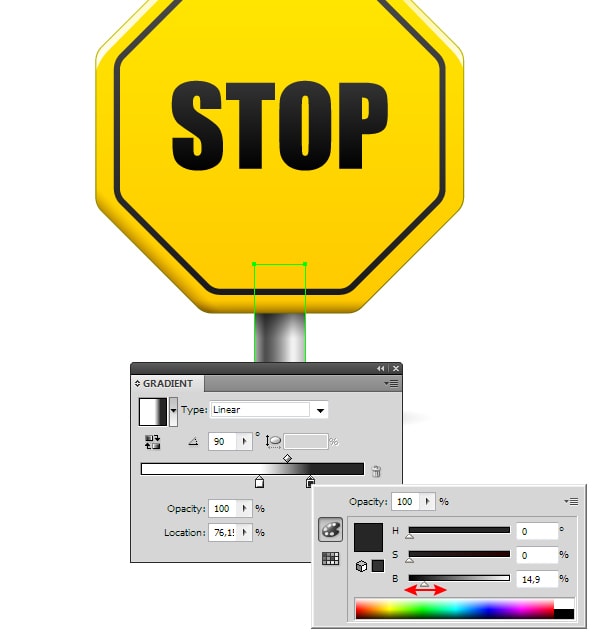
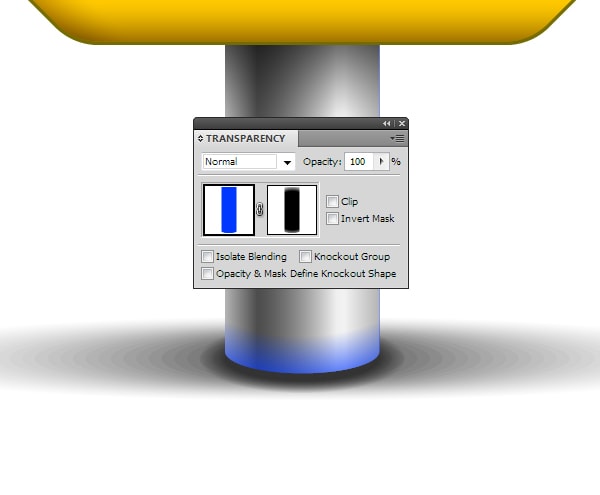
And now, let’s see on practice how to use features, describes above. A pole of a stop-sign is filled with linear gradient, which carries the volume of the cylindrical surface.
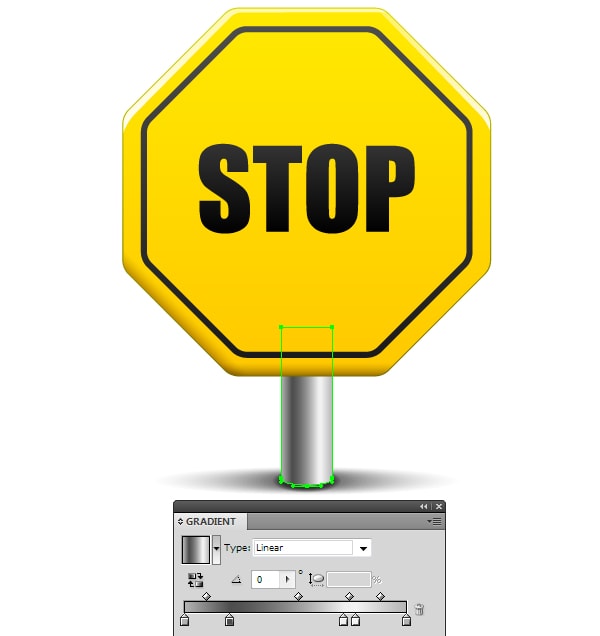
Duplicate this object, then fill the new object with vertical linear gradient from dark-grey to white.
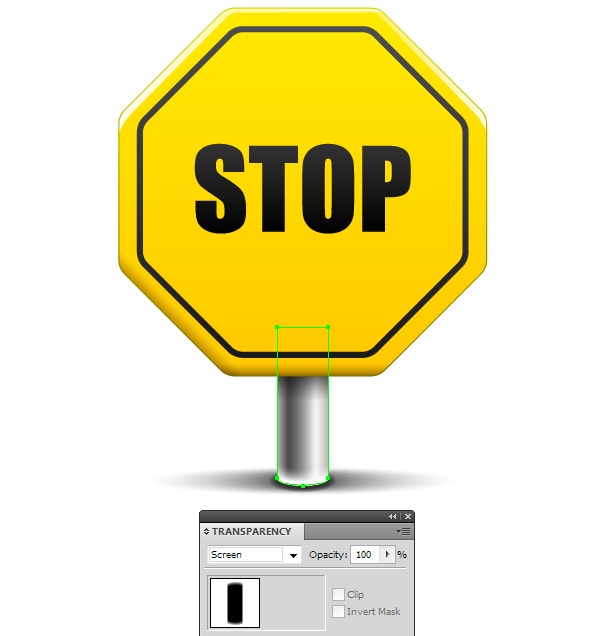
Apply the Multiply blending mode to the top form. As we expected, white became transparent, and we’ve got some shadow on the upper part of the pole.
With Startup App and Slides App you can build unlimited websites using the online website editor which includes ready-made designed and coded elements, templates and themes.
Try Startup App Try Slides AppOther Products
Now we can control the intensity of our shadow, either lighten or darken our grey linear gradient.
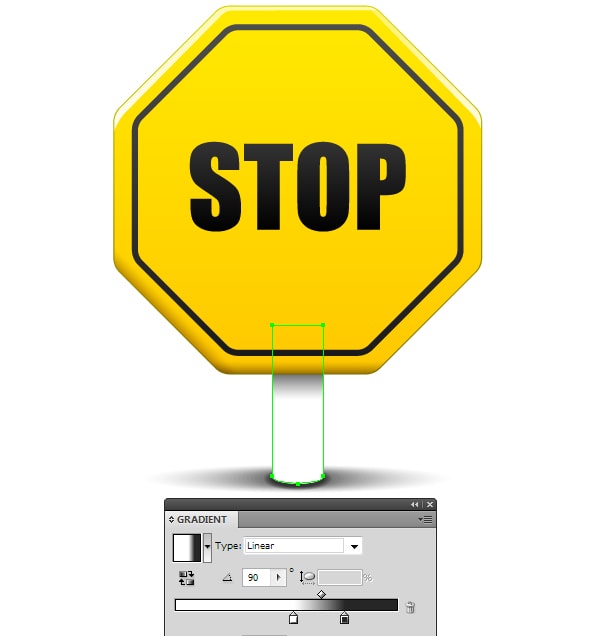
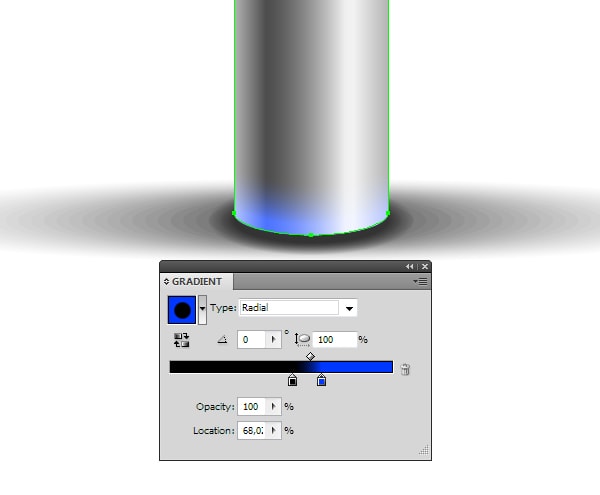
Duplicate the form of the pole one more time. Fill the copy with radial gradient from black to white.
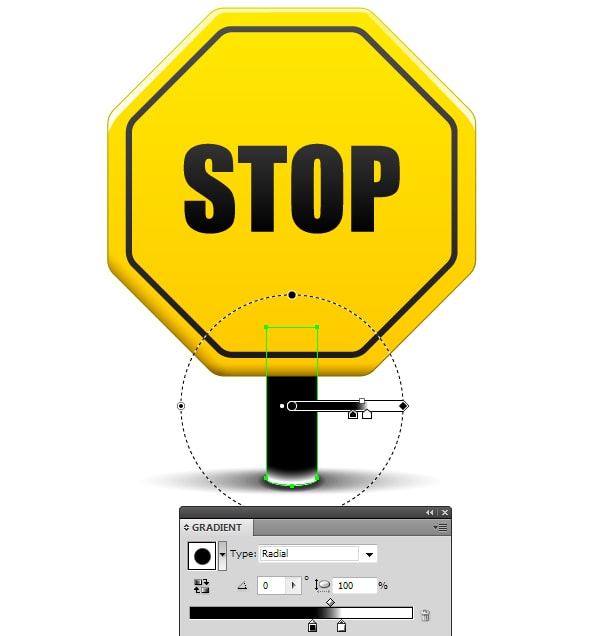
Apply Screen blending mode to the upper form
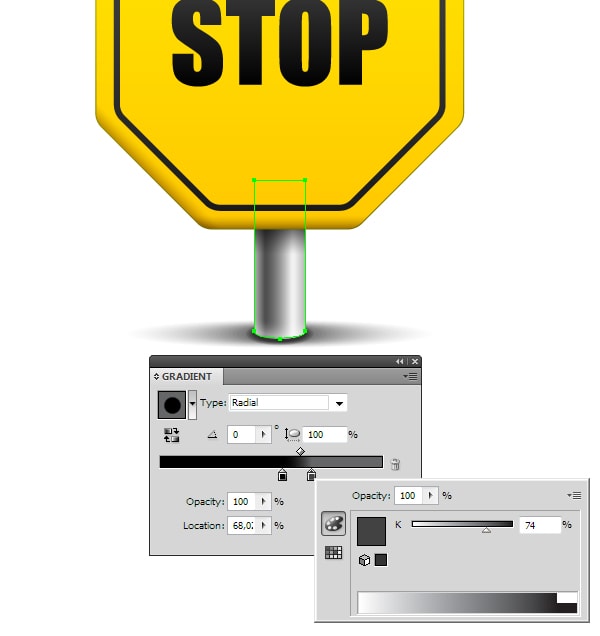
The black color became transparent. Now we can adjust the intensity of the reflection by changing white radial gradient to grey.
You can, of course, use these techniques for color gradient combining, but it won’t work very effectively, because of the color blends.
Despite the limitations mentioned here, combining of gradients with the help of blending modes is a rather common technique, and is often used for creation of highlights and shadows.
Combining of Gradients with the Help of Transparency Slider Feature
Since the release of CS5, we can change the opacity of gradient fill sliders. This feature can be used for gradient combining. In this case, we won’t need to use blending modes; we can apply such gradients in both color modes (RGB and CMYK) and combine color gradients with no limitations.

Usually, two sliders of the same color are used in such gradients; one of the sliders should have 0% opacity. Some users avoid usage of gradients with transparent sliders, because the final version of the artwork should be saved in EPS10 format. I think, it won’t cause you any problems. After your vector work has been saved in EPS10 format, the gradient with transparent sliders is transformed into the Opacity Mask.
Combining of Gradients with Opacity Mask
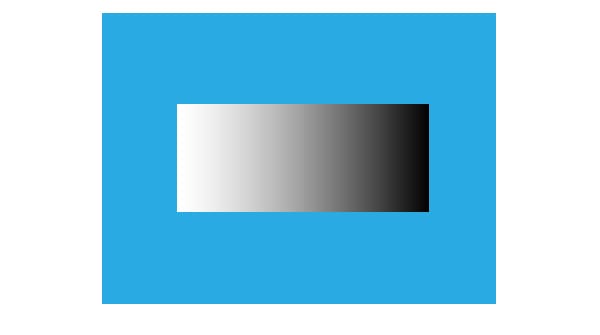
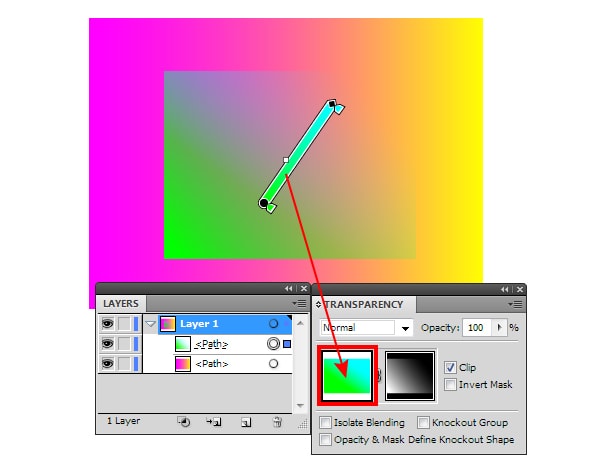
Let’s check out the Opacity Mask creation technique on one easy example. We have a rectangle, which is filled with linear gradient.
Create a new rectangle, which is located above the first rectangle, and fill it with black-and-white linear gradient.
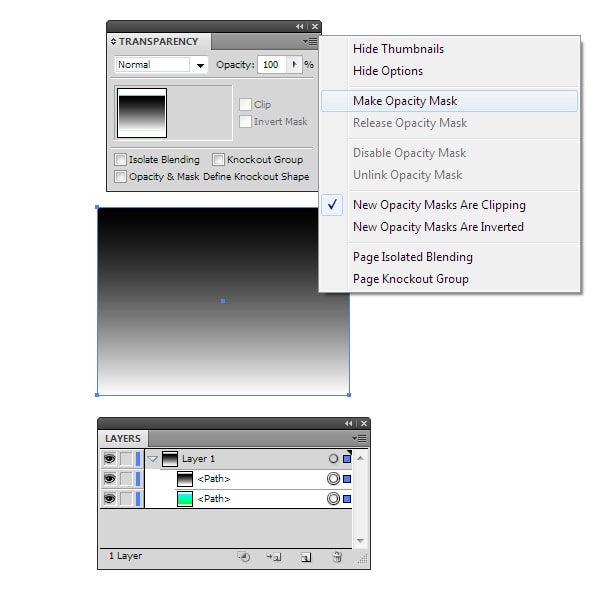
Select both rectangles, and then select Make Opacity Mask in the fly-out menu of the Transparency panel. The top rectangle with black-and-white gradient plays a role of a mask. The place where it is black, the bottom rectangle became transparent.
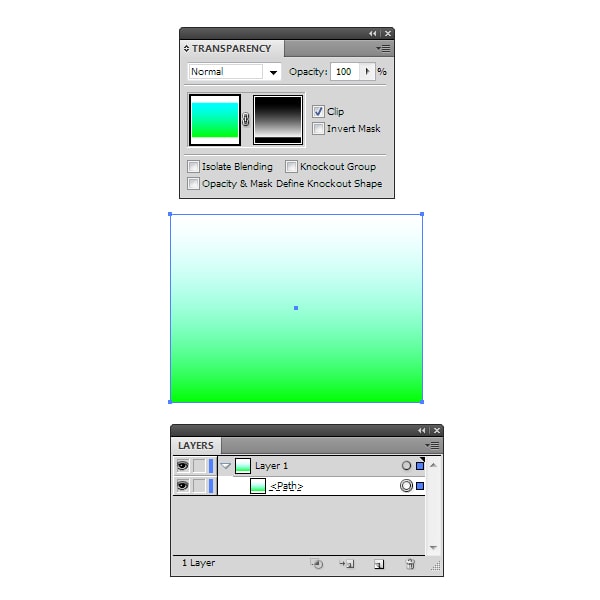
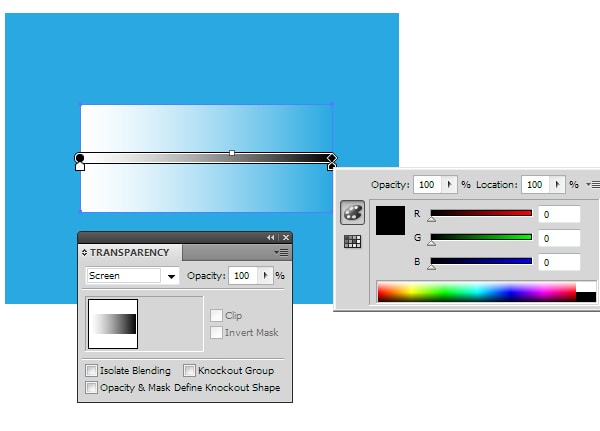
If the Opacity Mask placed above other gradient fill, then we will get a combination of gradients.
To control black-and-white gradient, click on the thumbnail of masking objects in the Transparency panel.
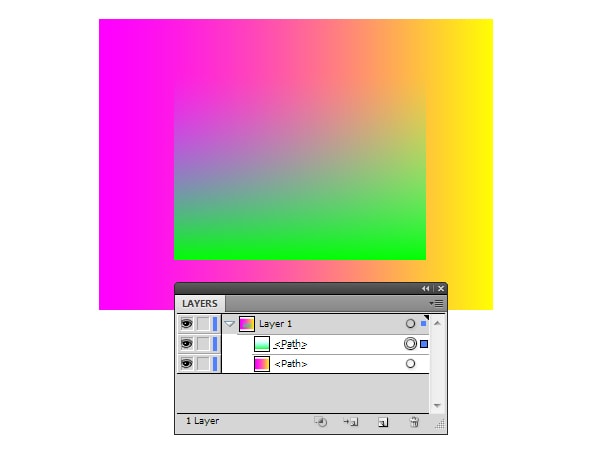
To control the gradient of color object, click on the Opacity mask thumbnail.
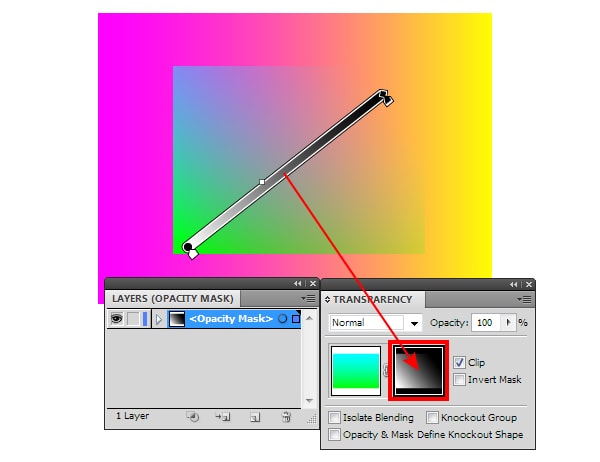
The usage of Opacity mask gives us more opportunities, than two other ways of gradient fill combing. In fact, we have two objects, the transition between which is defined by the third object in the form of black-and-white gradient. Moreover, you can mask the groups of objects in such a way, which cannot be achieved by any other way. Let’s look at some pictures, which shown how I used the Opacity Mask in practice.
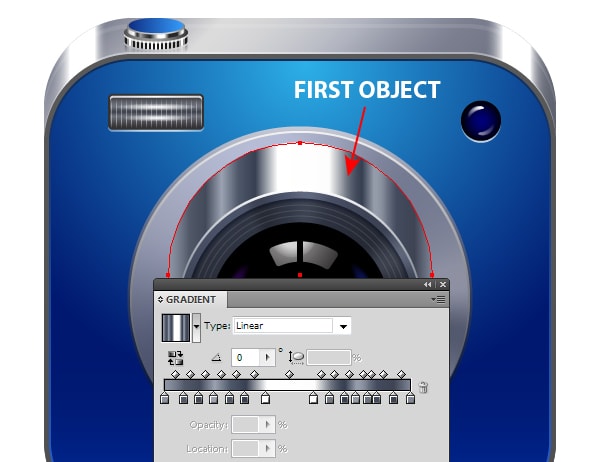
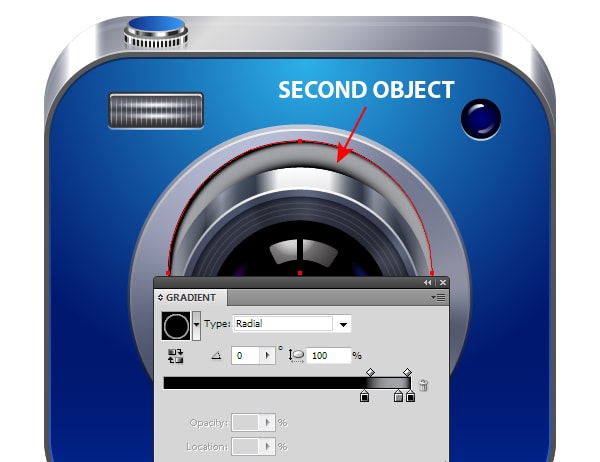
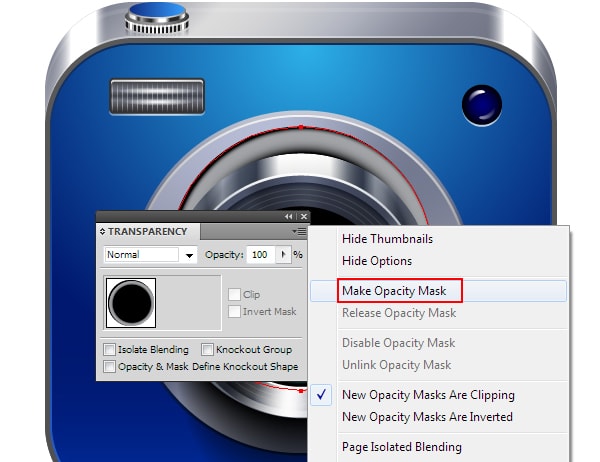
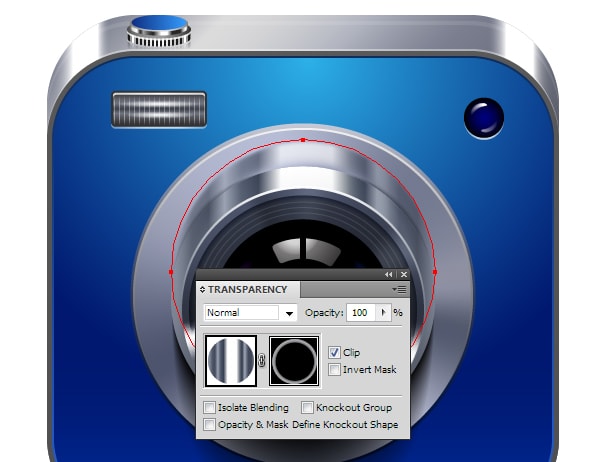
In this example, I used the Opacity mask to create the reflection. The mask allowed me to limit the visibility and blur the edges.