3D Modeling in Adobe Illustrator
Difficulty: beginner
Estimated completion time: 30 minutes
In this tutorial we will learn how to model vector objects in Adobe Illustrator with the help of Revolve, Extrude & Bevel and Rotate effects. Then we will apply a symbol to 3D model and make it ready for our further work.
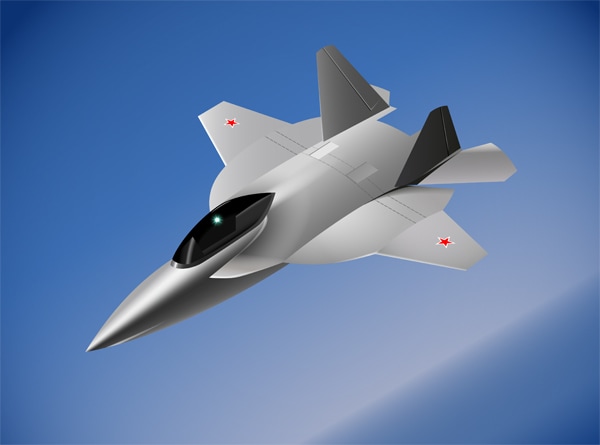
In my practice I often use 3D effects for icons creation. The figures below show some examples of work, where 3D modeling was the first step of the creation.


So, let’s get acquainted with 3D effects and its parameters.
Revolve Effect
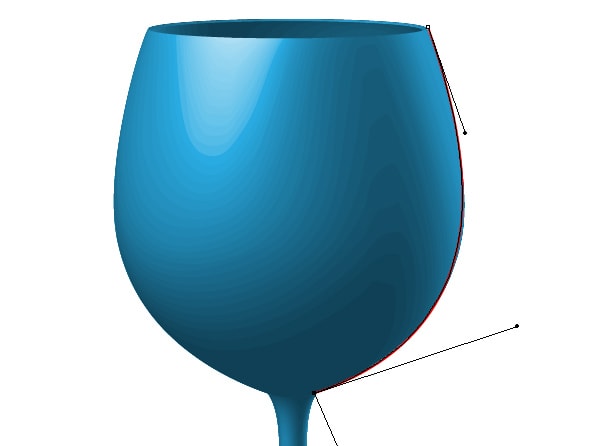
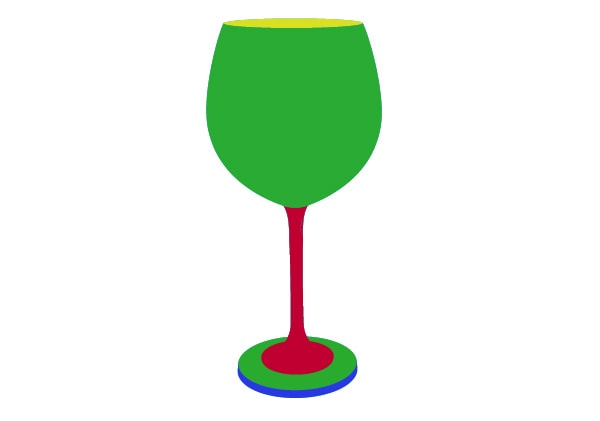
This effect is designed for surface revolution creation. A wine glass is a good example of such object. With the help of the Pen Tool (P) create a shape of the half of the glass in the frontal plane.
With Postcards Email Builder you can create and edit email templates online without any coding skills! Includes more than 100 components to help you create custom emails templates faster than ever before.
Free Email BuilderFree Email Templates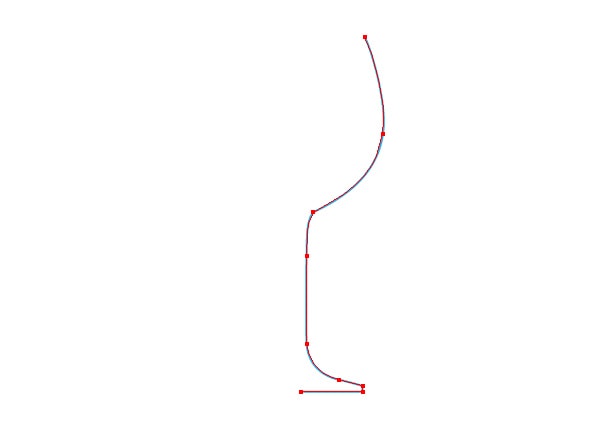
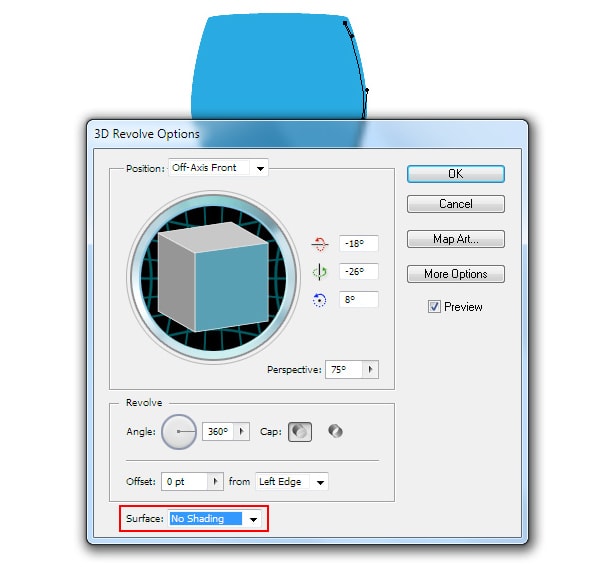
Select the created path, and then go to the Effect > 3D > Revolve… which leads to the opening of the dialog box with the effects parameters. All 3D effects have similar features, that’s why we will take a closer look at them on the Revolve example. Tick a preview option to be able to observe the changes.

To control the position of an object in space serves the numeric fields in which the rotation angles can be entered around the axes X, Y and Z. You can also control object position by turning the cube in the dialog box.
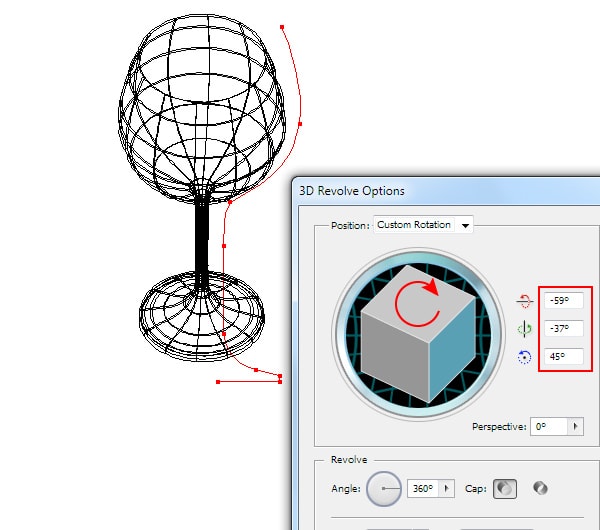
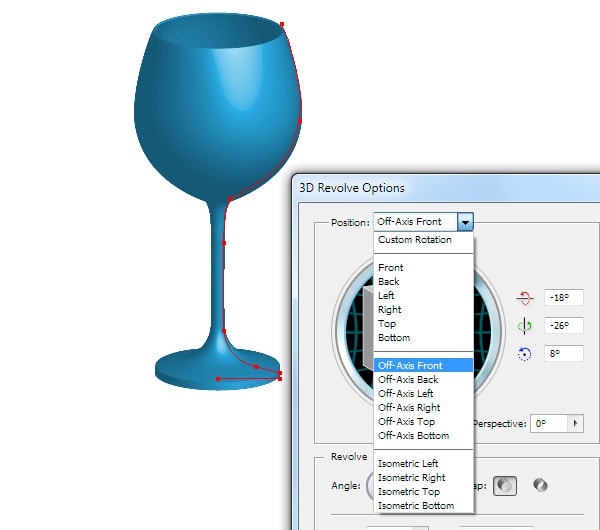
One of the presets from the Position list can be used for exactly the same purposes.
In order to apply the effects of linear perspective to the object, control the Perspective parameter.
With Pulsetic you’ll be instantly notified the moment your website, API, or server becomes unavailable. Monitor uptime from multiple global locations and respond to incidents before your users are affected.
Create beautiful status pages in minutes to keep customers informed during outages and build trust with transparent communication.
Start Monitoring for Free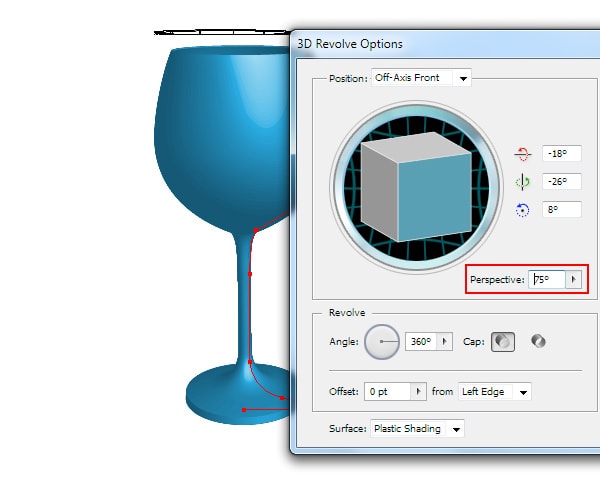
You also have an opportunity to cut the parts of objects. The parameter Revolve Angel is perfect for such purposes. Such function can be very handy in technical illustration creation.
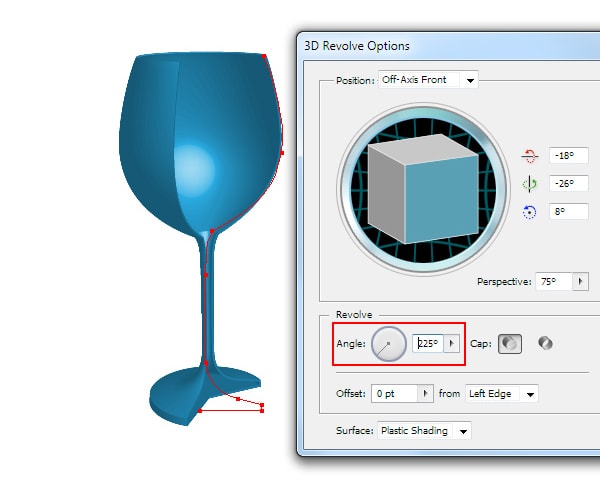
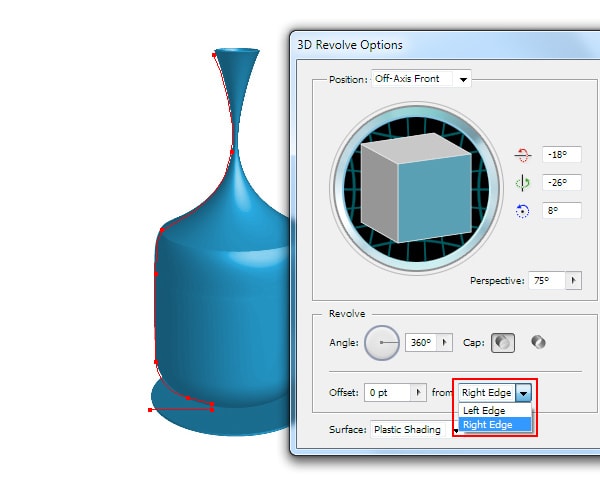
It is very important in which direction of the rotation will be directed. The options Left Edge and Right Edge are specially designed for it.
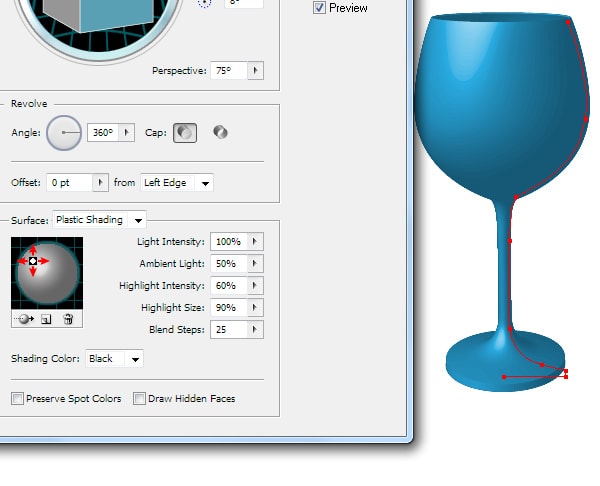
You can select the material of the models surface by picking out the right preset from the Surface list.
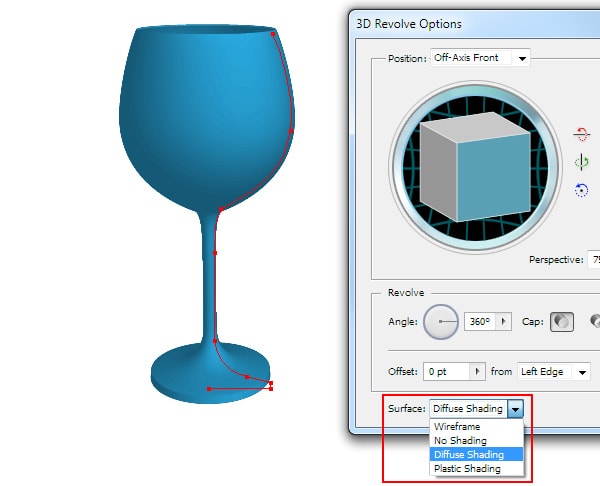
This is of course not what 3D modeling software can offer us, but this is very important parameter for the process in Adobe Illustrator and we will get back to it a bit later.
If the 3D model is your final product, than you can configure additional settings which will be opened in the dialog box after clicking on More Options.
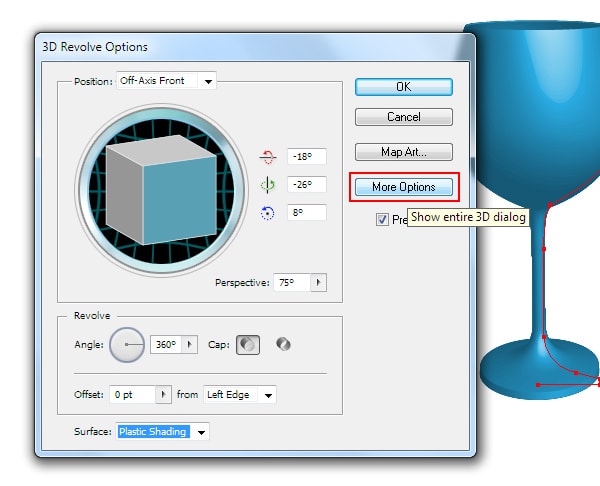
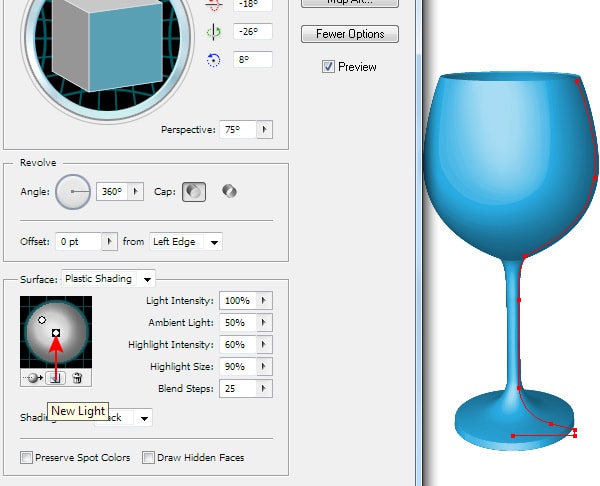
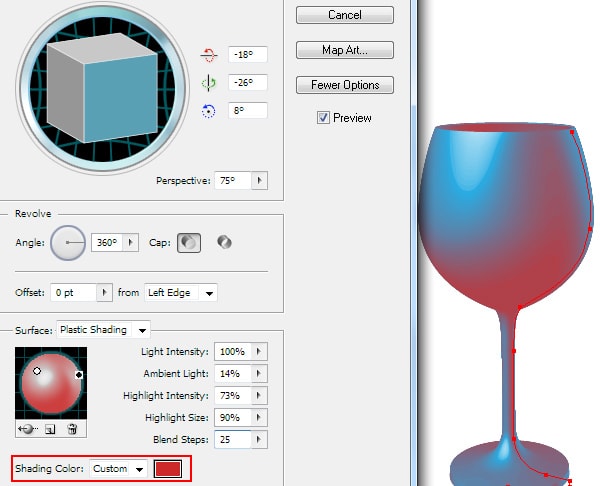
And now you can control the light source location, add new light sources and move selected light to back of object to create some reflections from surrounding objects.
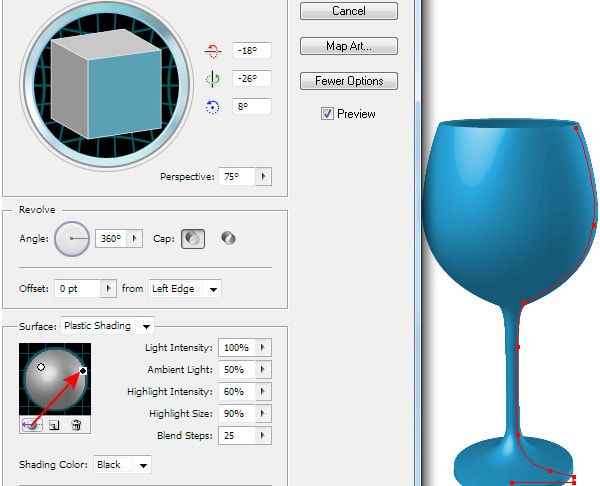
We can control light source parameters, such as intensity and size.
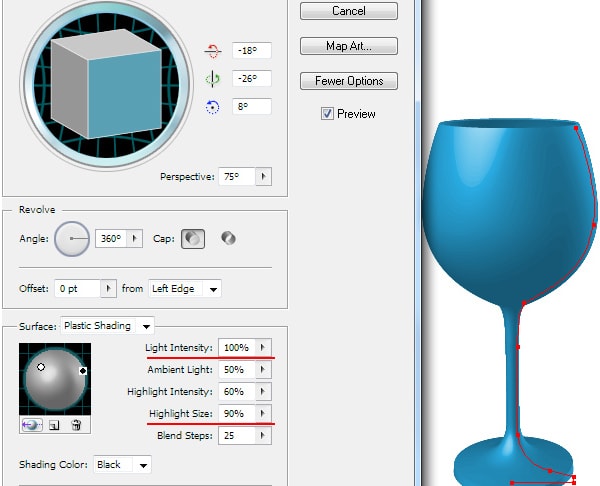
To create smoother transition between colors increase the value of the Blend Steps. And here I want to warn you, too large values of this parameter increase the size of the file a lot, which lead to a slowdown of the application.
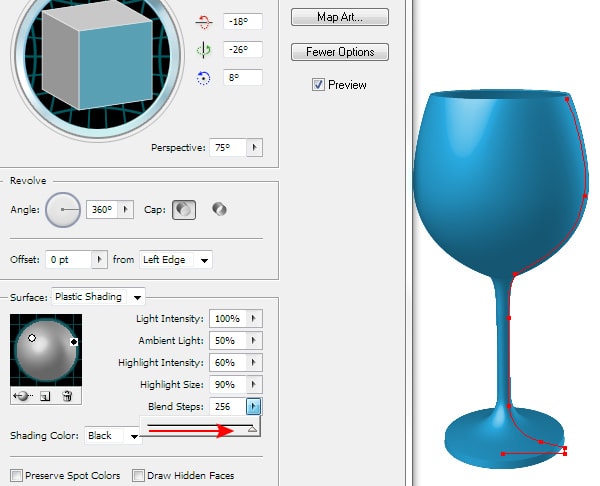
And finally, you can choose the Shading Color.
When the effect is set up, click on OK. In practice, it is often necessary to change the effect’s parameters after it has been applied. To re-open the dialog box click on the effect name in the Appearance panel (Window > Appearance) (and the 3D model should be selected of course).
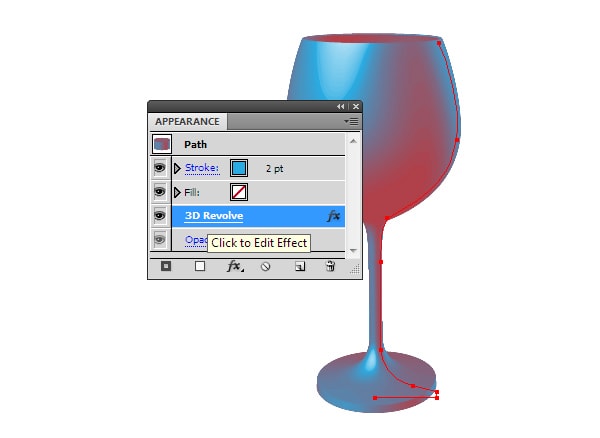
Now we can make the necessary changes.
Extrude& Bevel Effect
This effect is designed for the object extrusion. Create some text with the help of the Type Tool (T) (the effect can be applied to any vector objects).
Now go to the Object > Effect > 3D > Extrude & Bevel….
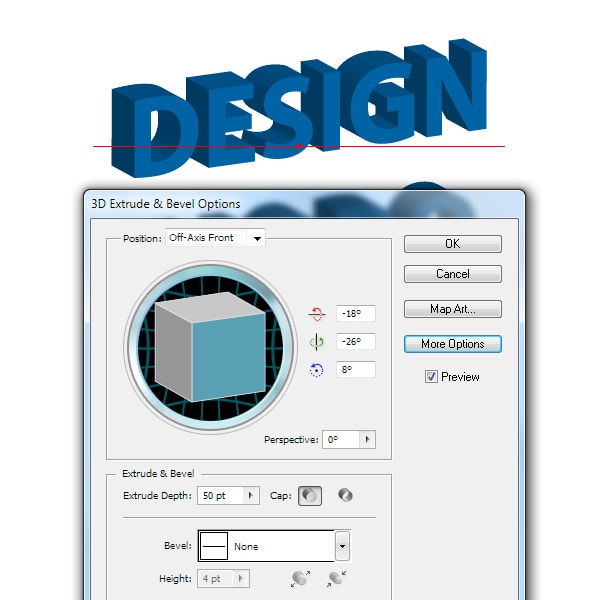
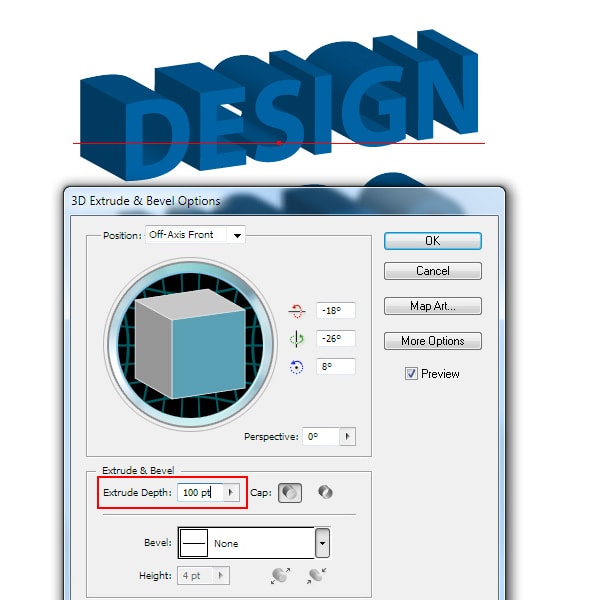
We have the Extrude Depth parameter to control the depth of extrusion.
You can also apply some bevel and choose its shape from the preset list.
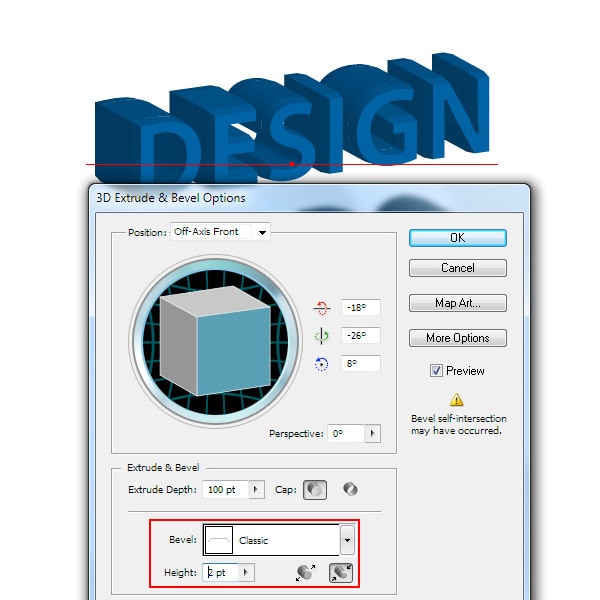
In all long years of my practice I’ve never used this parameter. Who knows, you might find it useful. All the rest of parameters of this effect are identical to the 3D Revolve parameters.
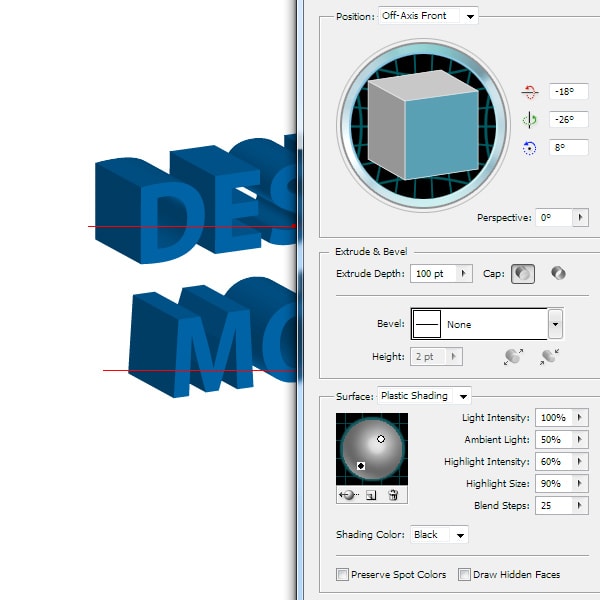
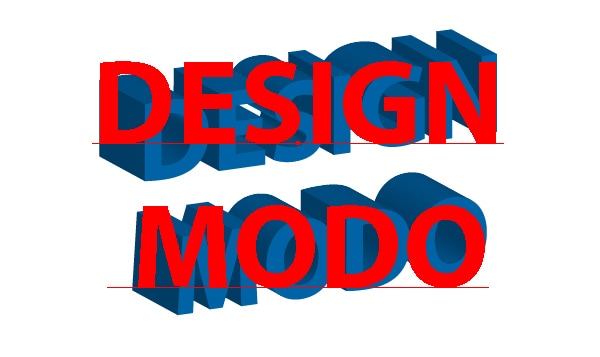
I only want to underline, if the Extrude & Bevel effect is used to the text, the text can still be edited.
Rotate Effect
This effect is designed to control plane location in which the two-dimensional object is located.
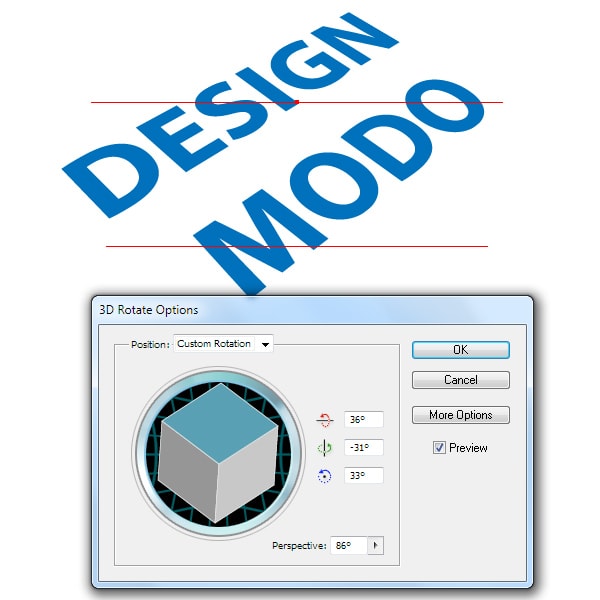
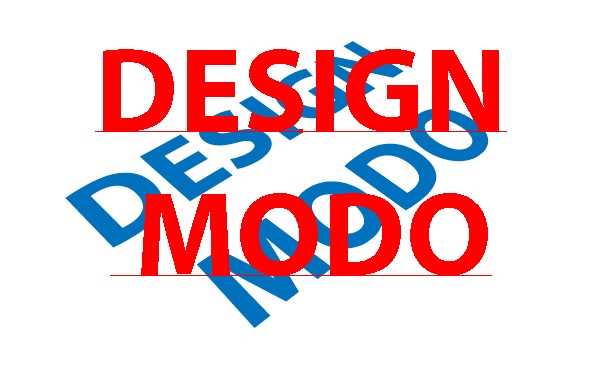
Rotate Effect has fewer parameters than two previous 3D effects, that’s why I don’t think you’ll have any difficulties with its use. I only want to note that the Rotate Effect is very convenient in placing the text in different planes. To my point of view, it is better than using Free Transform Tool for the same purpose. Besides, your text remains editable after the effect was applied.
Modeling of Complex Surfaces
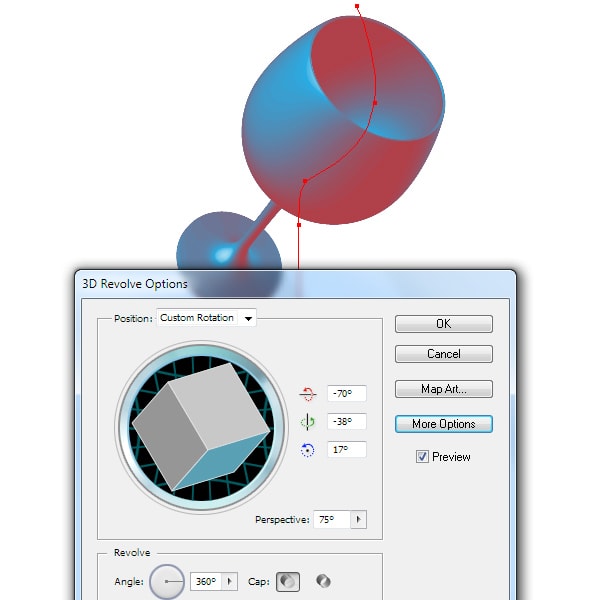
To model complex surfaces it is better to represent the surface in a couple of objects.
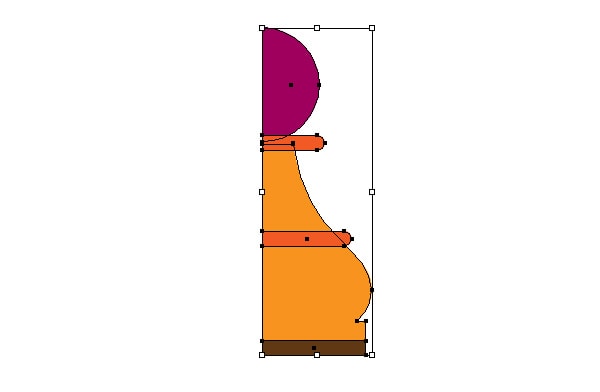
Before the 3D effect is applied, the objects must be grouped (Cmd / Ctrl + G). And now apply the 3D Revolve Effect to the group.
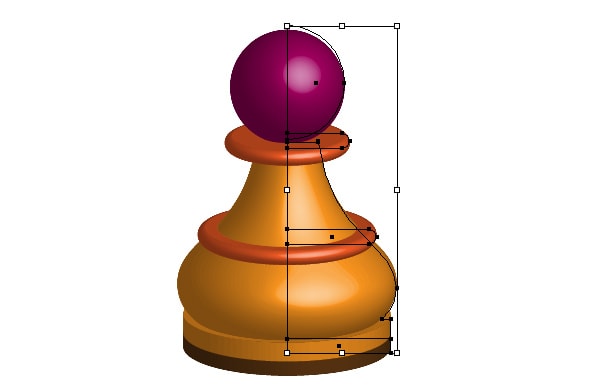
And now we can select and move the objects which are in the group and also color them into different colors.
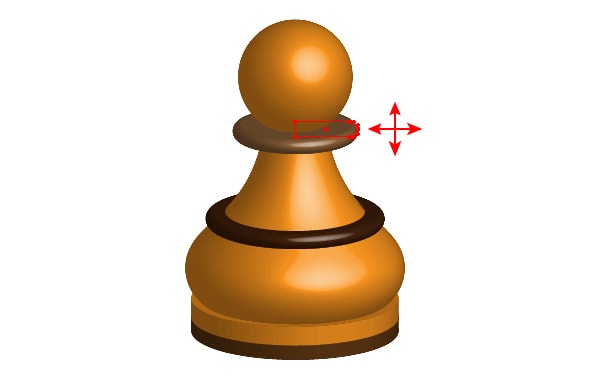
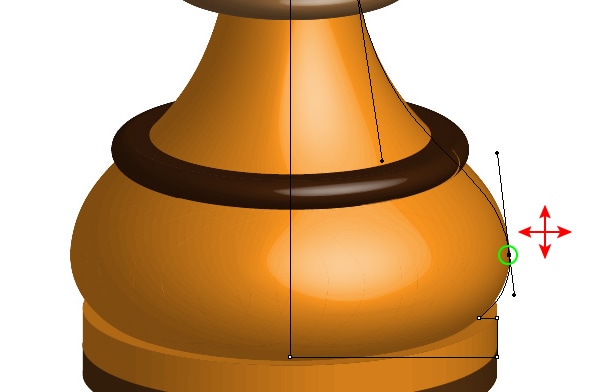
Besides, you can edit the points of the objects to which the 3D effect is applied even when they are not included to the group.
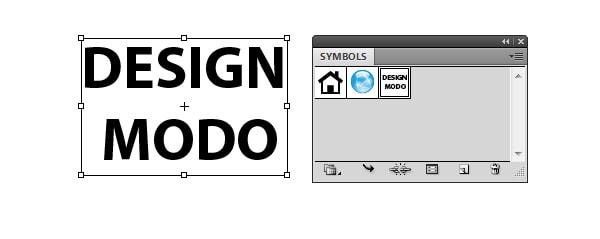
Sometimes we need to place some inscription on the surface of our 3D object or model the shape of hole in it. I always use the Map Art feature for that. Let’s see how it works. Create an inscription, and then save it as a new symbol in the Symbols panel.
Let’s get back to our glass; open the dialog box with the effect parameters using the Appearance panel. Click on the Map Art in the dialog box.

Switch between the surfaces in the Map Art dialog box in order to find the necessary surface.

Select the earlier selected symbol from the pop-up window in the Map Art dialog box.
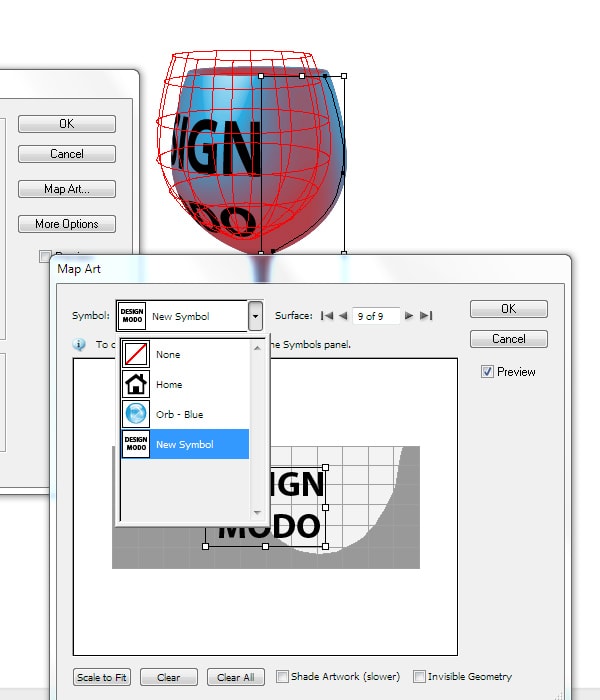
The visible surface of the object has light-gray background on the diagram below, that’s why place the symbol on such background.
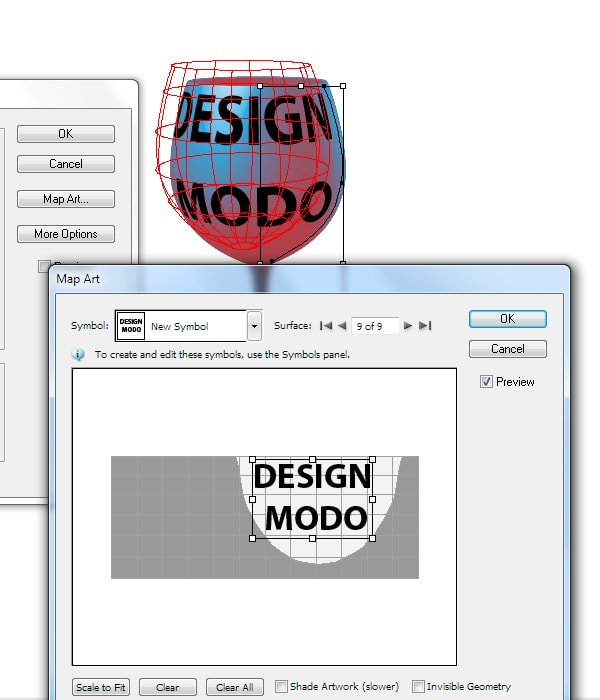
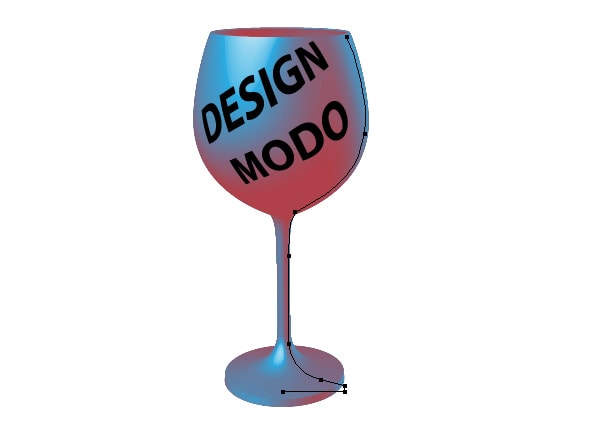
You can change the size and location of the symbol.

Preparation of 3D Objects for Further Work
I always use 3D objects as intermediate step in my work. Despite of big amount of 3D effects parameters, to my point of view, it is difficult to reach the desired result. You can use the received model as the reference image and re-create the basic model forms with the Pen Tool (P) for example.
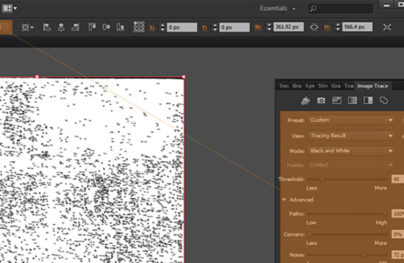
You also have an opportunity to convert 3D object into regular vector object. Let’s take a closer look at this method. So, open the window with the effect parameters and choose the No Shading type of surface.
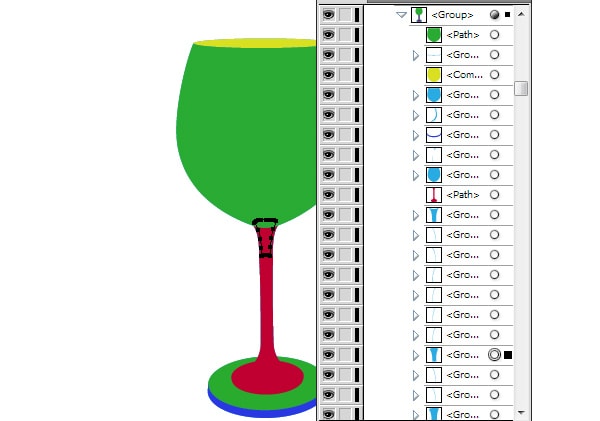
Now go to the Object > Expand Appearance. As the result, we got a group of vector objects.
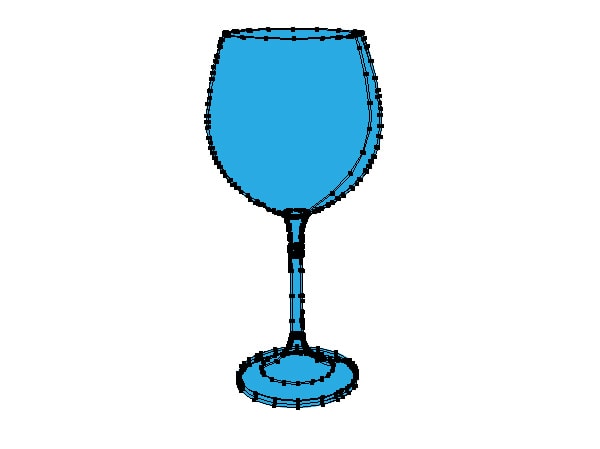
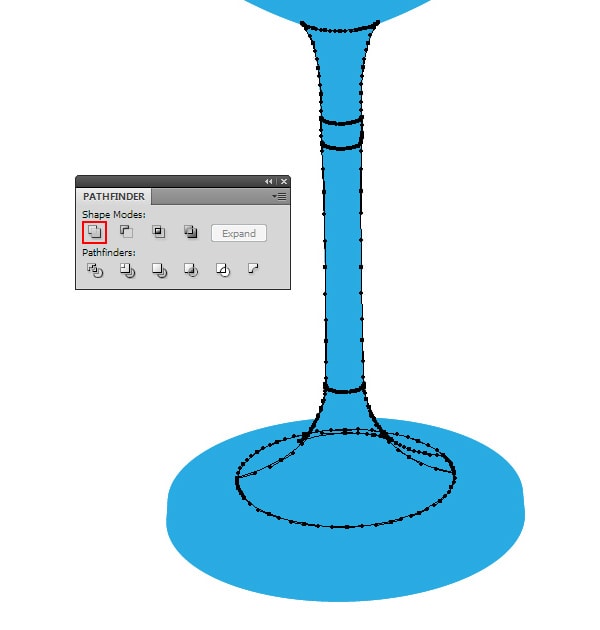
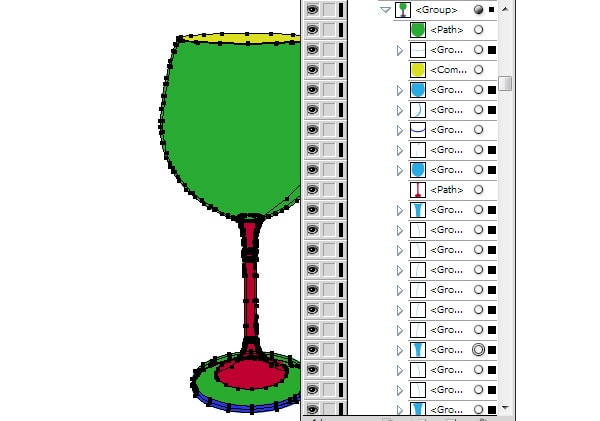
Most likely, the group will include the Clipping Masks. It depends on the complicity of model and it will make the further editing of objects complicated. That’s why, get rid of such elements. Go to the Object > Clipping Mask > Release, and then Object > Path > Clean Up. If the Release command in the Object menu is not active, then you’re lucky, i.e. your group doesn’t have any Clipping Masks. Now you need to combine the objects which correspond to one surface. The Unite in the Pathfinder panel command will help you in that.
I recommend you to color the surfaces into different colors, this will help you not to get lost in large number of objects.
After painting the main surfaces we still have a lot of unnecessary objects. When you open the Layers panel you can be sure of that.
Select one of this objects, and then go to the Select > Same > Fill Color, and press Delete after that.
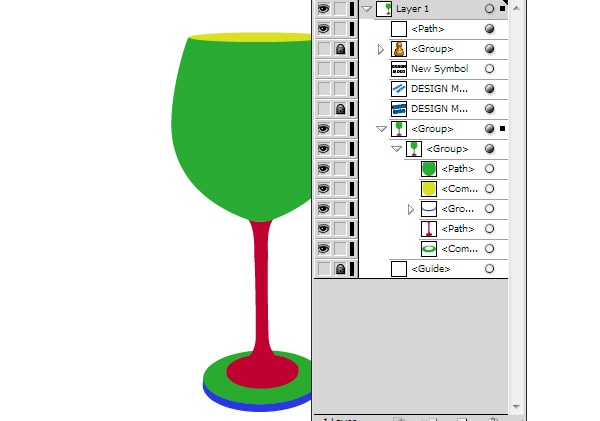
Now the object is ready for the further coloring. Methods of vector object coloring will be discussed in the next tutorial.
Conclusion
In conclusion to this tutorial, and especially for the fans of experiments, I’d like to underline that the usage of a couple of 3D effects to one object, as well as the usage of the Perspective Grid Tool to 3D objects will not lead to anything good. If you need to model a complex object, better to use 3D modeling software; although I once used to model plane in Adobe Illustrator. And now I should admit, it is very laborious work and it is not worth it.