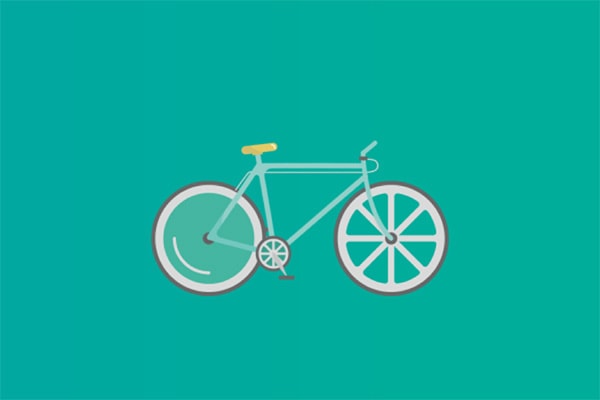
How to Create a Flat Design Bicycle (Part 1)
In our last tutorial, you learned how to make a GIF image; in this tutorial we will create a flat-style bicycle in Adobe Illustrator using simple shapes. In Part 2, we will animate the bicycle.
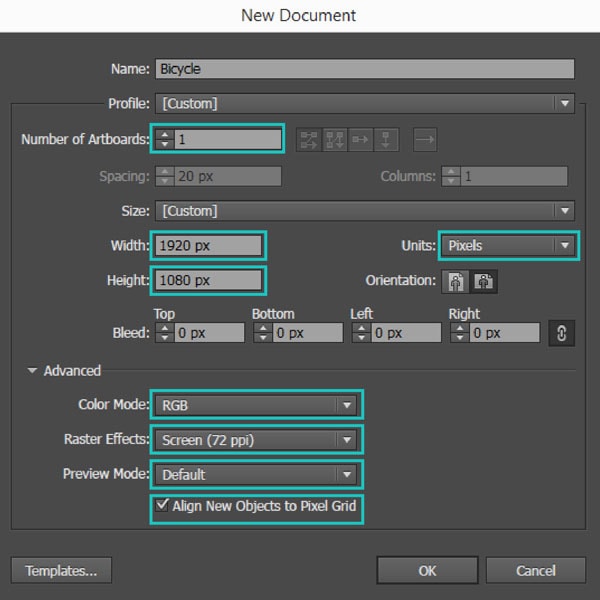
Step 1: Set Up a New Document
- Width: 1920 px
- Height: 1080 px
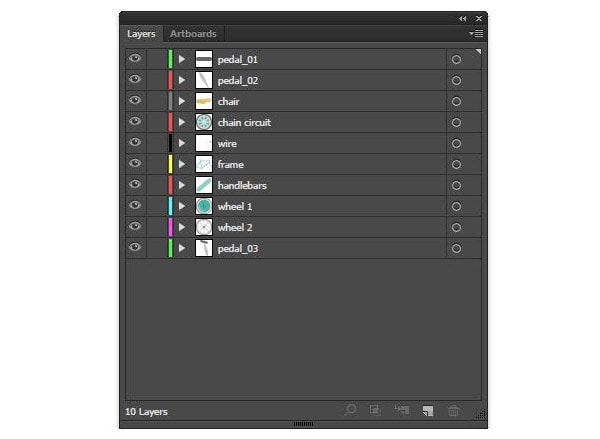
Step 2: Layer the Design
When importing files in After Effects we need to make sure our design is layered, otherwise we will end up with a flat image which we cannot animate. Every detail you want to add movement to later should be in a separate layer.
Let’s create layers for our bicycle. Name them! Name layers right away; you can also name them in AE.
With Postcards Email Builder you can create and edit email templates online without any coding skills! Includes more than 100 components to help you create custom emails templates faster than ever before.
Free Email BuilderFree Email TemplatesStep 3: Create a Flat Design Bicycle
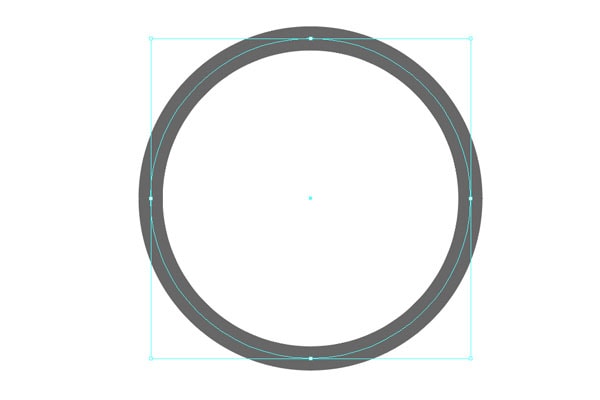
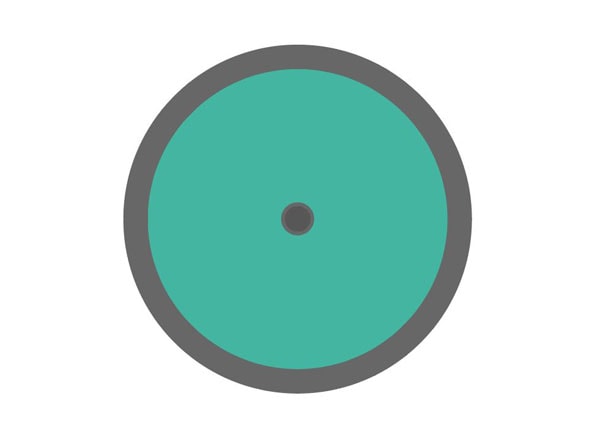
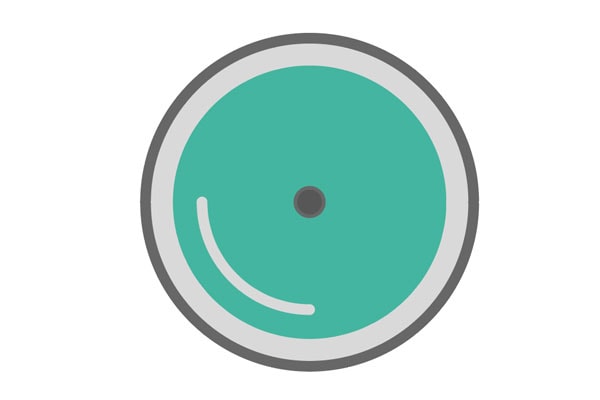
3.1 Start with the wheels. Create a circle 265×265 px, stroke – 20 pt, stroke color #676767. Fill the circle with green color #44B5A0. Create another small circle 24×24 px, stroke – 3pt, stroke color #676767, fill color a bit darker #575757, and align it to the center.
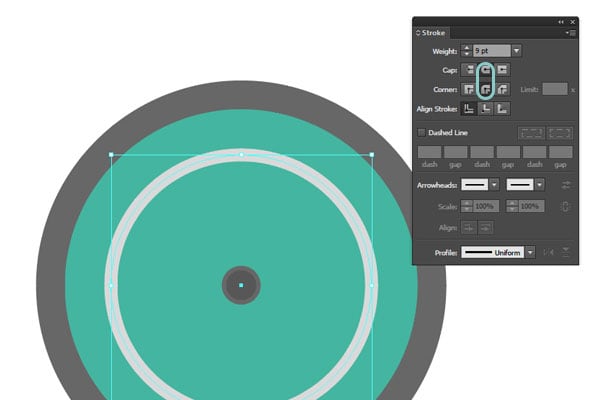
Create another circle 181 x 181 px, align it to the center of wheel and using the stroke panel, click on round cup and round join (as shown in the picture).
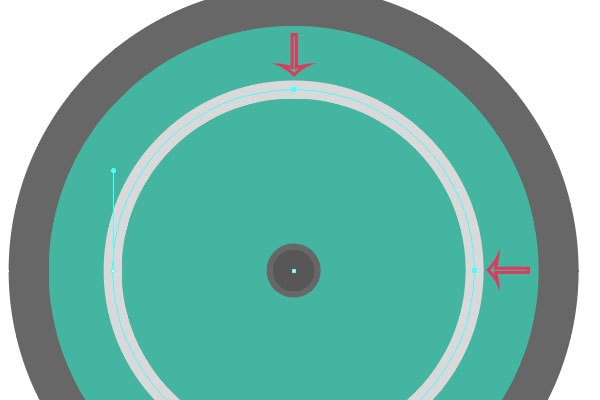
Using the direct selection tool (A) delete the points shown.
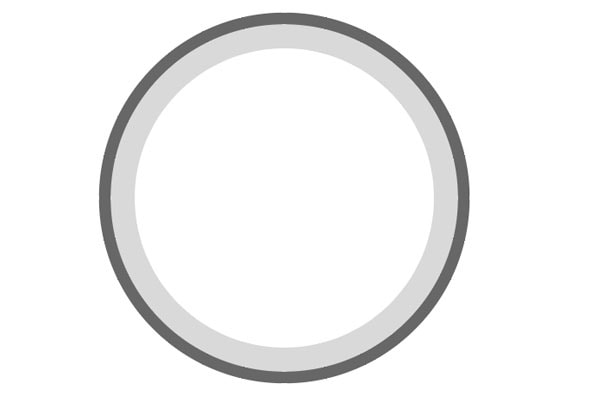
Now create two circles. One – 267 x 267 px, color #D9D9D9, and one – 230×230 px. Put the smallest on in the middle and using the pathfinder panel; click on minus front, which will crop out the front circle, which is exactly what we need.
With Startup App and Slides App you can build unlimited websites using the online website editor which includes ready-made designed and coded elements, templates and themes.
Try Startup App Try Slides AppOther Products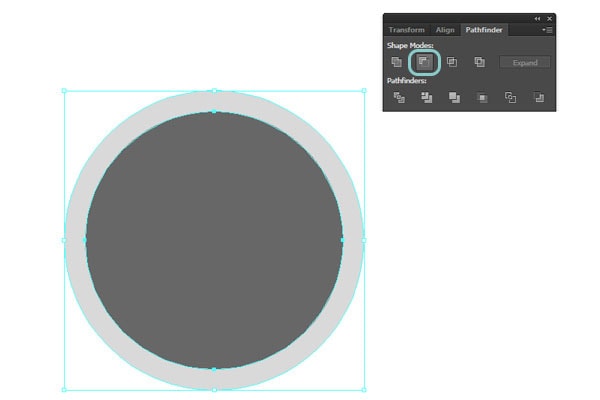
Put the cropped circle in the middle of the wheel.
Group everything and put it in Wheel 1 layer.
3.2 For Wheel 2, create the same circle as first, but without the fill.
Copy the cropped circle from Wheel 1 and put it in the circle we just created.
Use the pen tool (P) to create a line from center to the top.
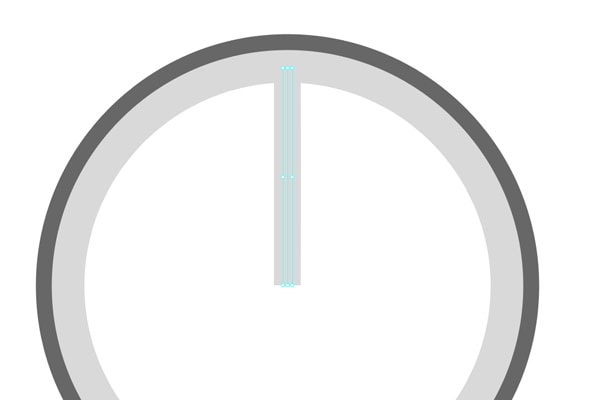
Now with line selected, hold R+Alt and click on center of the circle. The rotate window will pop up.
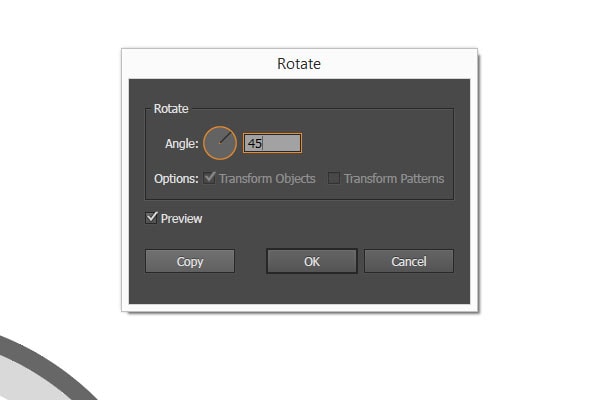
Fill in 45° and click Copy. Press Ctrl+D to make multiple copies.
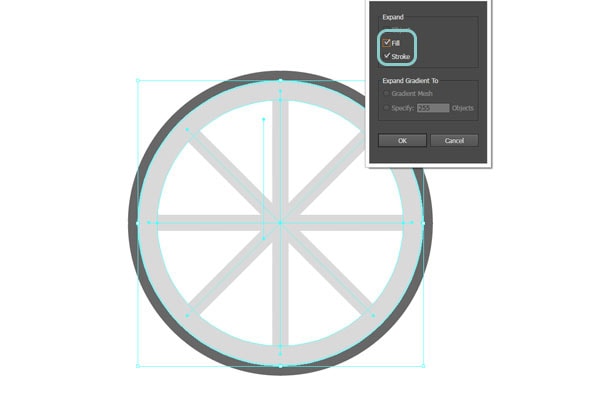
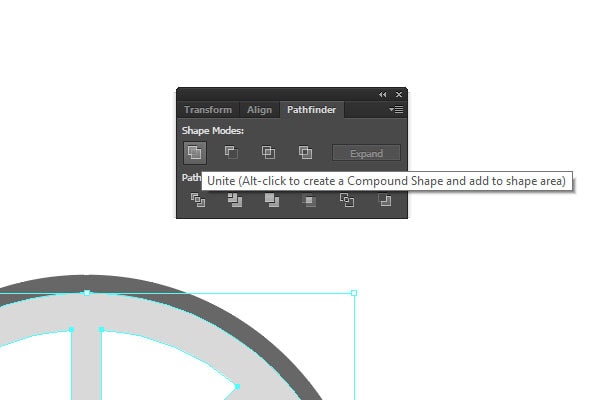
Select the inside of the wheel and go to object – expand, check fill and stroke, click OK. With everything selected, use the pathfinder panel to unite.
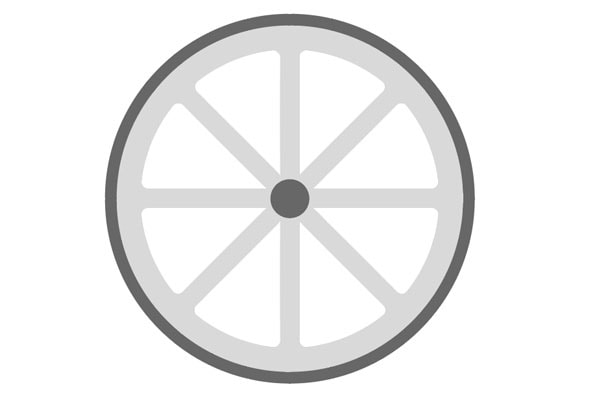
Click on each corner of the triangles we created; click the little circles in the corners of the triangles and drag the mouse to create round corners. Do that to all of them. (I used 5px roundness.)
Finally create a 30 x 30 px circle and place it in the middle of Wheel 2. Group everything and place it in Wheel 2 layer.
3.3 Using the pen tool (P) draw a frame as shown. Color #90cec7
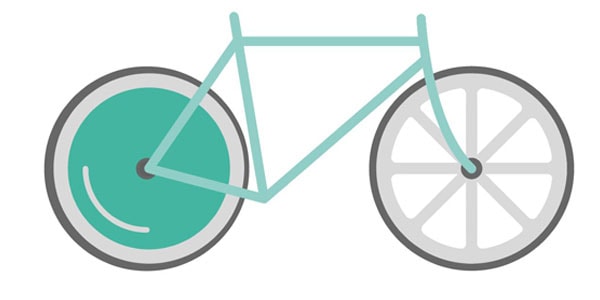
Using the stroke panel make strokes rounded as before. Group everything as before and unite. Do the same as for the Wheel 2 triangles and make the corners round.
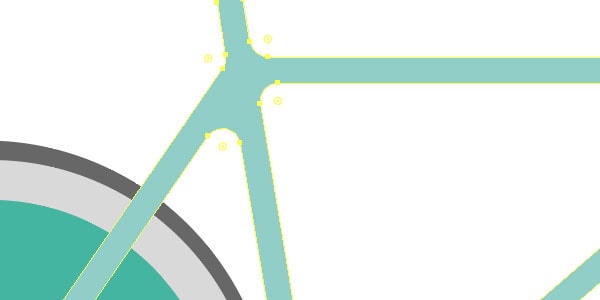
Select the frame and put it into the frame layer.
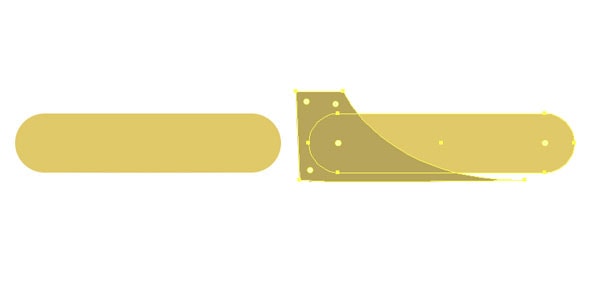
3.4 To create a bicycle chair, create a rectangle 90 x 20 px, color #e0c968 and round the corners.

Hold the Alt key to duplicate the chair. Using the pen tool, create a shape ( #ceb755) like this:
Use the pathfinder panel and click on intersect.
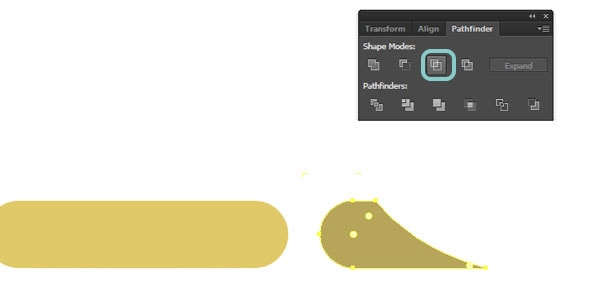
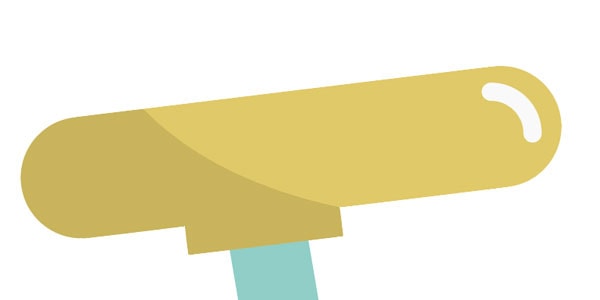
Place the shape on the chair; this will be the shadow. Create a smaller rectangle under the chair. To create a light, create a small circle into chair shape, with stroke 3 pt and using the direct selection tool to delete unnecessary points.
Group everything and put it in the Chair layer.
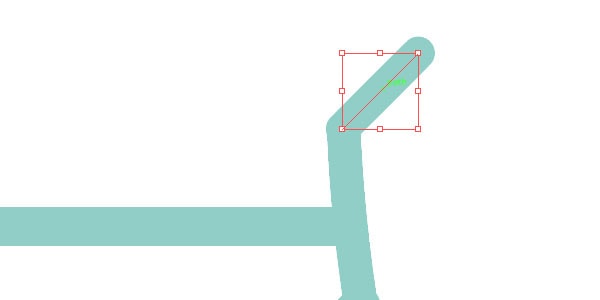
3.5 For the handlebars, use the pen tool and the same color as for the frame, create a line holding the shift tool. Put it in the handlebars layer.
3.6 Select the wire layer; use the pen tool to draw a stroke (2pt, #d3d2d2).
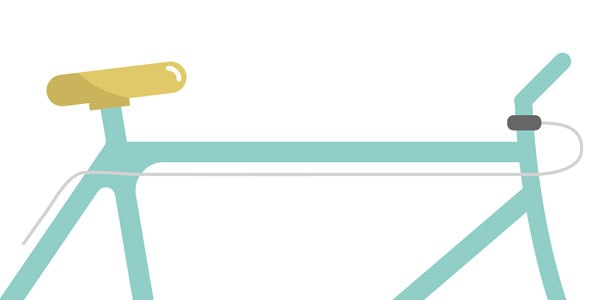
Add small rectangle (#676767) where the wire begins.
3.7 To create the chain circuit layer, repeat the same steps as for Wheel 2, only make it around 90×90 px.
3.8 For Pedal 1 we will will make two parts to create animation for both shapes. In pedal_01 layer use the pen tool to create a line 30 px long, with a round cup.
In pedal_02 layer use the pen tool create a shape like in picture below.

3.9 Do the same for the pedal_03 layer.
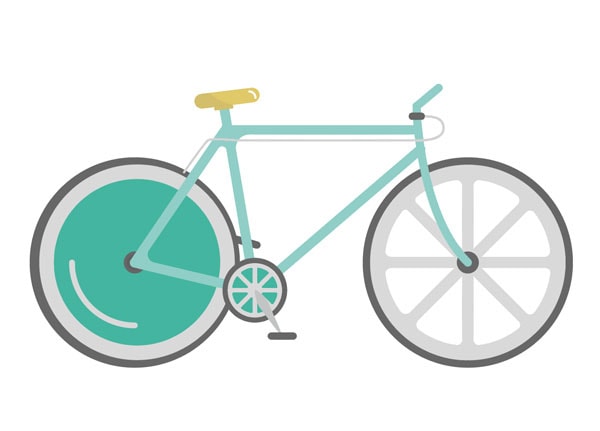
You should have 10 layers.
And end result looking similar to this:
Hope you did well and see you for the next tutorial!
Previous articles:
- How to Animate a Flat Design Bicycle in After Effects (Part 2)
- How to Export an Animated GIF using Adobe Photoshop and After Effects (Part 3)