How to Create Seamless Subtle Patterns in Adobe Illustrator
Difficulty: beginner
Estimated completion time: 30 minutes
In this Illustrator tutorial, we will take a closer look at the process of creation of the seamless patterns and the techniques which make this work easier. These techniques are universal, i.e. they are good for any version of Adobe Illustrator. Moreover, we will create one subtle pattern in Adobe Illustrator CC.
This application release has the Pattern Creation feature allowing us to automate the process. Currently, the Subtle Patterns are very popular in design. They are often been used for the background creation of websites. Take a close study of this Illustrator tutorial and you will be able to create some unique patterns for your web projects.
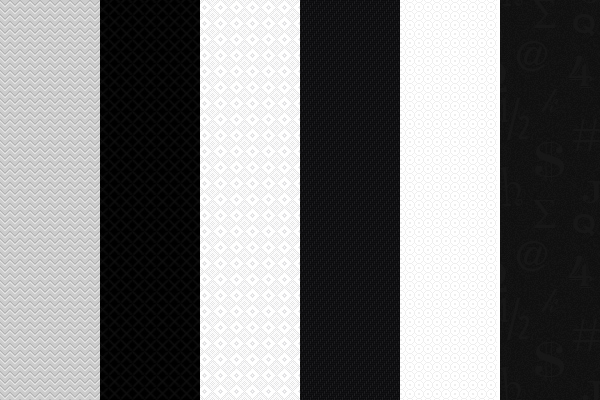
Universal Techniques that Allow Creation of Subtle Patterns in Any Adobe Illustrator Version
Step 1
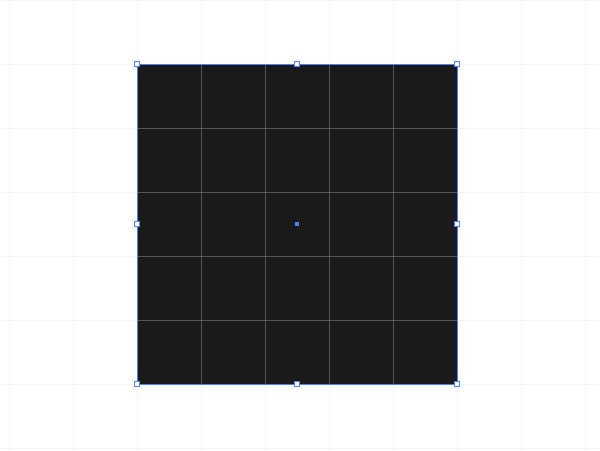
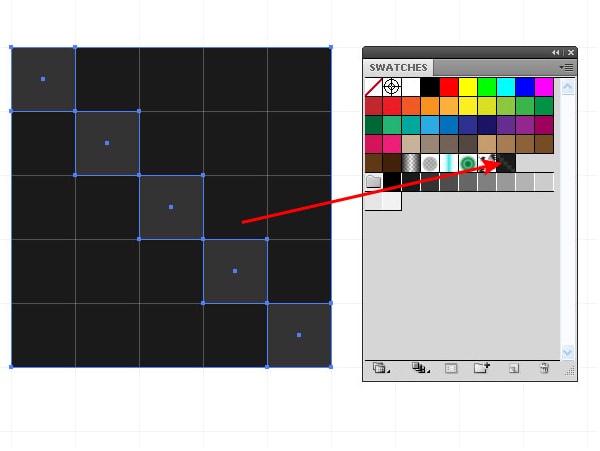
Let’s start our tutorial with the creation of the pixel seamless pattern. This type of patterns has been popular and remains being popular at the present time. I’m pretty sure, it will be popular for some more time in the future as well. Let’s take a good look at a couple of techniques which make the process of creation of the pixel seamless pattern easier. Pixel patterns differ from the rest of the patterns; their objects should exactly correspond to the size of the pixel grid. This quality allows the objects to have sharp boundaries. Turn the Pixel Preview mode (View > Pixel Preview) on. With this mode, we see the pixel grid lines when the artboard is zoomed. Moreover, with the Pixel Preview mode we can create the objects that have only the integer sizes in pixels. Zoom the artboard of the current document, then take the Rectangle Tool (M) and create a square as it is indicated on the figure below.
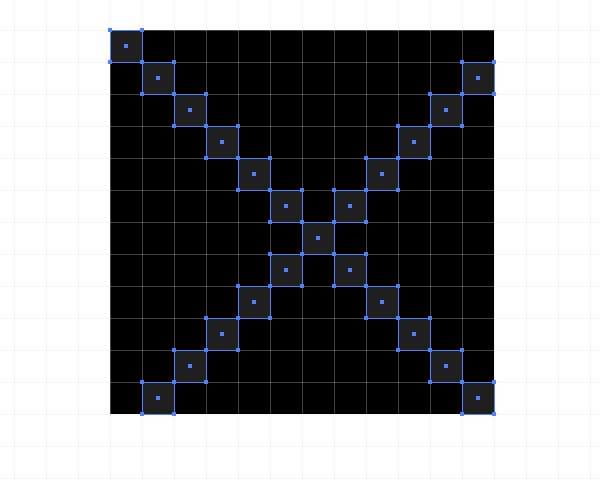
Create a couple of more squares which will be located on one of the diagonals of the first square.
With Postcards Email Builder you can create and edit email templates online without any coding skills! Includes more than 100 components to help you create custom emails templates faster than ever before.
Free Email BuilderFree Email Templates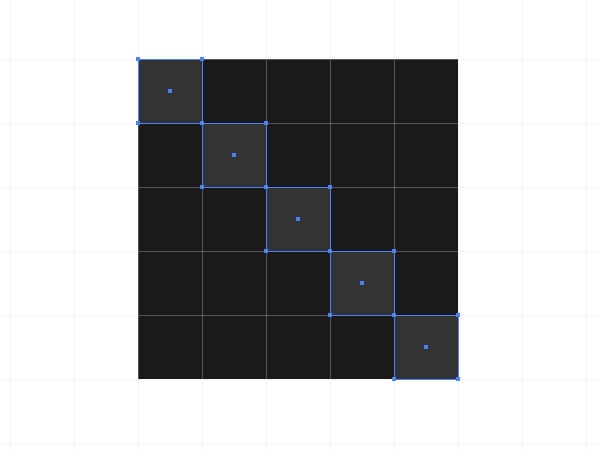
The colors of the subtle patterns should slightly differ from one another. It can evince in a few percentage when working with the Gray Scale color mode. Select all the created objects and drag them into the Swatches panel.
Now you can apply this subtle pattern to the fill of any objects or use it as a background for your website.

Step 2
We took a look at one of the simplest examples of pixel seamless pattern creation. However, even while using this technique, interesting backgrounds can be created.
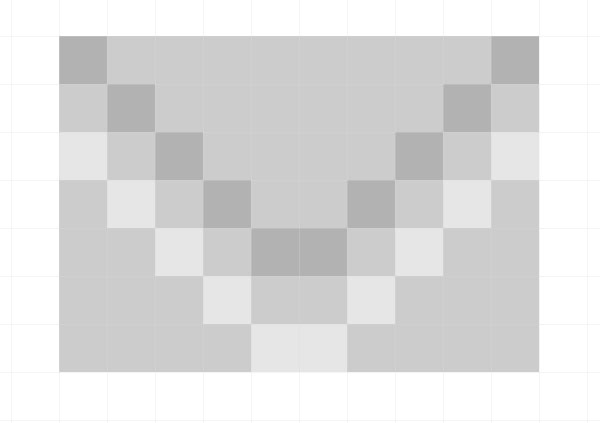
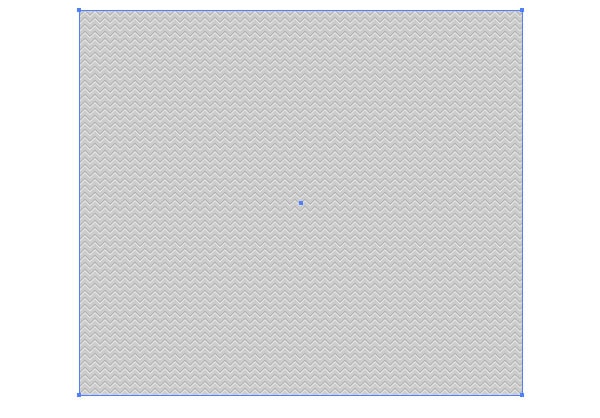
But it is not as simple as it might seem at the first sight. Let’s consider one more example. With the Rectangle Tool (M) create an element of a subtle pattern as it is indicated on the figure below.
With Startup App and Slides App you can build unlimited websites using the online website editor which includes ready-made designed and coded elements, templates and themes.
Try Startup App Try Slides AppOther Products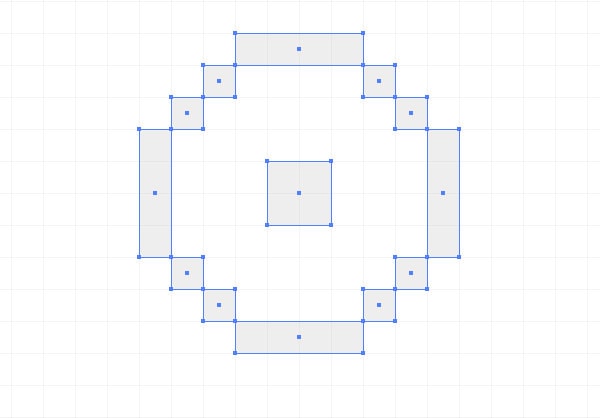
Now drag it to the Swatches panel and apply to the object of any form.
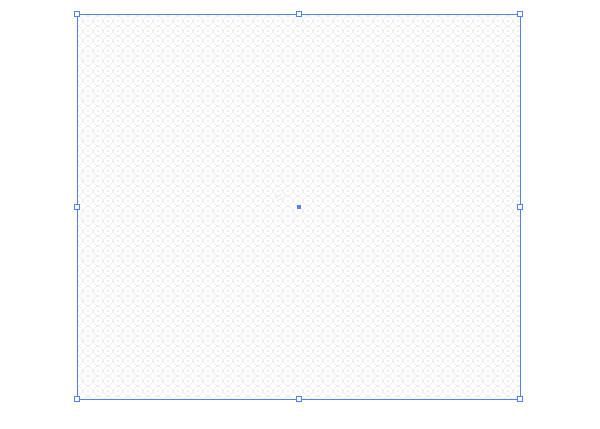
As you can see, in the points of tile contacts we got the doubling of the elements.

I didn’t plan this subtle pattern, so it needs to be edited accordingly.
Step 3
Create a rectangle with no fill and no stroke and place it underneath all the pattern objects.
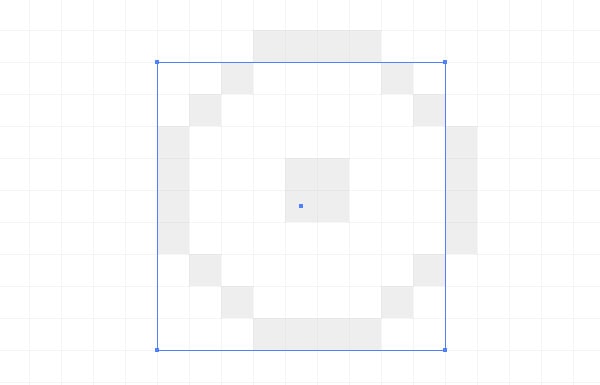
This rectangle limits the visible part of subtle pattern elements. Transfer all the pattern objects with the rectangle to the Swatches panel and apply it to the object.

Now my pattern looks like I expected it to look.
Step 4
Often in the process of subtle pattern creation it is difficult to imagine how it is going to look like after the application. Now I will introduce you some techniques which will allow you to see a couple of pattern tiles during its creation. So, create one pattern tile which consists of 1x1px squares.
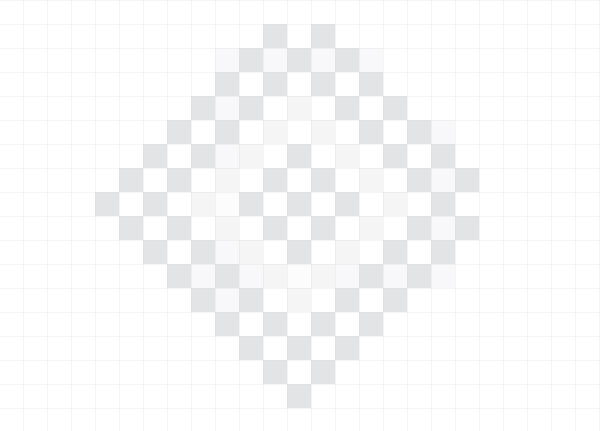
Group all the squares (Cmd / Ctrl + G). The size of this group is 16x16px. You can see this in the Transform panel or on the Control panel.
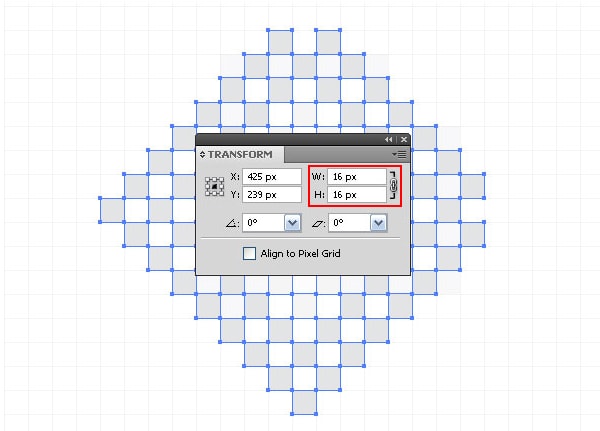
Step 5
Select a group and go to the Effect > Distort & Transform > Transform…, then set the vertical and horizontal shift; the size of the shift corresponds to the size of the group. The amount of copies – 0.
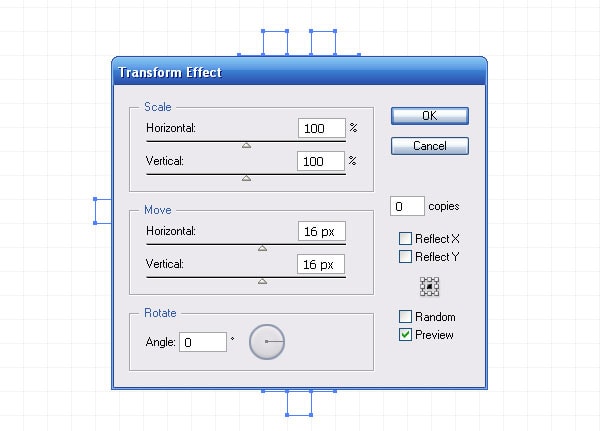
Go one more time to the Effect > Distort & Transform > Transform… and set some new parameters of the effect as it is indicated on the figure below.
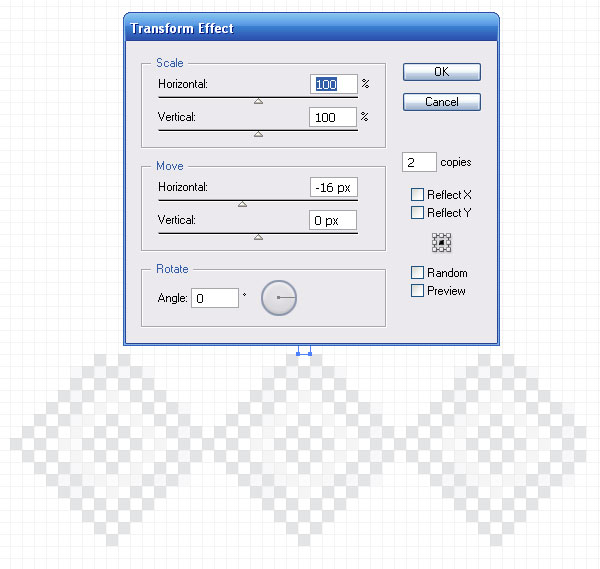
Apply the Transform effect with new parameters one more time.
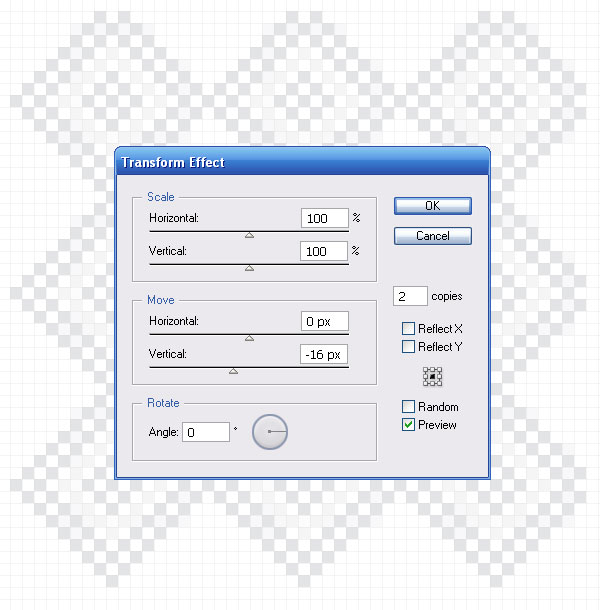
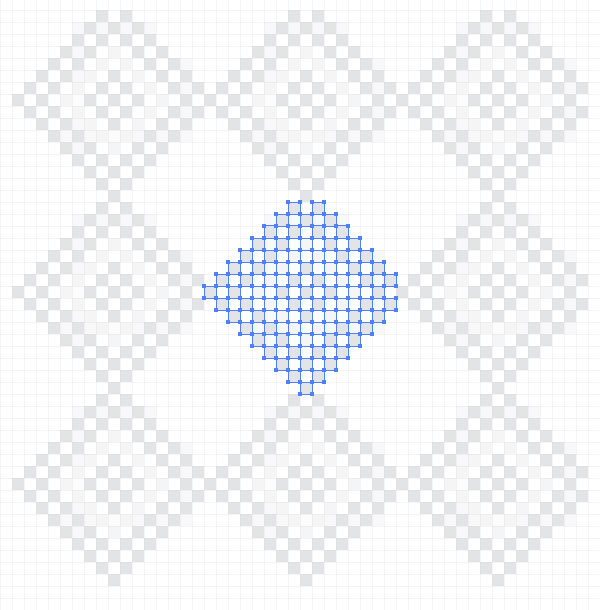
Now we can see nine tiles of the subtle pattern at once.
Step 6
We can add some new elements to the pattern. Let’s check it out. Create a couple of new rectangles and group them.
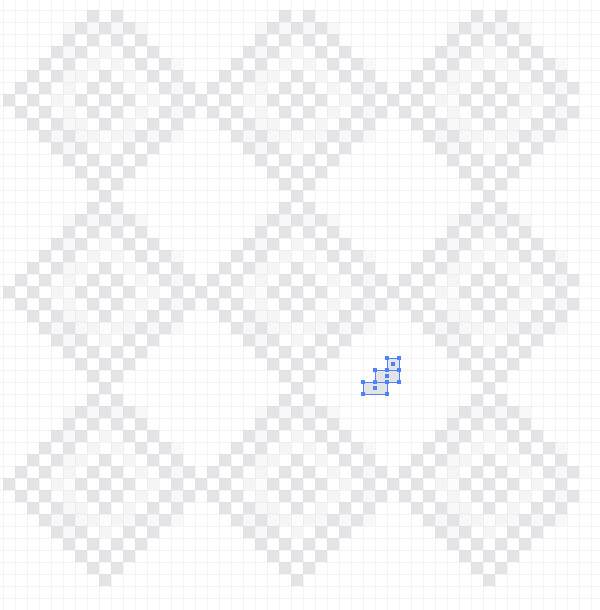
Drag the new group to the group of the main tile pattern to which the Transform effects have been already applied. This manipulation should be done in the Layers panel.
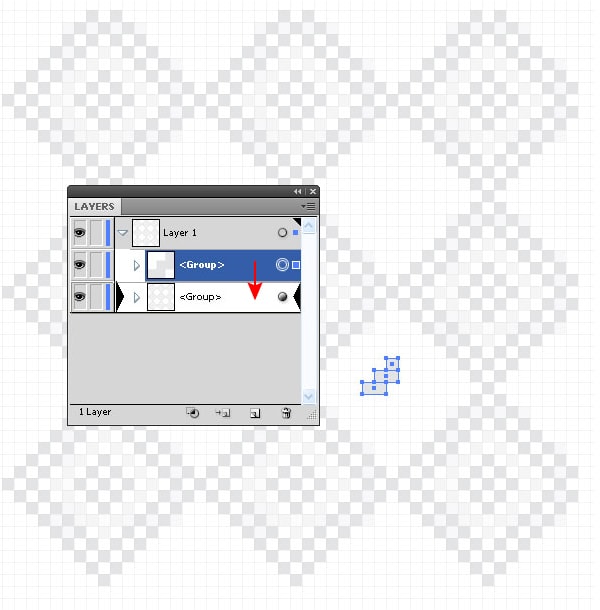
As you can see, the new element appeared on all the tiles of the pattern.
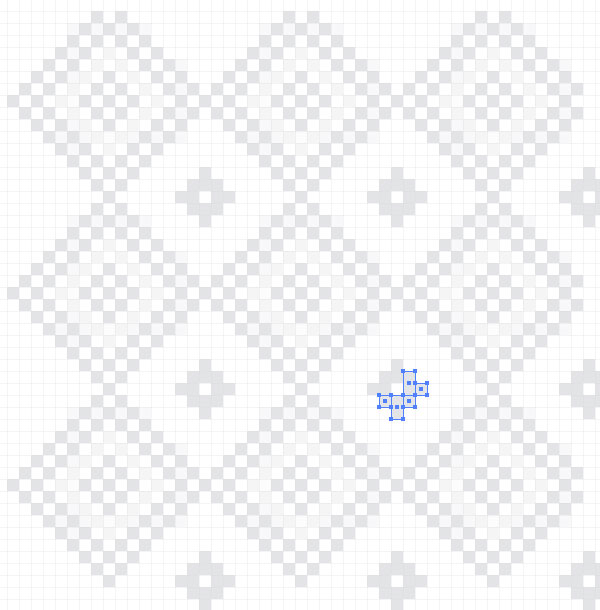
Step 7
Create new elements and drag them back to the group with the tile pattern.
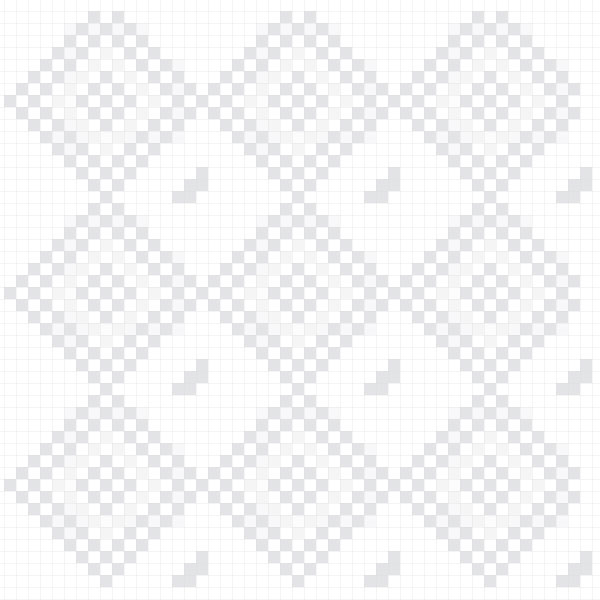
Now, when the pattern is ready, go to the Object > Expand Appearance.
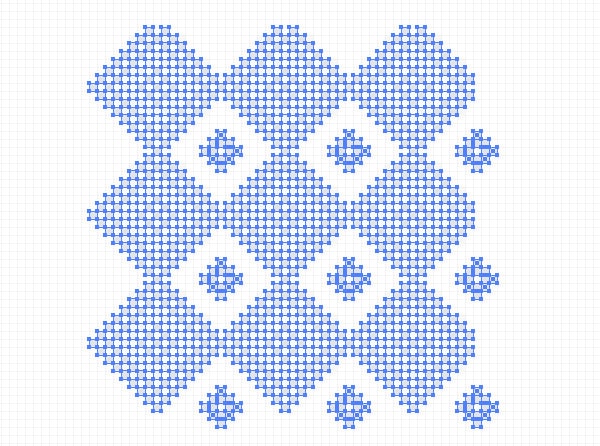
The pattern should be limited to a rectangle, the size of which corresponds to the initial size of tile (16x16px).
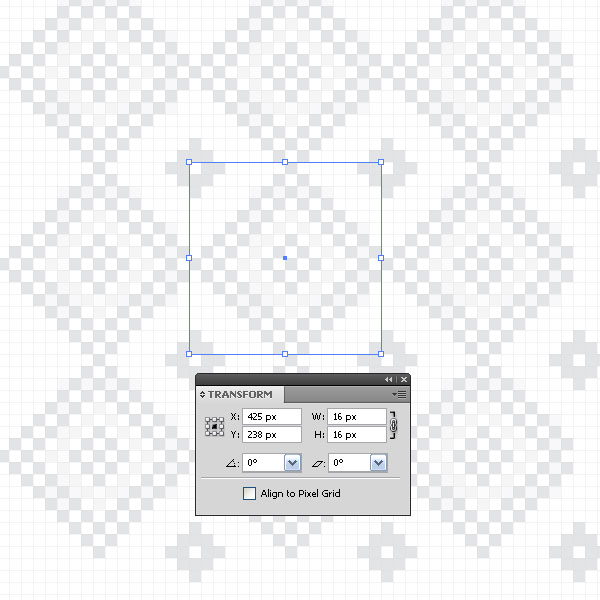
The rest of the objects should be deleted.
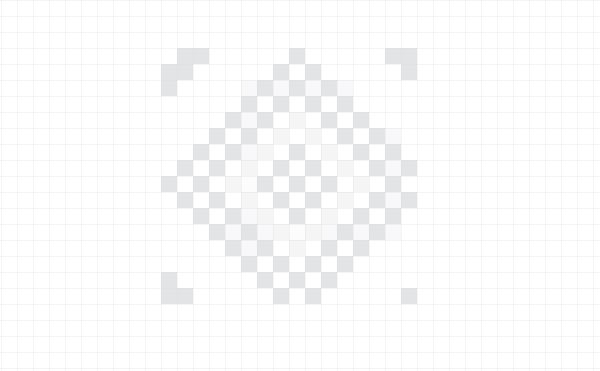
Drag the pattern into the Swatches panel and check if everything that we’ve done was correct.

All turned out to be well.
Step 8
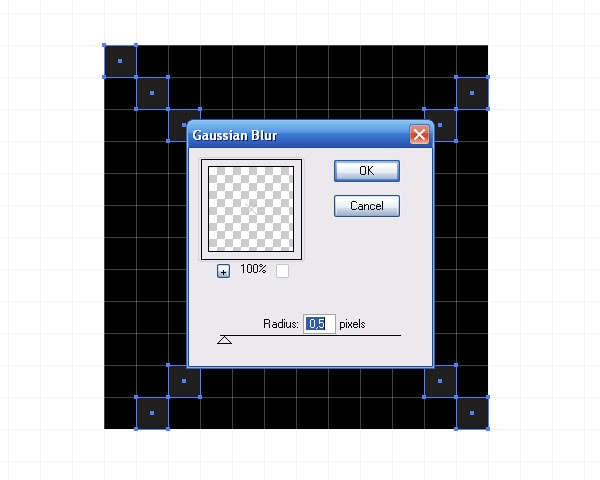
You can apply some raster effects to the pixel patterns; this adds some texture to it. Select the elements of the pattern and go to the Object > Blur > Gaussian Blur…, then set blur radius in the dialog box.
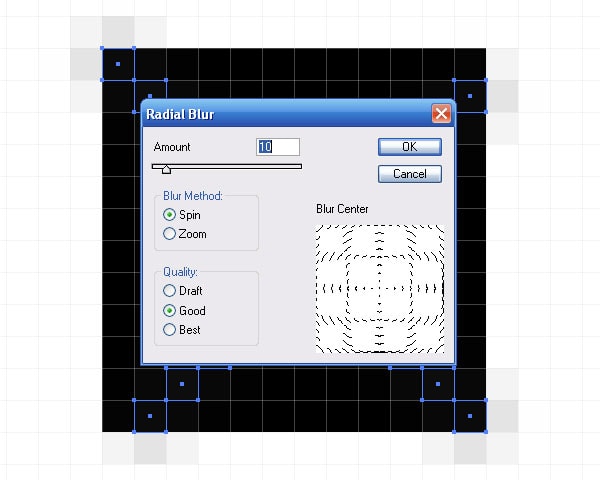
Now go to the Object > Blur > Radial Blur… and set the parameters of the effects.
When working with the raster effects you definitely need to create a bounding rectangle with no fill and no stroke and place it underneath all the elements of our pattern.
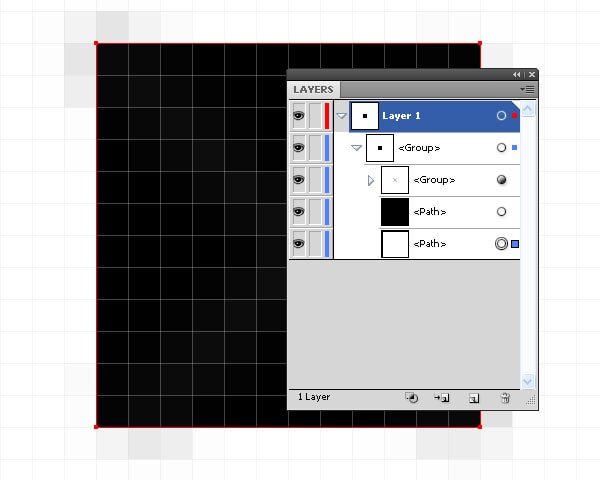
Otherwise, there will appear some space between the tiles of the pattern. Save the pattern in the Swatches panel and apply it to any object to test.

Very good!
Creation of the Seamless Subtle Patterns in Adobe Illustrator CS6
Step 9
Now let’s have a look at the process of creation of the subtle seamless pattern in Adobe Illustrator CS6. This release of the program has the Pattern Creation feature, which allows automating the process. Create a rectangle with a fill in dark-grey.

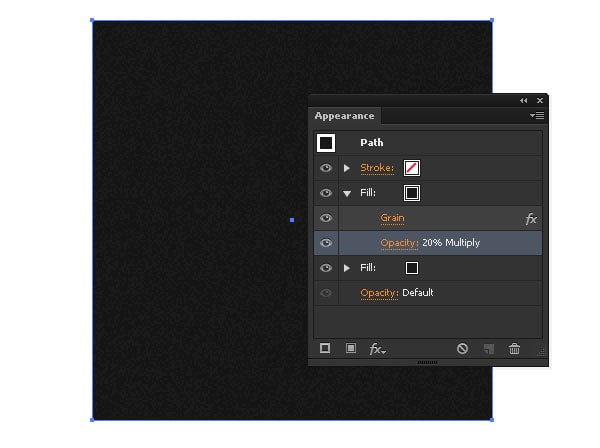
Add a new fill in the Appearance panel to this object (Window > Appearance).
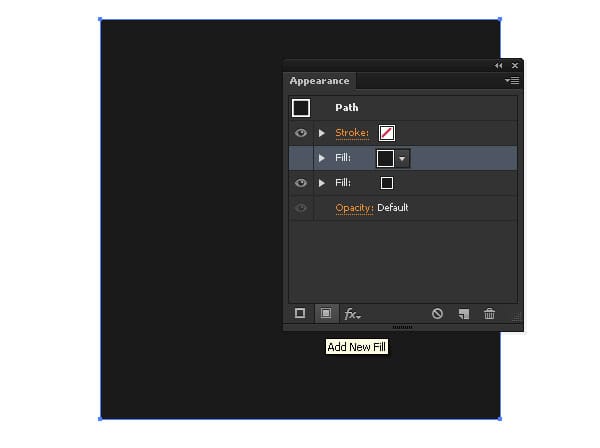
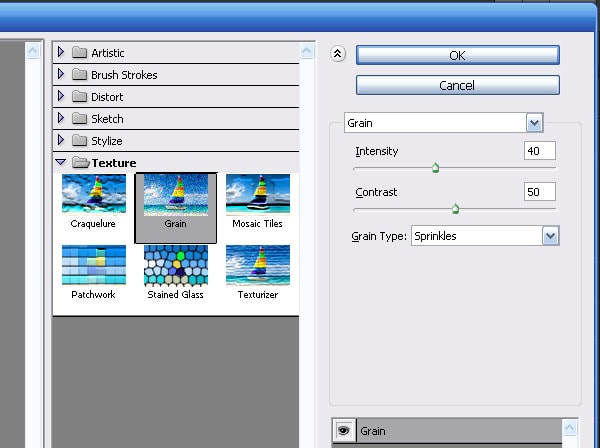
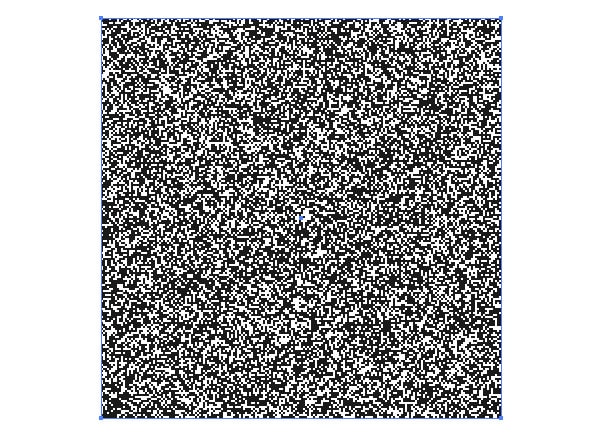
Select this fill and in the panel go to the Effect > Texture > Grain… and set the parameters of the effect.
Step 10
Apply the Multiply blending mode to this fill and reduce the opacity to 20%.
As I mentioned in the step 8, in case of raster effect application we need to create a limiting rectangle without a fill and stroke underneath all the objects.
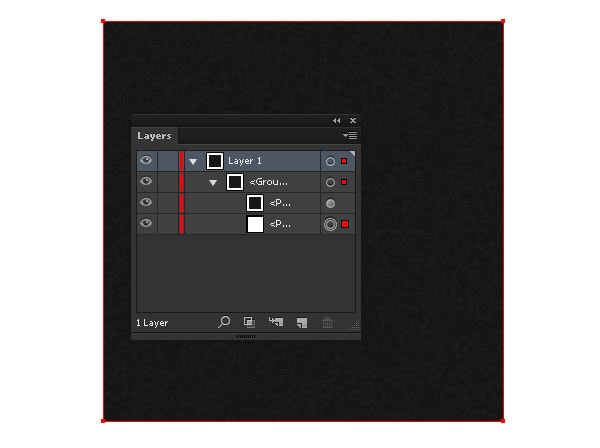
Select all the created objects and go to the Object > Pattern > Make.
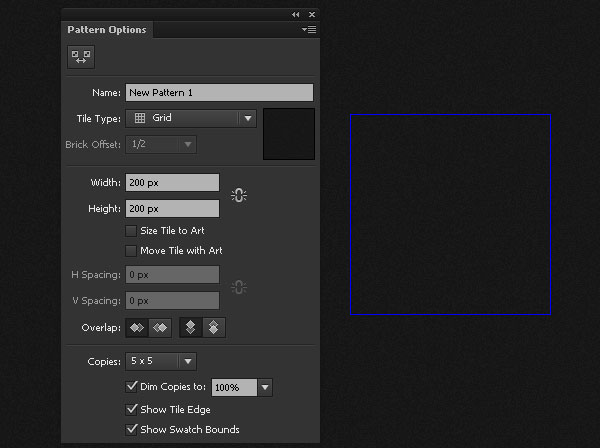
In such a way, we’ve got to the pattern creation mode.
Step 11
Take the Type Tool (T) and create different letters and symbols. Place them in random order.
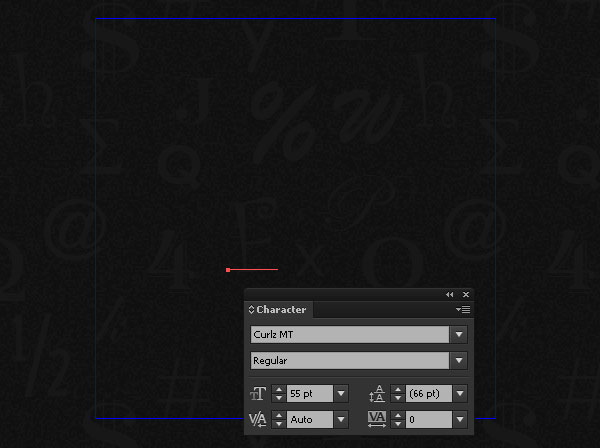
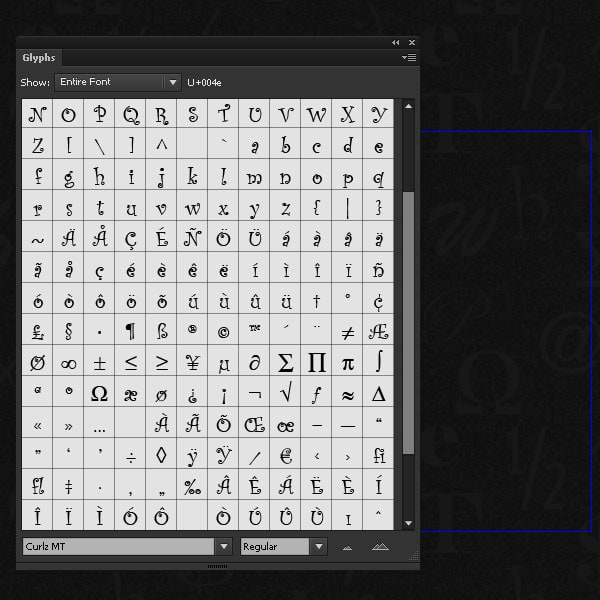
Apply to the characters different types of fonts and font sizes; it is convenient to use the Character panel (Window > Type > Character) for it. To create some characters which are not on your keyboard, use the Glyph panel (Type > Glyph).
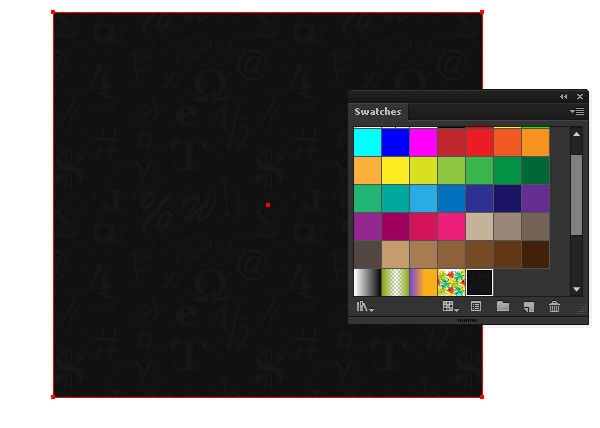
When you are ready with your pattern, click on “Done” on the top bar.
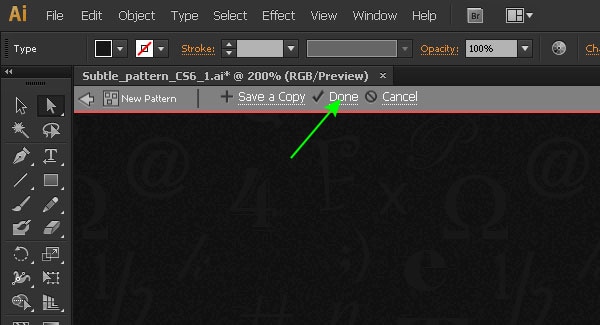
Our pattern is ready, now it can be used as a fill of our objects.
Conclusion
On this note our little but very useful tutorial is over. I hope you found some interesting and helpful information in it. See you soon! Follow us if you want to be the first to know about the latest tutorials and articles.


