Create a Simple Contact Form in Adobe Photoshop
Difficulty: Beginner
Estimated completion time: 40 minutes
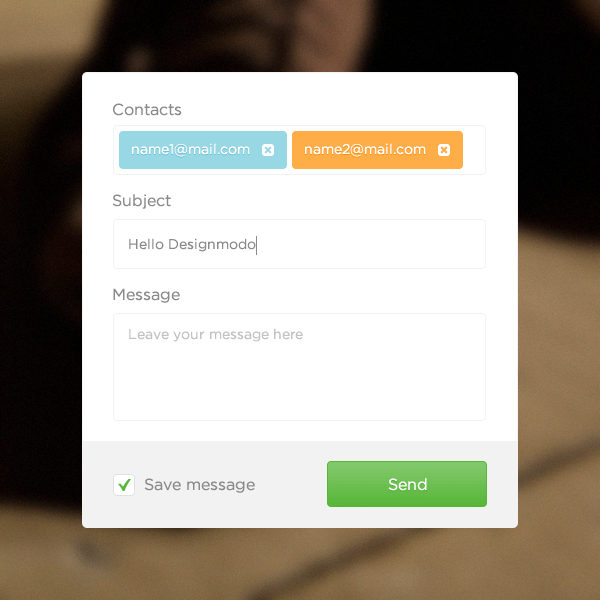
In this tutorial we will show you how to design a Contact Form with Adobe Photoshop.
When using a website, users have a particular goal. If designed well, the website will meet that goal and align it with the goals of the organization behind the website. Standing between the user’s goal and the organization’s goals is very often a form, because, despite the advances in human-computer interaction, forms remain the predominant form of interaction for users on the Web. In fact, forms are often considered to be the last and most important stage of the journey to the completion of goals. Let’s get started!
Tutorial Assets
The following assets were used during the production of this tutorial: Background.jpg.
Step 1
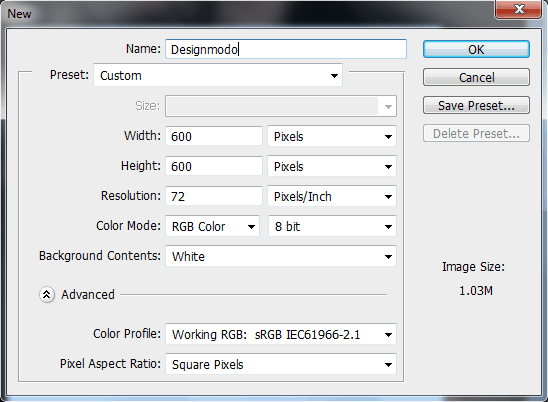
Create a new file. Set Width to 600 px and Height to 600 px and the resolution to 72 ppi.
With Postcards Email Builder you can create and edit email templates online without any coding skills! Includes more than 100 components to help you create custom emails templates faster than ever before.
Free Email BuilderFree Email TemplatesStep 2
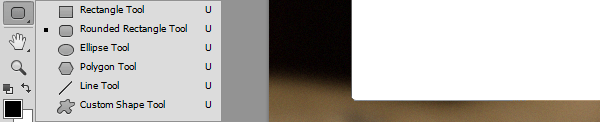
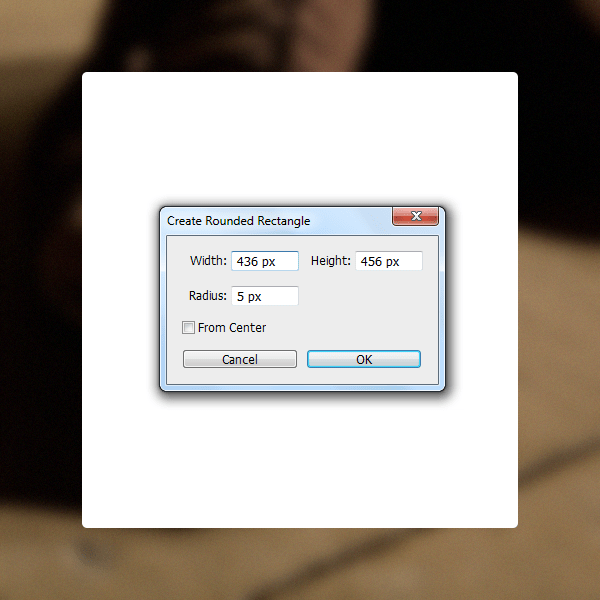
Draw a rounded rectangle using Rounded Rectangle Tool (U). Set Width to 436 px and Height to 456 px with radius 5 px and color #ffffff.
Step 3
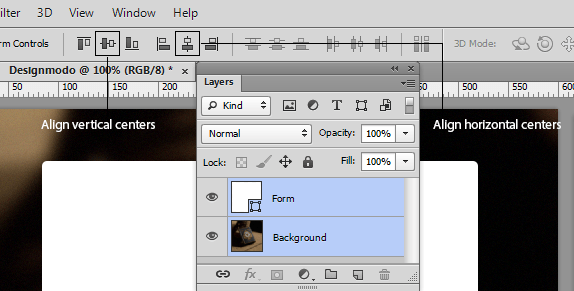
Select layer “Form” and layer “Background”, Align vertical centers and Align horizontal centers.
Step 4
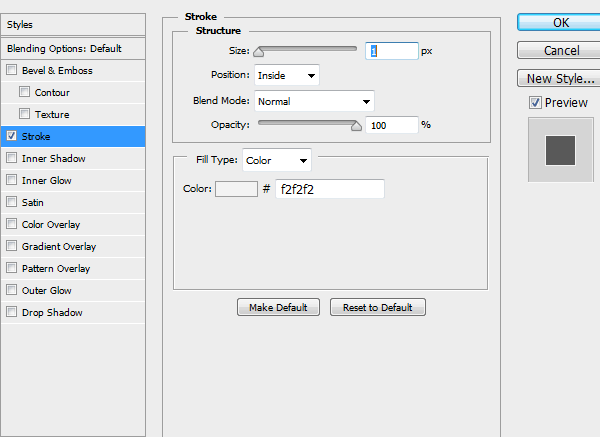
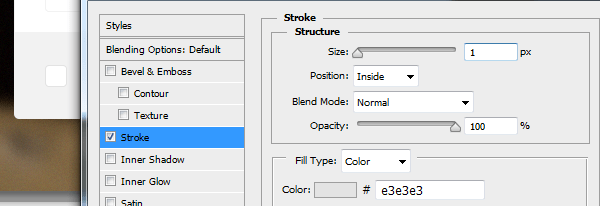
Add Stroke to layer “Form” with following settings.
Step 5
Draw a rectangle using Rectangle Tool (U). Set Width to 436 px and Height to 87 px and color #f2f2f2.
With Pulsetic you’ll be instantly notified the moment your website, API, or server becomes unavailable. Monitor uptime from multiple global locations and respond to incidents before your users are affected.
Create beautiful status pages in minutes to keep customers informed during outages and build trust with transparent communication.
Start Monitoring for Free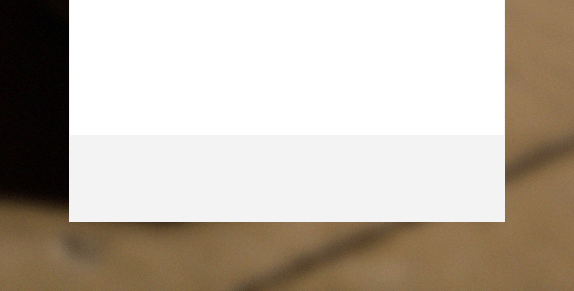
Step 6
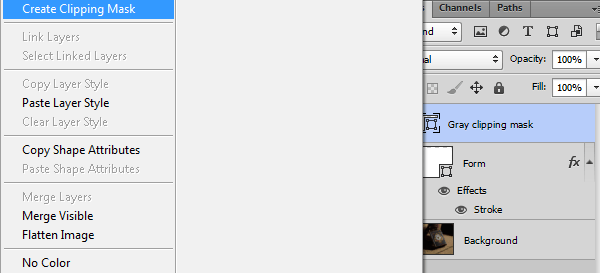
Paste it in bottom of form and make clipping mask.
Clipping Masks are not terribly complex, but unless you understand what they’re going to do, you may become very confused when you apply one.
Clipping masks, as you can see, mask the image to the opaque pixels of the bottommost layers. You can use this to fill your shapes with all manner of interesting things.
Step 7
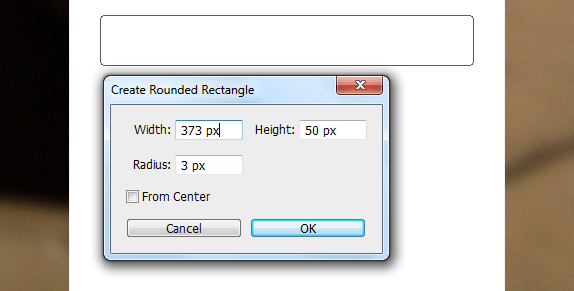
Draw a rounded rectangle using Rounded Rectangle Tool (U). Set Width to 373 px and Height to 50 px with radius 3 px and color #ffffff. We are going to use it for mail recipient.
Step 8
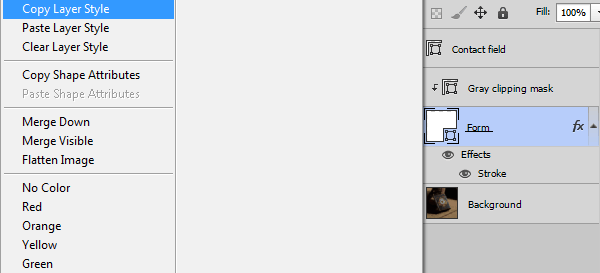
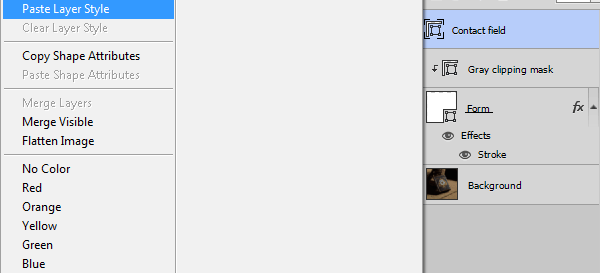
Copy Layer Style from layer “Form” and Paste Layer Style into layer “Contact field”.
Step 9
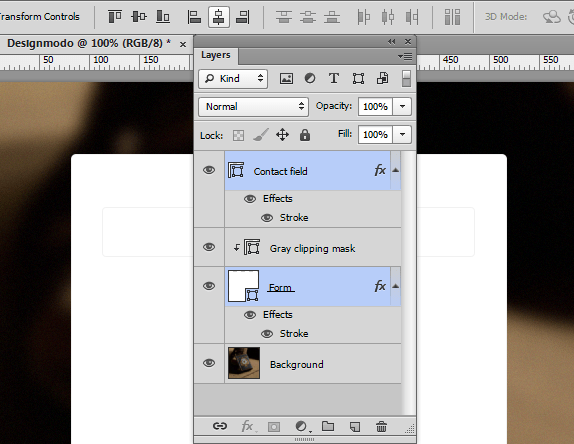
Select layer “Contact field” and layer “Form”, Align horizontal centers then move layer “Contact field” with 53 px from top to bottom.

Step 10
Draw a rounded rectangle using Rounded Rectangle Tool (U). Set Width to 168 px and Height to 38 px with radius 3 px and color #98d7e4.
Step 11
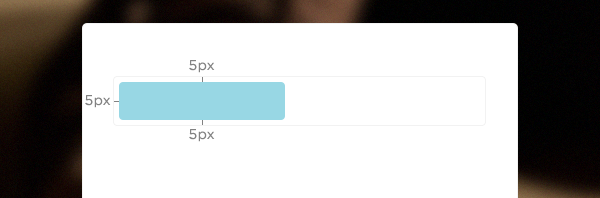
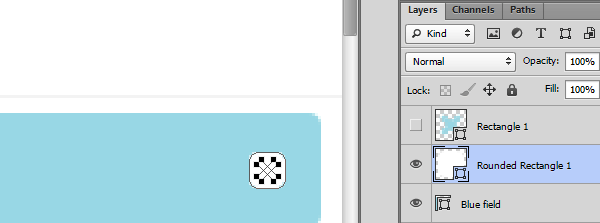
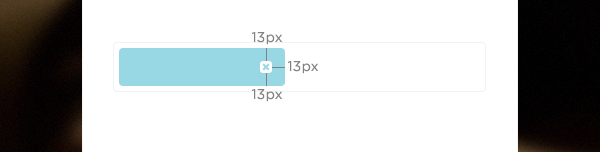
Draw a rounded rectangle using Rounded Rectangle Tool (U). Set Width to 12 px and Height to 12 px with radius 3 px and color #ffffff.
Step 12
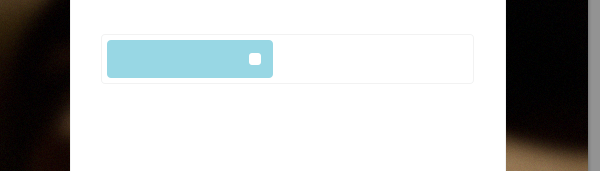
Draw a rectangle using Rectangle Tool (U). Set Width to 2 px and Height to 8 px with any color.

Step 13
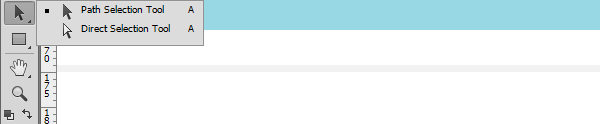
Select previous step using Path Selection Tool (A) and duplicate it (copy then paste), hold down Ctrl + C then Ctrl + V (on Mac Command + C then Command + V).
Step 14
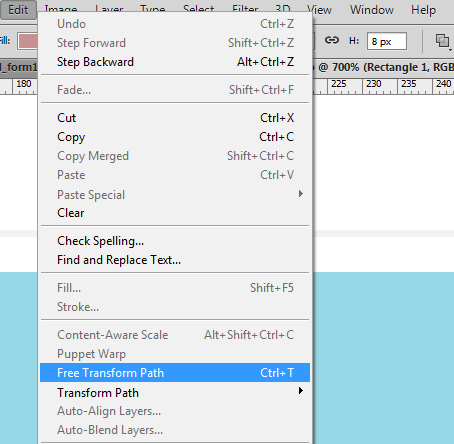
Click on the menu bar and select Edit > Free Transform Path (shortcut Ctrl + T or for Mac users Command + T), and rotate it on 90 degrees.

Step 15
Select all from current layer using Path Selection Tool (A) and rotate it on 45 degrees.
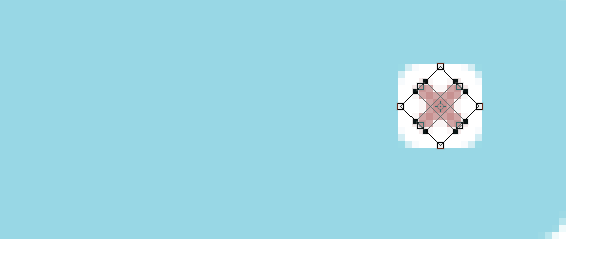
Step 16
Select current layer, copy it, then go to the layer below and paste it (now you can delete top layer or change visibility).
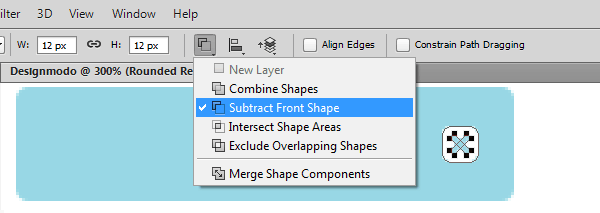
Step 17
Go to the Path Operation and choose Subtract Front Shape.
Step 18
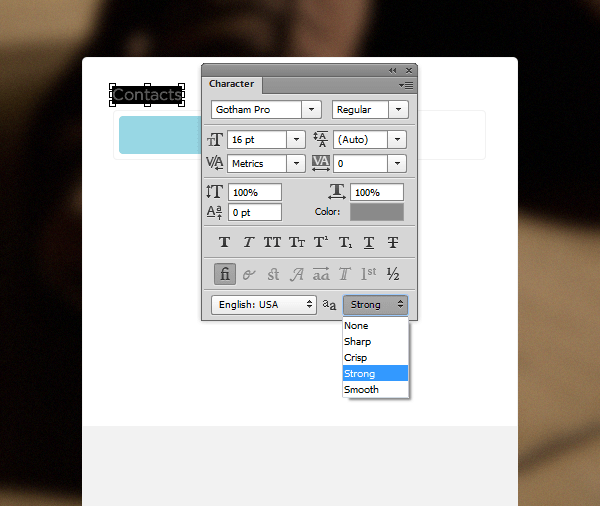
Using Horizontal Type Tool (T) write down the word “Contacts” using the Font Gotham Pro, Regular, Font size to 16 pt and anti-aliasing method to Strong and color #8a8a8a.

Step 19
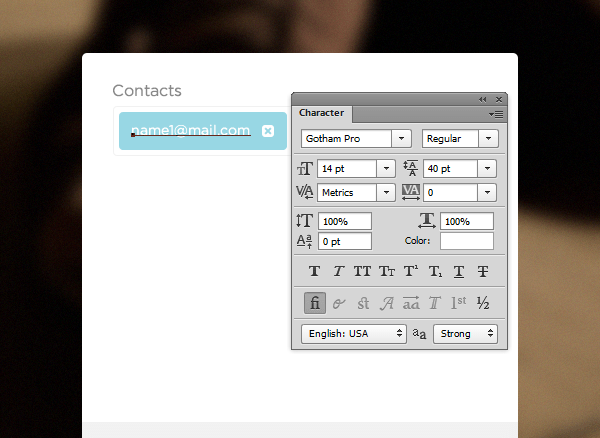
Using Horizontal Type Tool (T). write down the word “[email protected]” using the Font Gotham Pro, Regular, Font size to 14 pt and color #ffffff.
Step 20
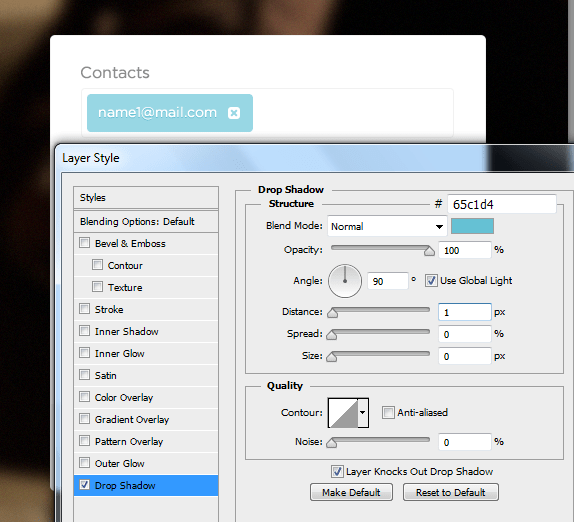
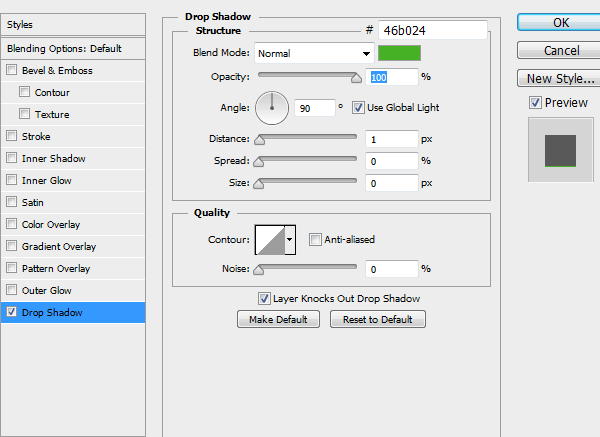
Add Drop Shadow with following settings.
Step 21
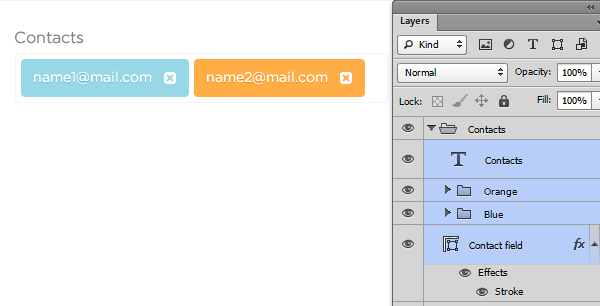
Place all content what is in “Blue” label inside a group layer by selecting them and then hit Ctrl + G.

Step 22
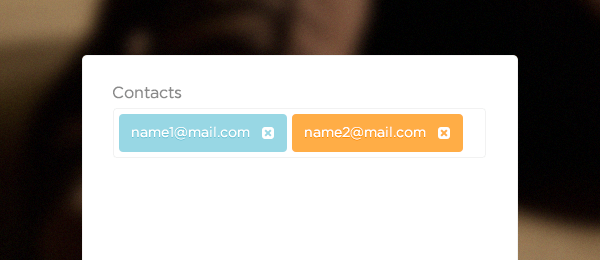
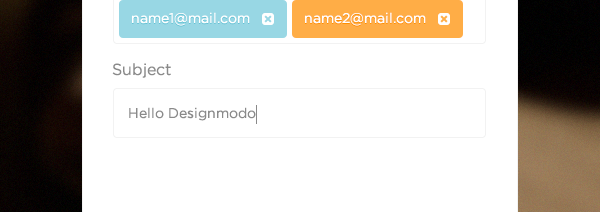
Duplicate “Blue” group layer, change field color to #ffad46 and drop shadow to #ff8e00. Don’t forget about distance, because our design needs to be pixel perfect.
Step 23
Select following layers and group it.
Step 24
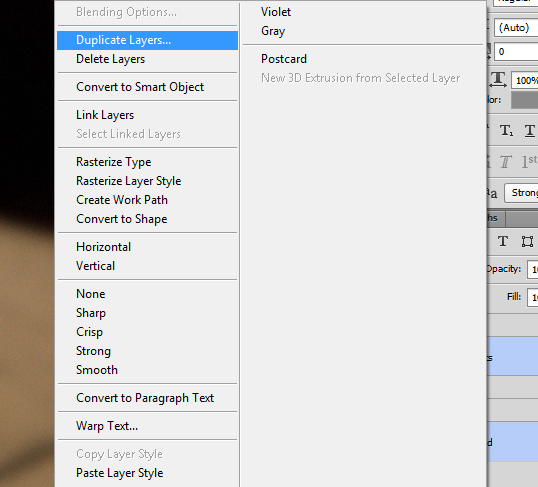
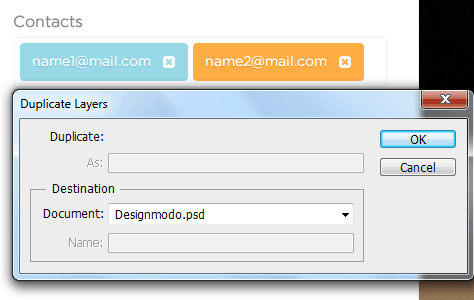
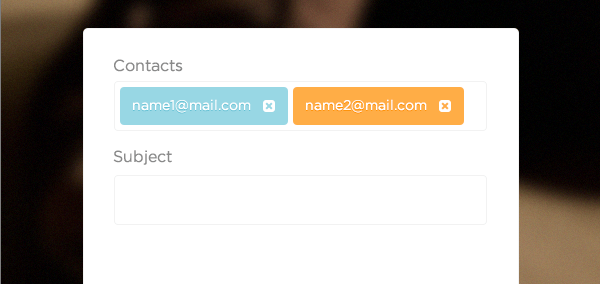
Select layer “Contacts field” and “Contact”, Duplicate layers… after rename Contacts in Subject.
Step 25
Write down the word “Hello Designmodo” and draw a line using Rectangle Tool (U). Set Width to 1 px and Height to 19 px and color #8a8a8a.
Step 26
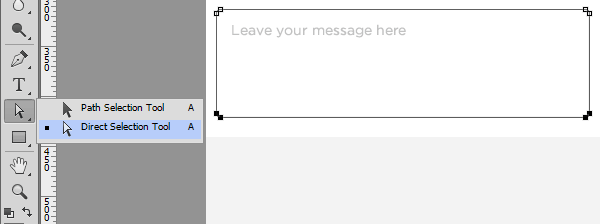
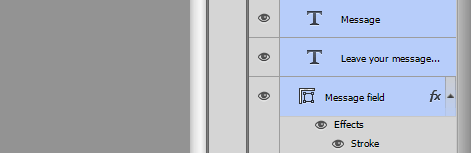
Duplicate “Subject” group layer, rename “Subject” in “Message”, “Hello Designmodo” in “Leave your message here” and change color to #c2c2c2 (because this is only notification to write your message), remove line. Change Height dimension on field, from 50 px to 108 px with using Direct Selection Tool (A).
Step 27
Select following layers and group it.
Step 28
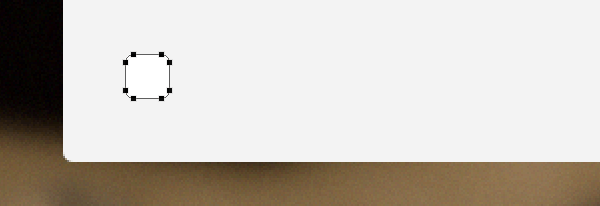
Draw a rounded rectangle using Rounded Rectangle Tool (U). Set Width to 22 px and Height to 22 px with radius 4 px and color #ffffff.
Step 29
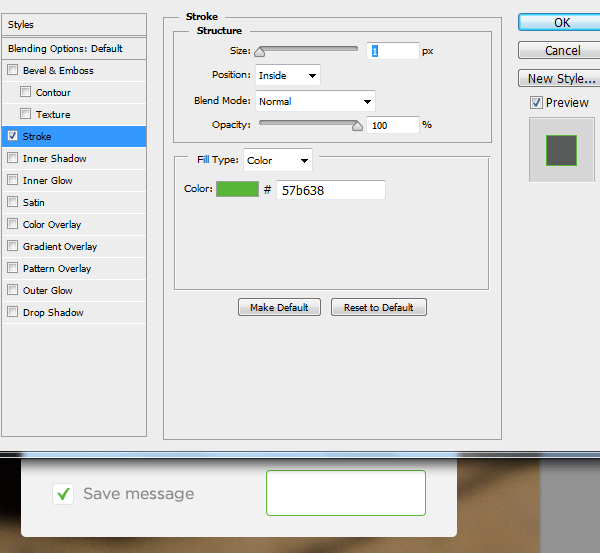
Add Stroke with following settings.
Step 30
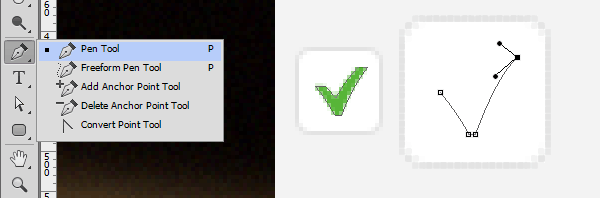
Draw a “Check” using Pen Tool (P) and Convert Point Tool (Alt + Tool (on Mac Option + Tool), Holding down a key temporarily activates a tool. Letting go of the key returns to the previous tool). Use color #57b638.
Take the Pen Tool (P) and simply click at the beginning and the end of the segment that is being created (for straight-line segment) and click at the place of the first point and, without releasing the mouse button, drag the cursor to the side (for curved segment).
Step 31
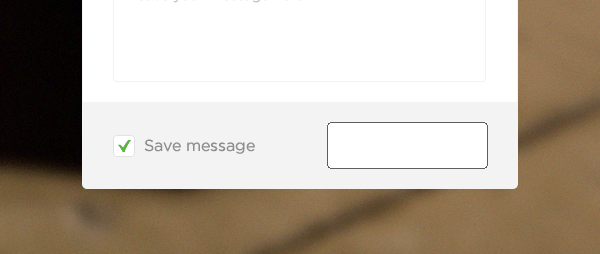
Duplicate one of previous layers what contain words with 16 pt, and rename it in “Save Message” and move near “Check”.

Step 32
Draw a rounded rectangle using Rounded Rectangle Tool (U). Set Width to 160 px and Height to 46 px with radius 3 px and color #ffffff.
Step 33
Add Stroke and Gradient Overlay with following settings.

Step 34
Duplicate layer “Save message” rename in “Send”, change color to #ffffff, align vertical centers and align horizontal centers, add Drop Shadow with following setting.
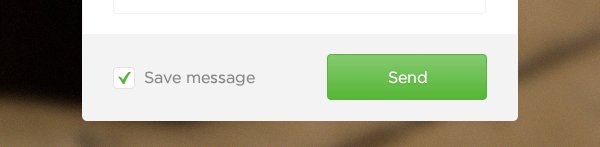
Final Result
That’s it!
Now you know how to make a Contact Form in Photoshop. You could play around with other options like changing blending option. Or, you could try to make any other field into the form. Good luck!
File Source (PSD)


