7 Steps to Creating a Spectacular UX Case Study
In this tutorial, I’m going to walk you through how to create an impactful UX case study. It’s perfect advice for designers who are about to embark on a new job hunt. And, it’s going to be especially helpful for junior designers who are new to creating case studies.
Included are seven steps:
- Overview
- Problem and the goal
- Scope
- Target audience
- Process
- Deliverables and the outcome
- Lessons learned
Each is going to help you identify how to tell the story of past projects effectively. Once you’ve completed all seven, you will have an excellent case study!
Pro tips:
- Include visuals and documentation along the way, not just in the final deliverable sections to tell your stories better.
- Respect the NDAs you’ve signed as you’re generating the case study.
- Don’t forget to treat the case study and the job application process like any other UX design challenge.
Step 1: Case Study Overview
Two major components make up the case study overview. The first is a summary of the project. Keep it around three or four sentences. It might be helpful to wait until you finish writing the entire case study to summarize what you just wrote.
The second major component is your role within this project. What services did you provide? What responsibilities did you have? Give potential employers a better picture of your involvement in the projects. Otherwise, they will have to assume, and that’s not good.
With Postcards Email Builder you can create and edit email templates online without any coding skills! Includes more than 100 components to help you create custom emails templates faster than ever before.
Free Email BuilderFree Email TemplatesCase study overview in practice
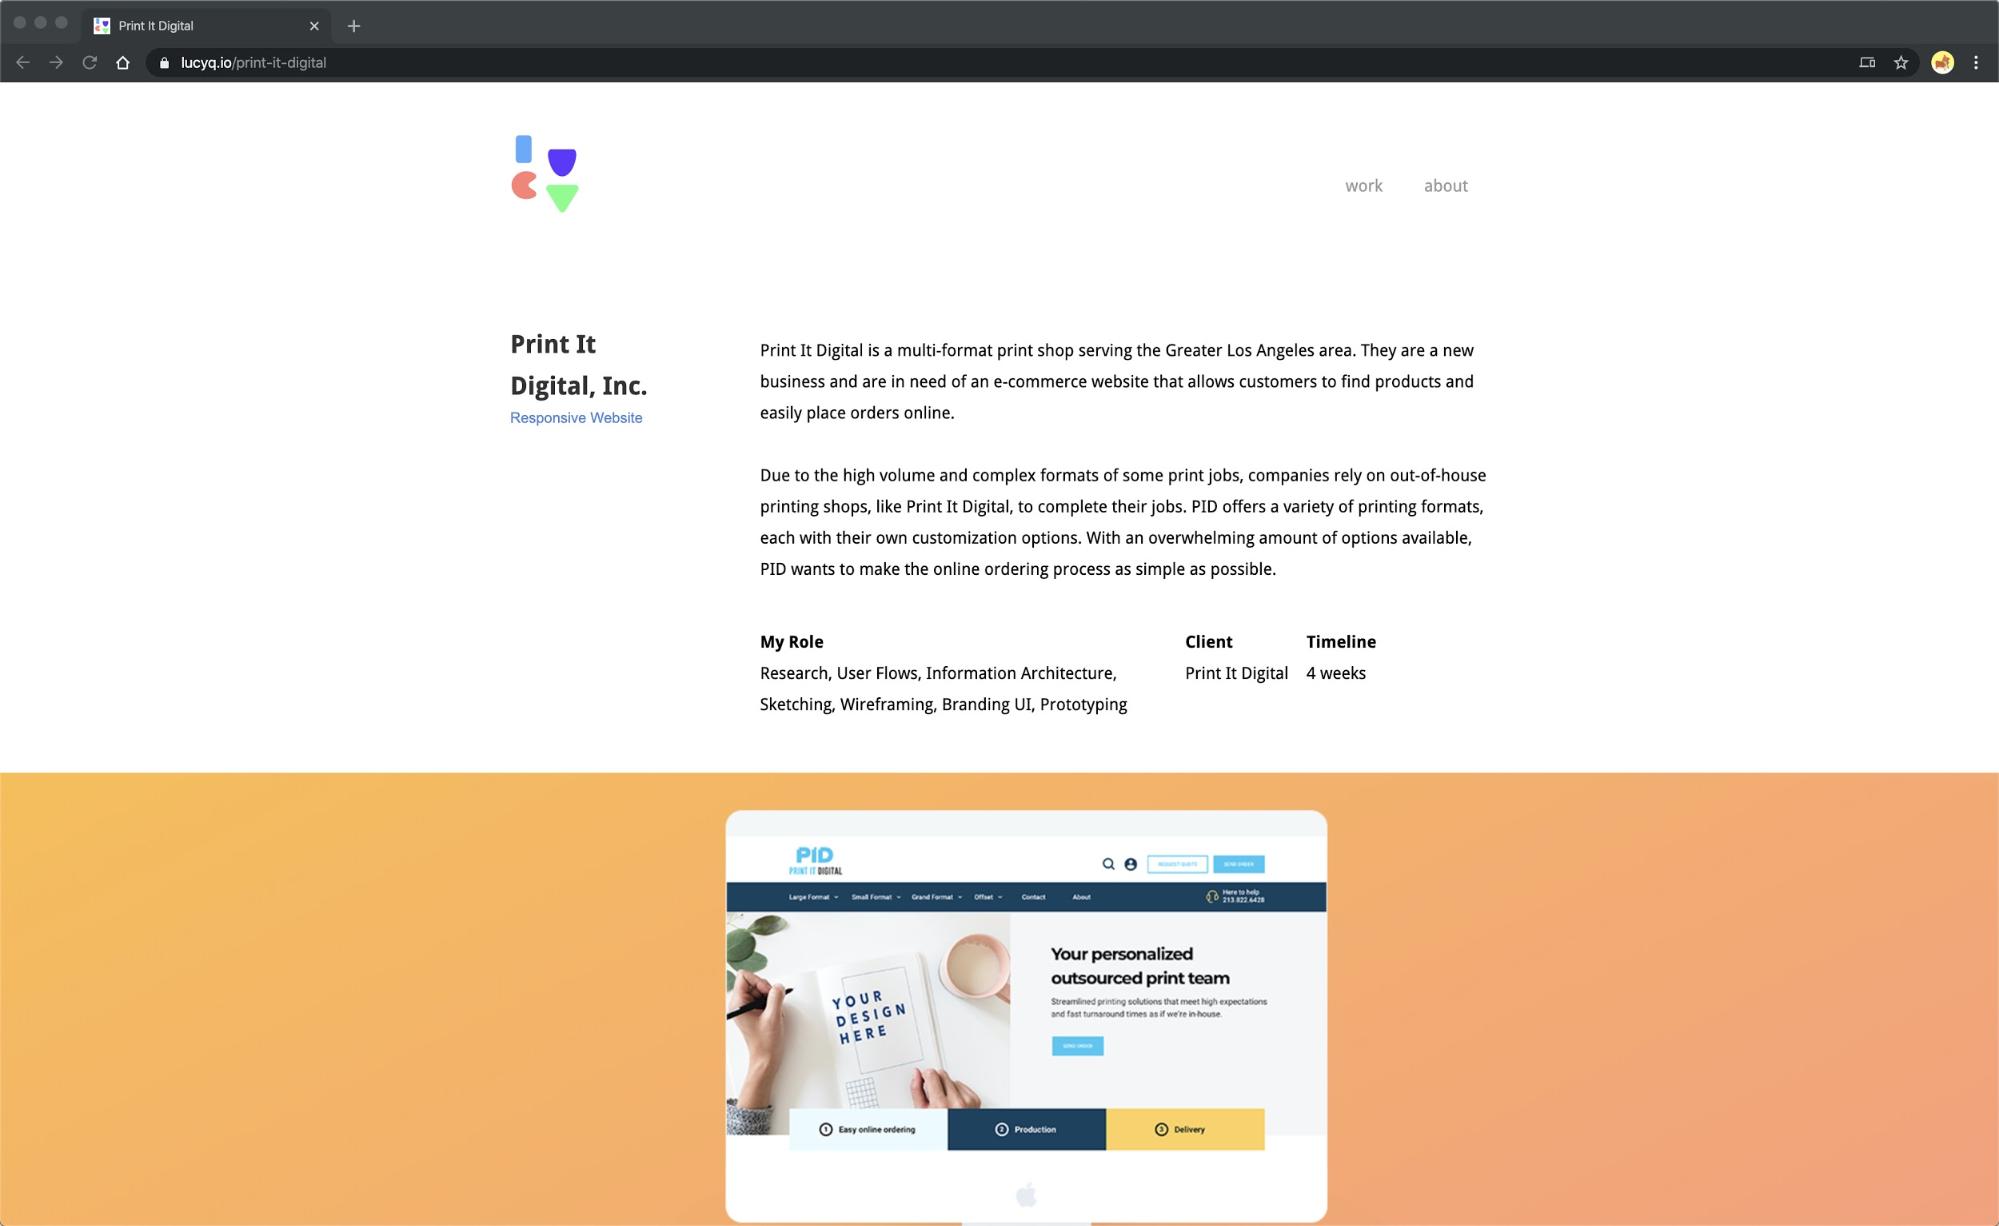
Lucy Qi’s Print It Digital case study offers a detailed overview of the project in addition to identifying her role, the client’s name, and the project timeline.
Step 2: Define the Problem and Goal
Articulating the problem well will help in telling the story of the case study. State the problem concisely.
Next, identify the project’s goal. What did the project aim to achieve? Be as detailed as you can. For example, was it to:
- Gain 10,000 new email subscribers?
- Increase user retention by 10%?
- Improve MoM revenue by 30%?
- Decrease withdrawals by 50%?
- Advance over NPS scores in the next six months?
Defining the problem and goals in practice
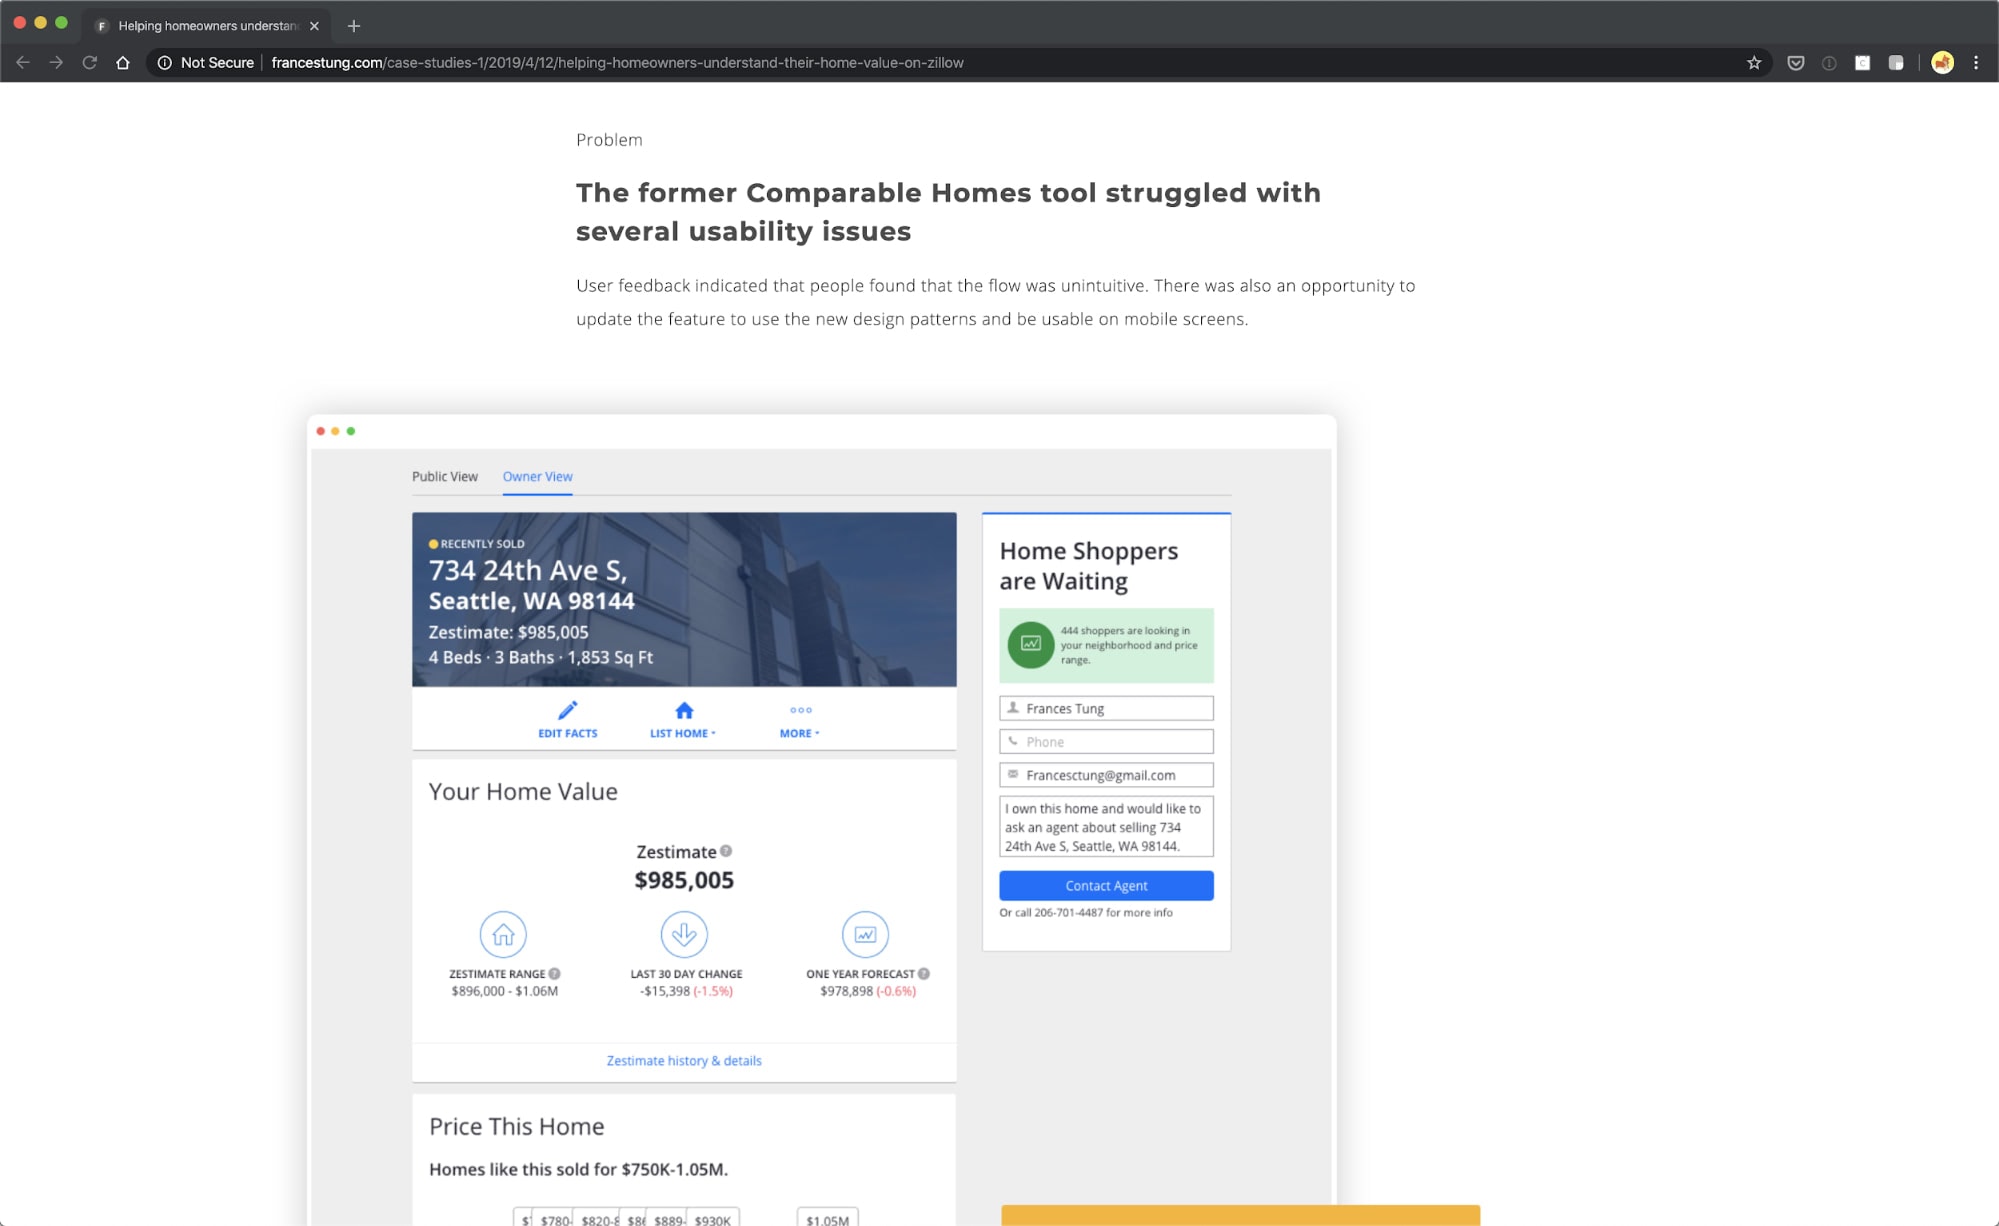
France Sung’s Zillow case study succinctly identified the problem.
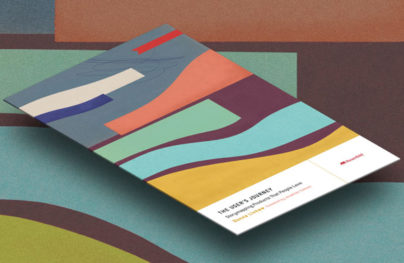
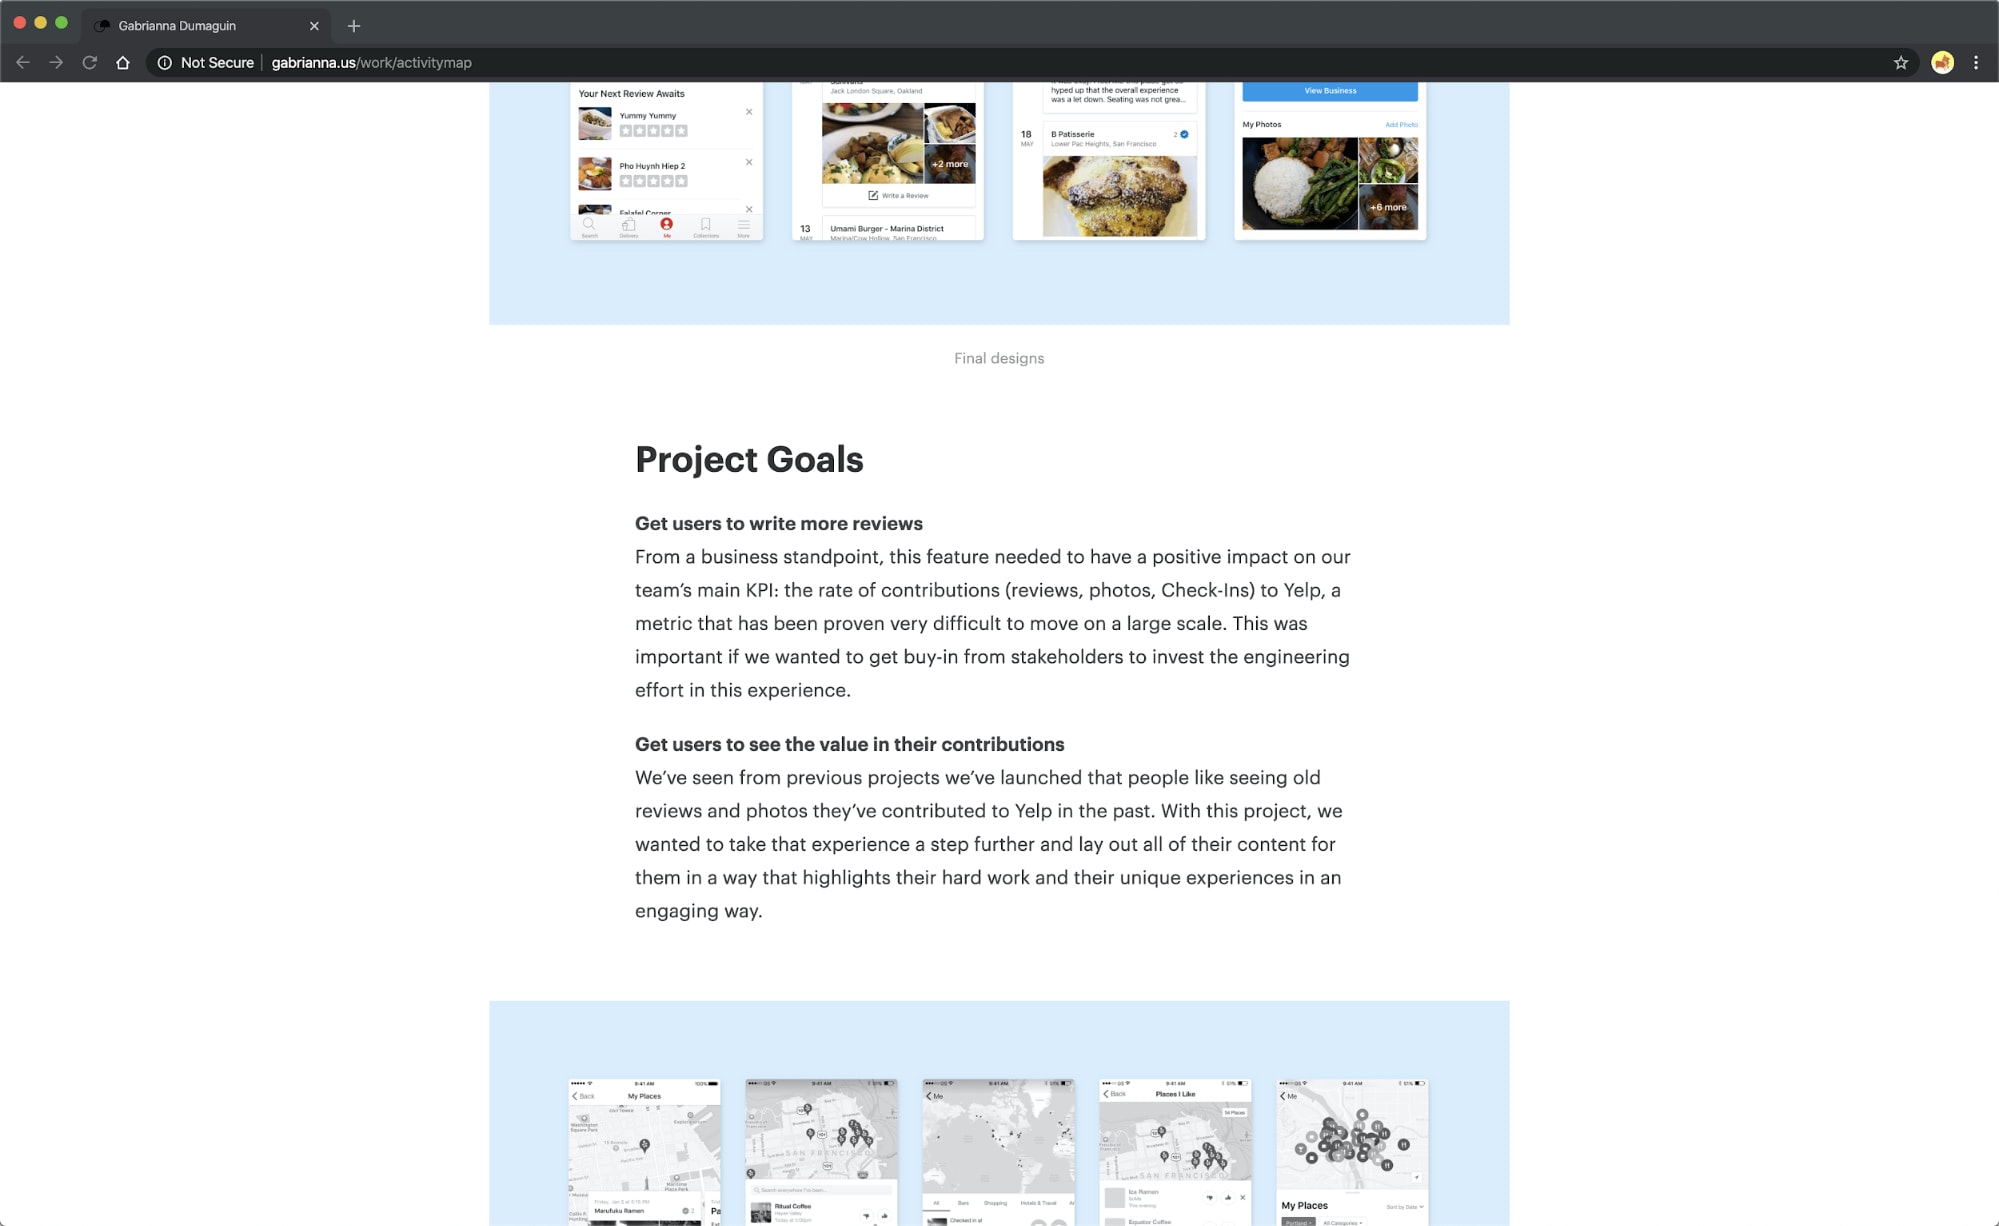
Then there is Gabrianna Dumaguin, who identifies two major goals for the project and how her team plans on measuring them in her Yelp case study.
Step 3: Scope
Stating the project’s scope helps in comprehending the case study further. Say, the overall project scope was large, and you only played a small role in the project; that’s perfectly fine. In this case, identify your scope of the whole project. To further distinguish the project’s boundaries, state anything that was outside of the project’s scope.
If applicable, you use this section as an opportunity to show your project management skills. Talk about how you handled staying on budget, staying on time, or scope creep for this project.
The project scope in practice
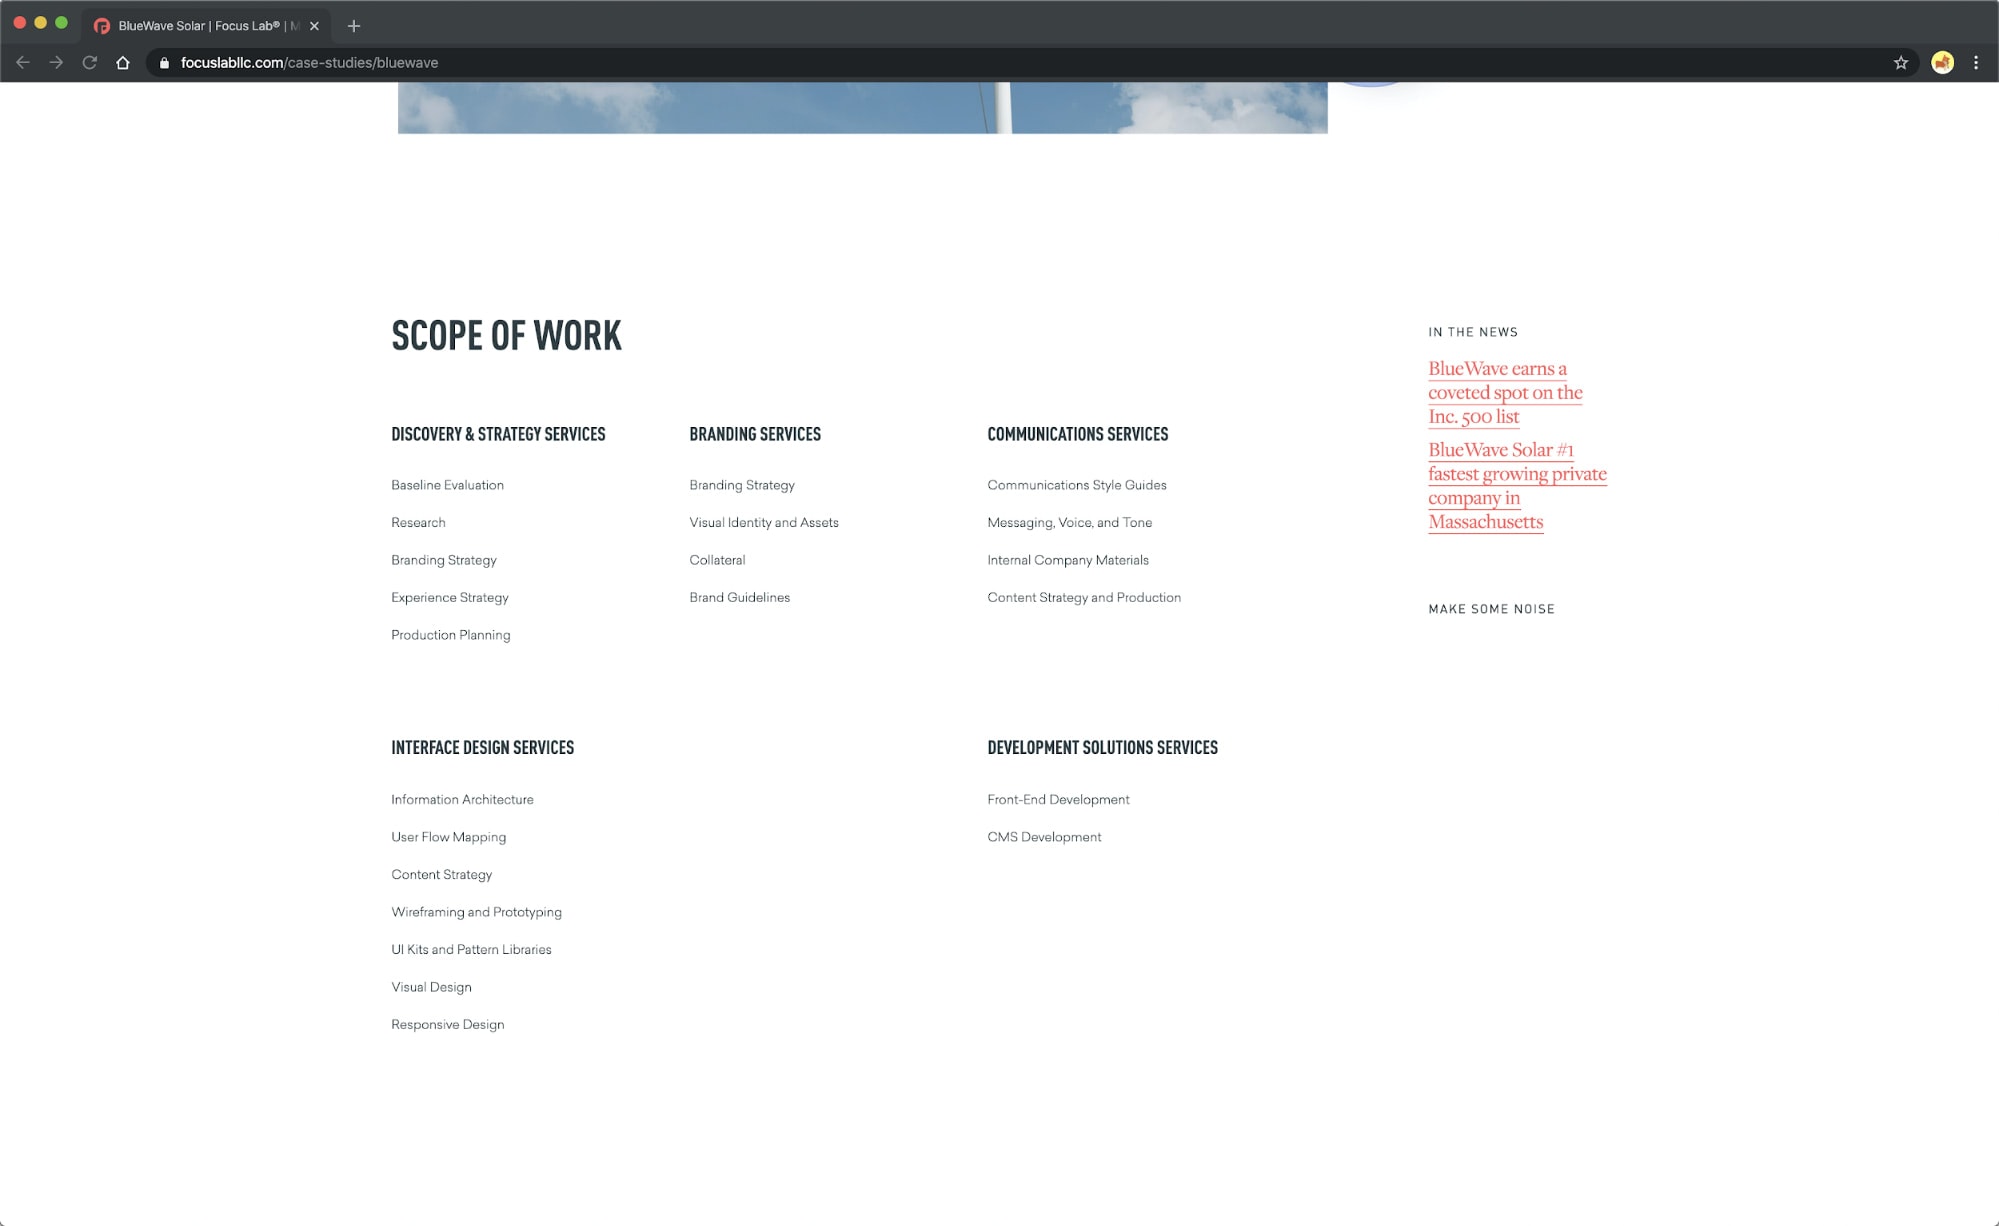
Focus Lab’s BlueWave case study shows off bullet lists of exactly the services the company provided for their client.
With Pulsetic you’ll be instantly notified the moment your website, API, or server becomes unavailable. Monitor uptime from multiple global locations and respond to incidents before your users are affected.
Create beautiful status pages in minutes to keep customers informed during outages and build trust with transparent communication.
Start Monitoring for FreeStep 4: Target Audience
When it comes to identifying the target audience within your case study, start by answering the following questions:
- Who are they?
- How does the problem affect them?
- What key insights do you have about them?
There might be a lot of information to cover to give someone an overview of the target audience. That’s fine. Be concise.
You can treat the audience section in one of two ways. Share everything you know about them upfront, including what you knew going on versus what you learned along the way. Or, you can address what you learned within your process section. It’s up to you where you define this information as long as you do. After all, discovering and handling new information is a big part of being a UX designer.
For added insight into your design process, mention what questions you needed to investigate regarding the audience to solve the problem. Mention the details about user research or user testing in the design process section in the fifth step.
The target audience in practice
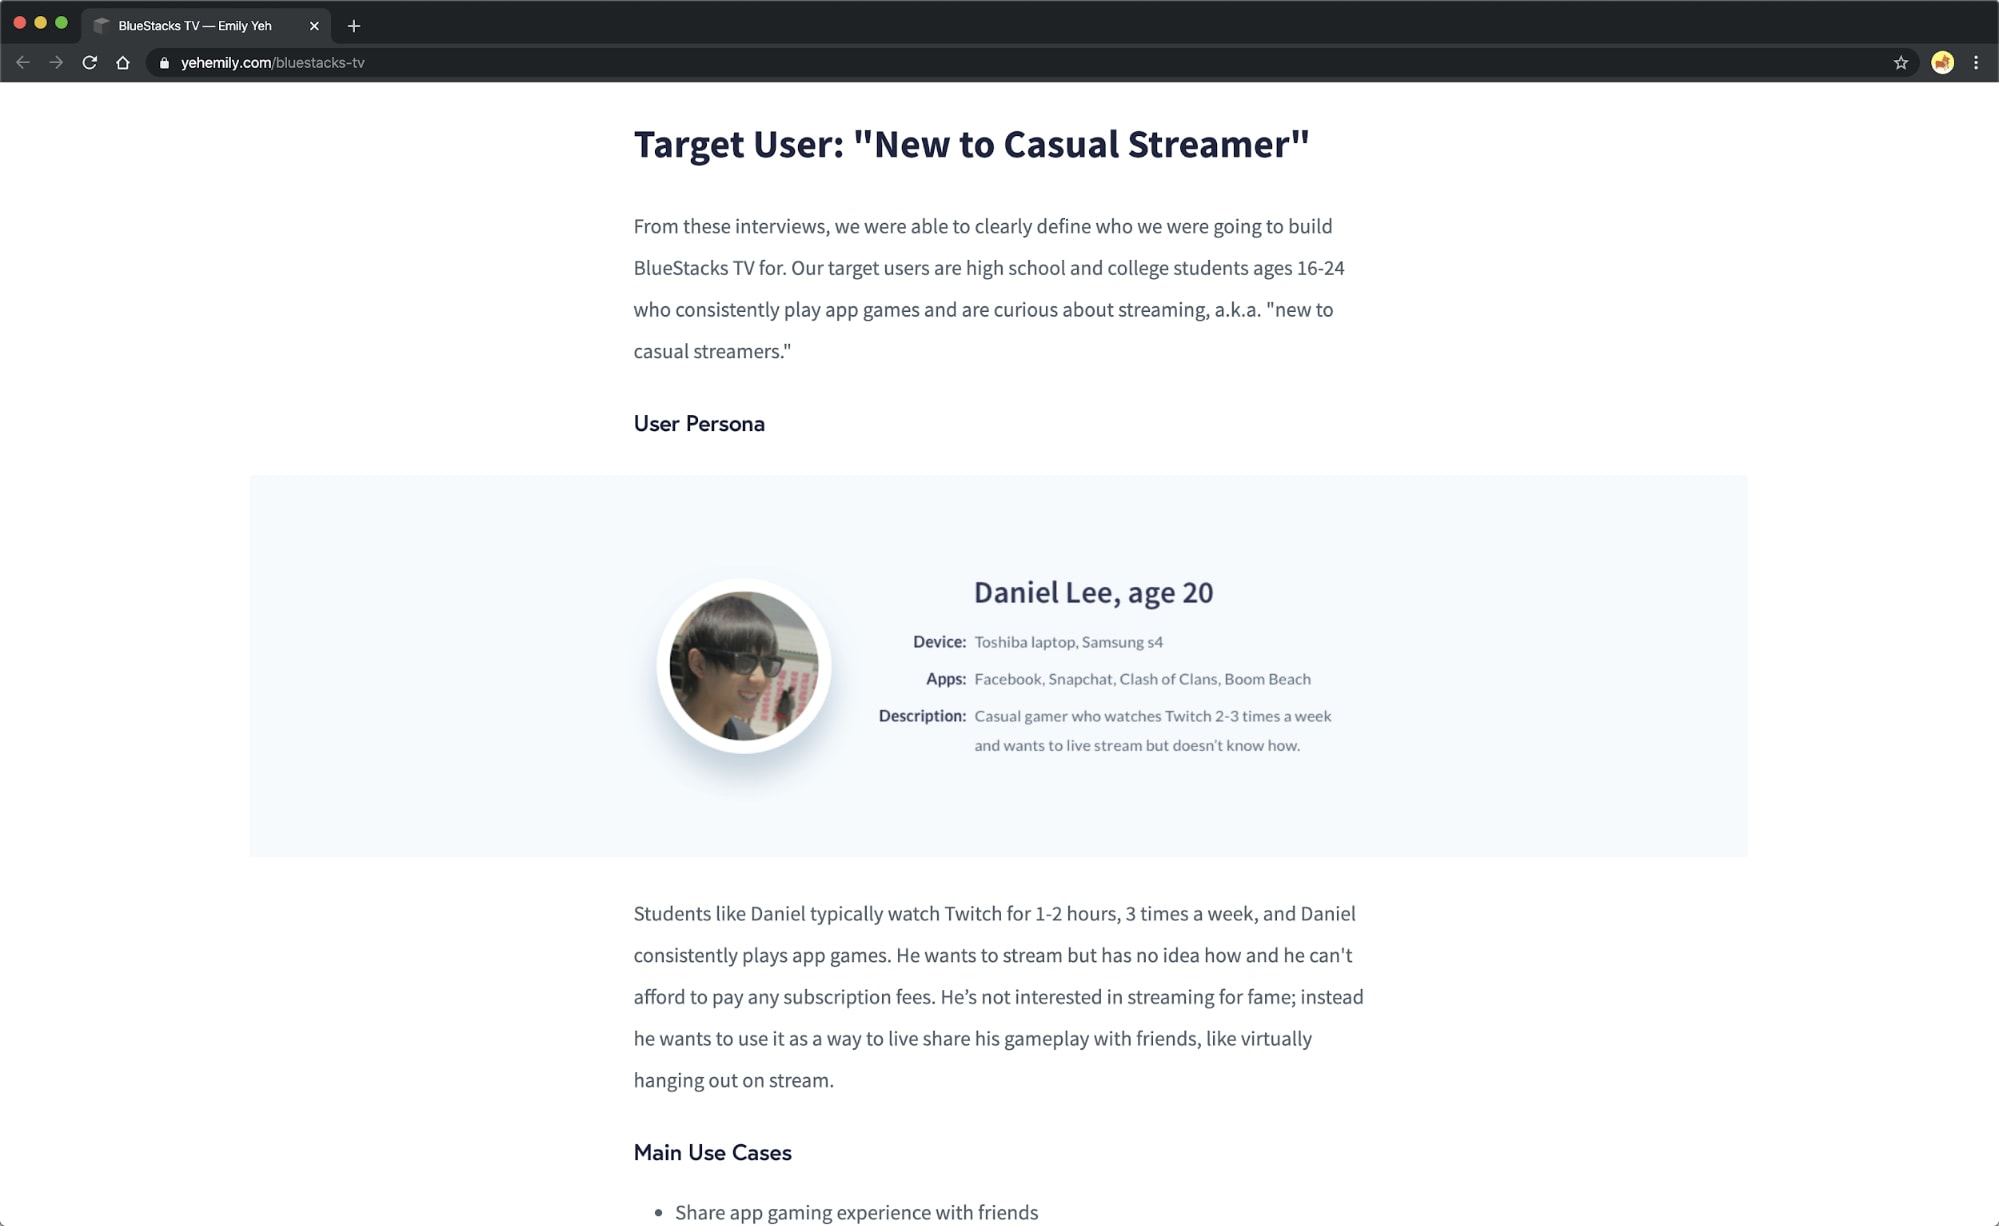
Emily Yeh’s BlueStack TV case study has an extensive break down of the target audience, including a persona, list of main use cases, and a feature list.
On the other hand, Vax Liu’s Battery Saver case study identifies common user pain points addressed by the project.
Step 5: Process
Now, we’ve gotten to the meat and potatoes portion of the case study!
Here is where you will identify the different steps you took in the project, why you did them, and the value of those actions’ outcomes to the project. Show off those fantastic UX skills! The goal is to share your specific approach and contributions. Additionally, share some of the decisions you’ve made, trade-offs, or ideas that didn’t make the cut.
Each project is different, of course. Describe the process you took as best as you can. Some of the things you can include are:
- User research
- User journey mapping
- Wireframes
- Mockups
- Prototypes
- User testing
- UX writing
- UI design
- Accessibility testing
- QA testing
Let’s take wireframes, for example. Explain why you choose to wireframe, how you went about wireframing and what value did it add to the project. How did user research findings influence the wireframes? What was the take away from the wireframes? This is the time to share how you work, how you think, and how you make decisions.
The process section is a great place to mention any collaborations you may have done as well. Showing you can collaborate with other teams is important for many hiring managers. Maybe someone else was responsible for user research? How did the two of you collaborate on it? Perhaps you have to work with a copywriter? Again, how did you collaborate? How did you handle the handoff to developers or cross-browser QA testing with the dev team?
The UX process in practice
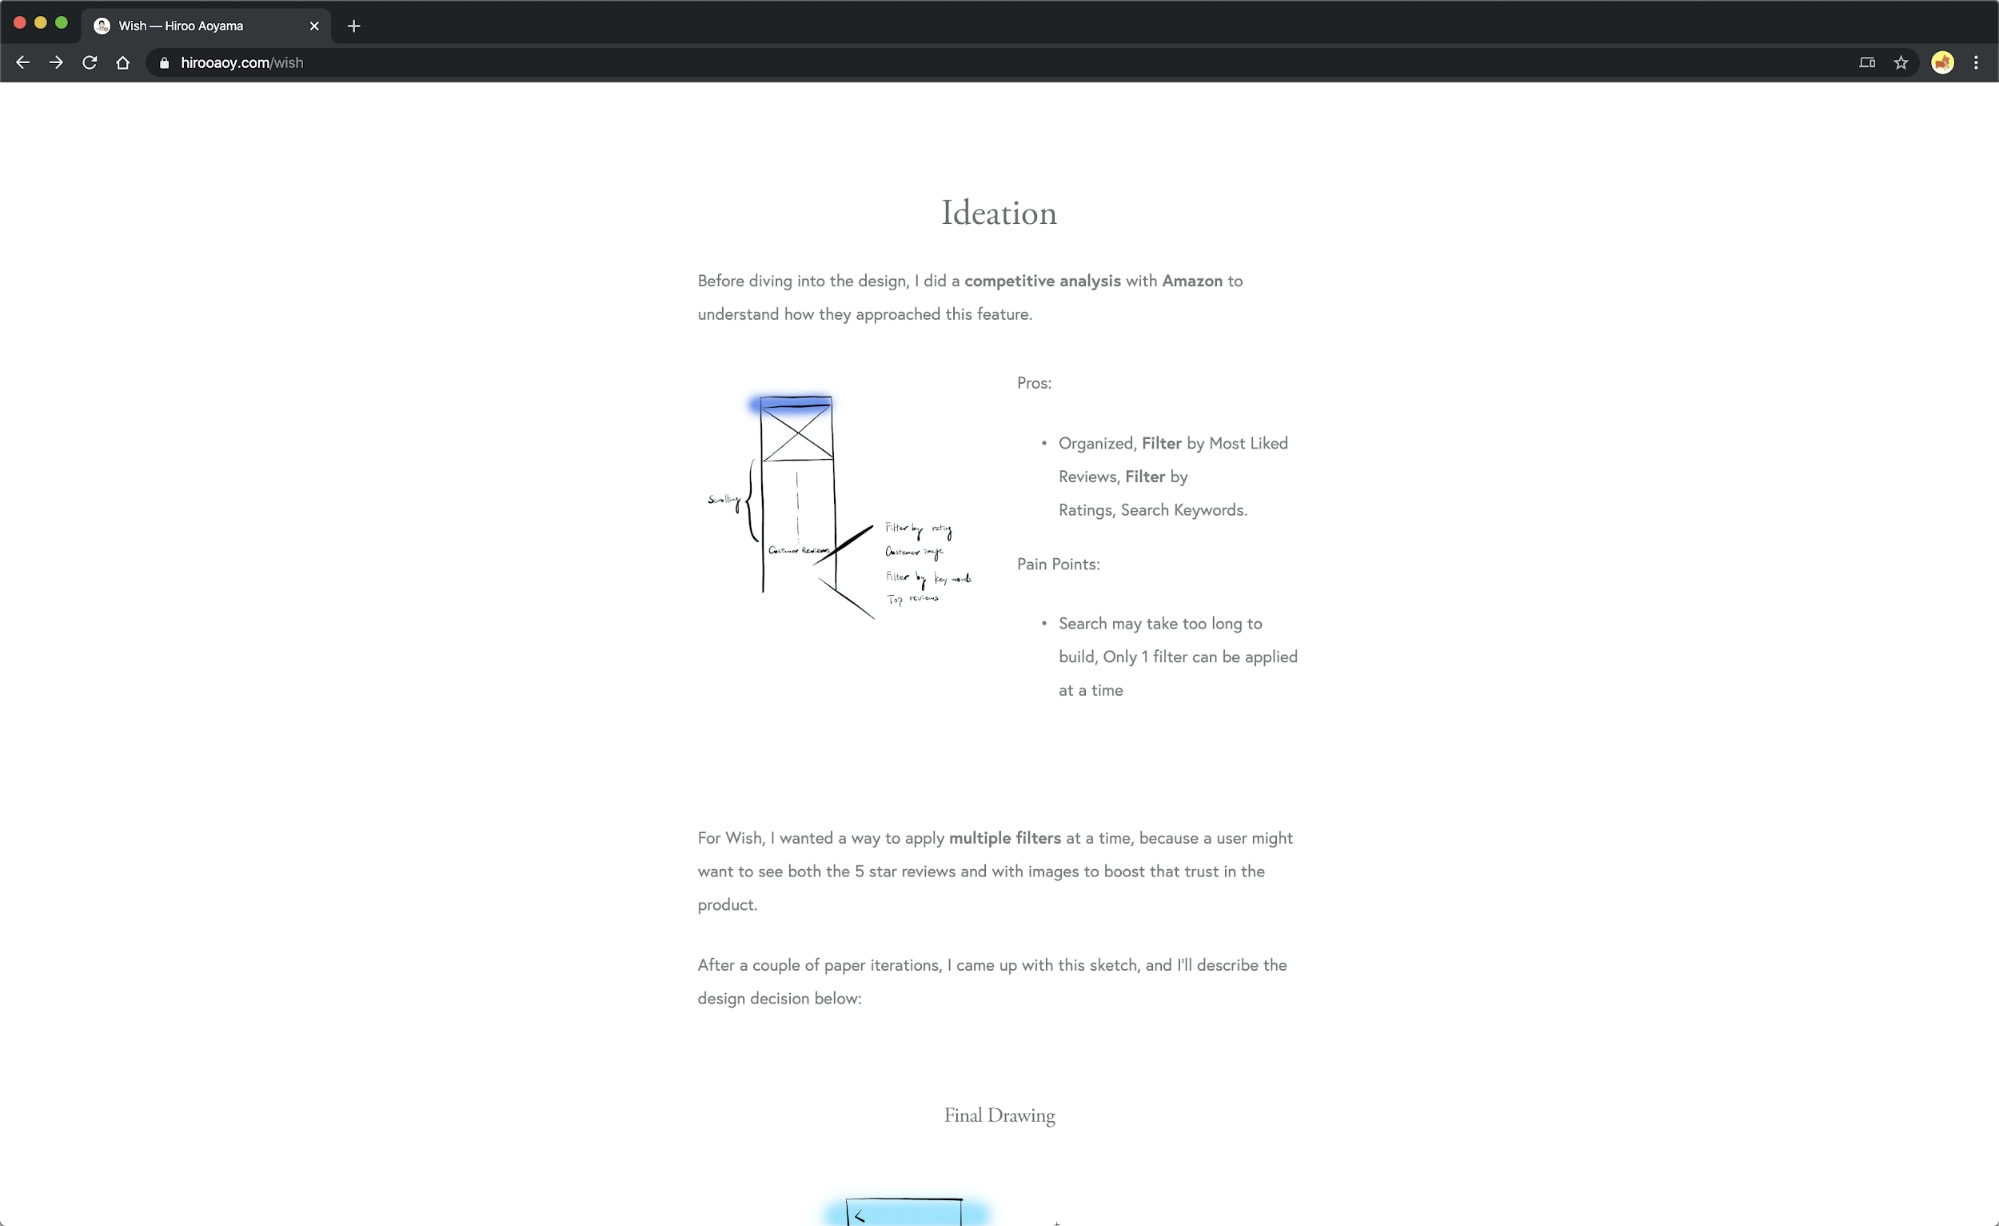
Hiroo Aoyama gives an in-depth walkthrough on conducting research, ideation, and making design decisions in his Wish case study.
Yi Tang’s Play-Later case study does the same thing in explaining different processes, including user journey, user flows, and wireframes.
- Wireframing, Prototyping, Mockuping – What’s the Difference?
- Make These Changes to Meet Web Design Accessibility Standards
- A Beginner’s Guide to Voice UX Prototyping
Step 6: Deliverables and Outcome
Now, we’re wrapping up the case study. Do so by showing off a final deliverable. If it’s a new mobile app, provide some screenshots or recordings. You can go a step further and include a bullet list of additional assets or documents you created too. A voice and tone style guides would be one such example.
Most notably, identify whether or not you hit your desired goal and how did you measure success for the project. Basically, show what you’ve made and tell us the effect it had on the business.
- Did you hit, miss, or surpass the goal set?
- What outcome did this project have?
- Can you share other business results?
- Did you decrease withdrawal rates by 15% or customer service complaints by 30%?
- Did your landing page get fantastic conversion rates?
- Did you improve the lifetime value of customers or the NPS scores?
Deliverables and outcomes in practice
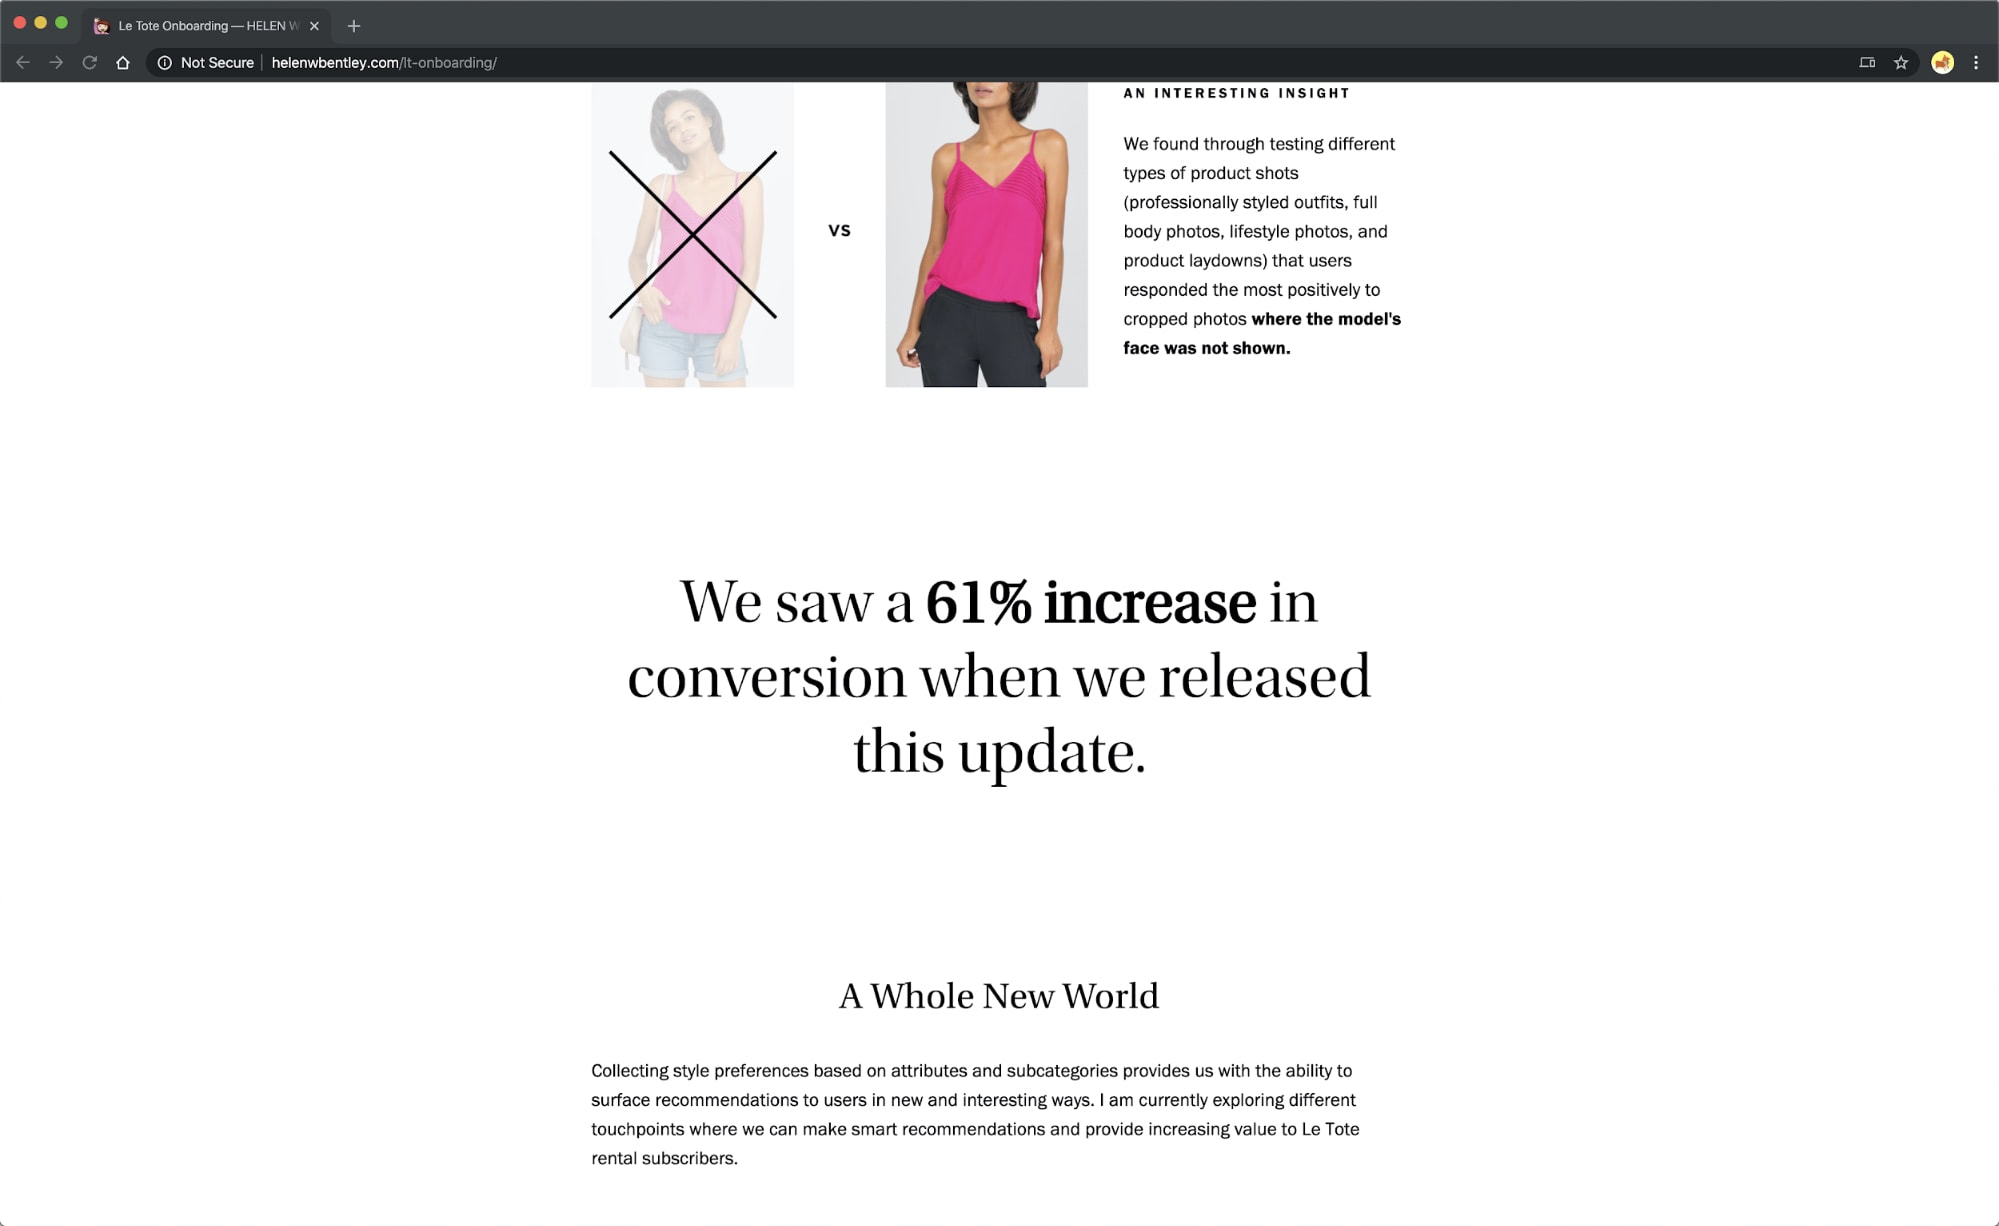
Helen W. Bentley, in her Le Tote case study, proudly exclaims that her work “saw a 61% increase in conversion.”
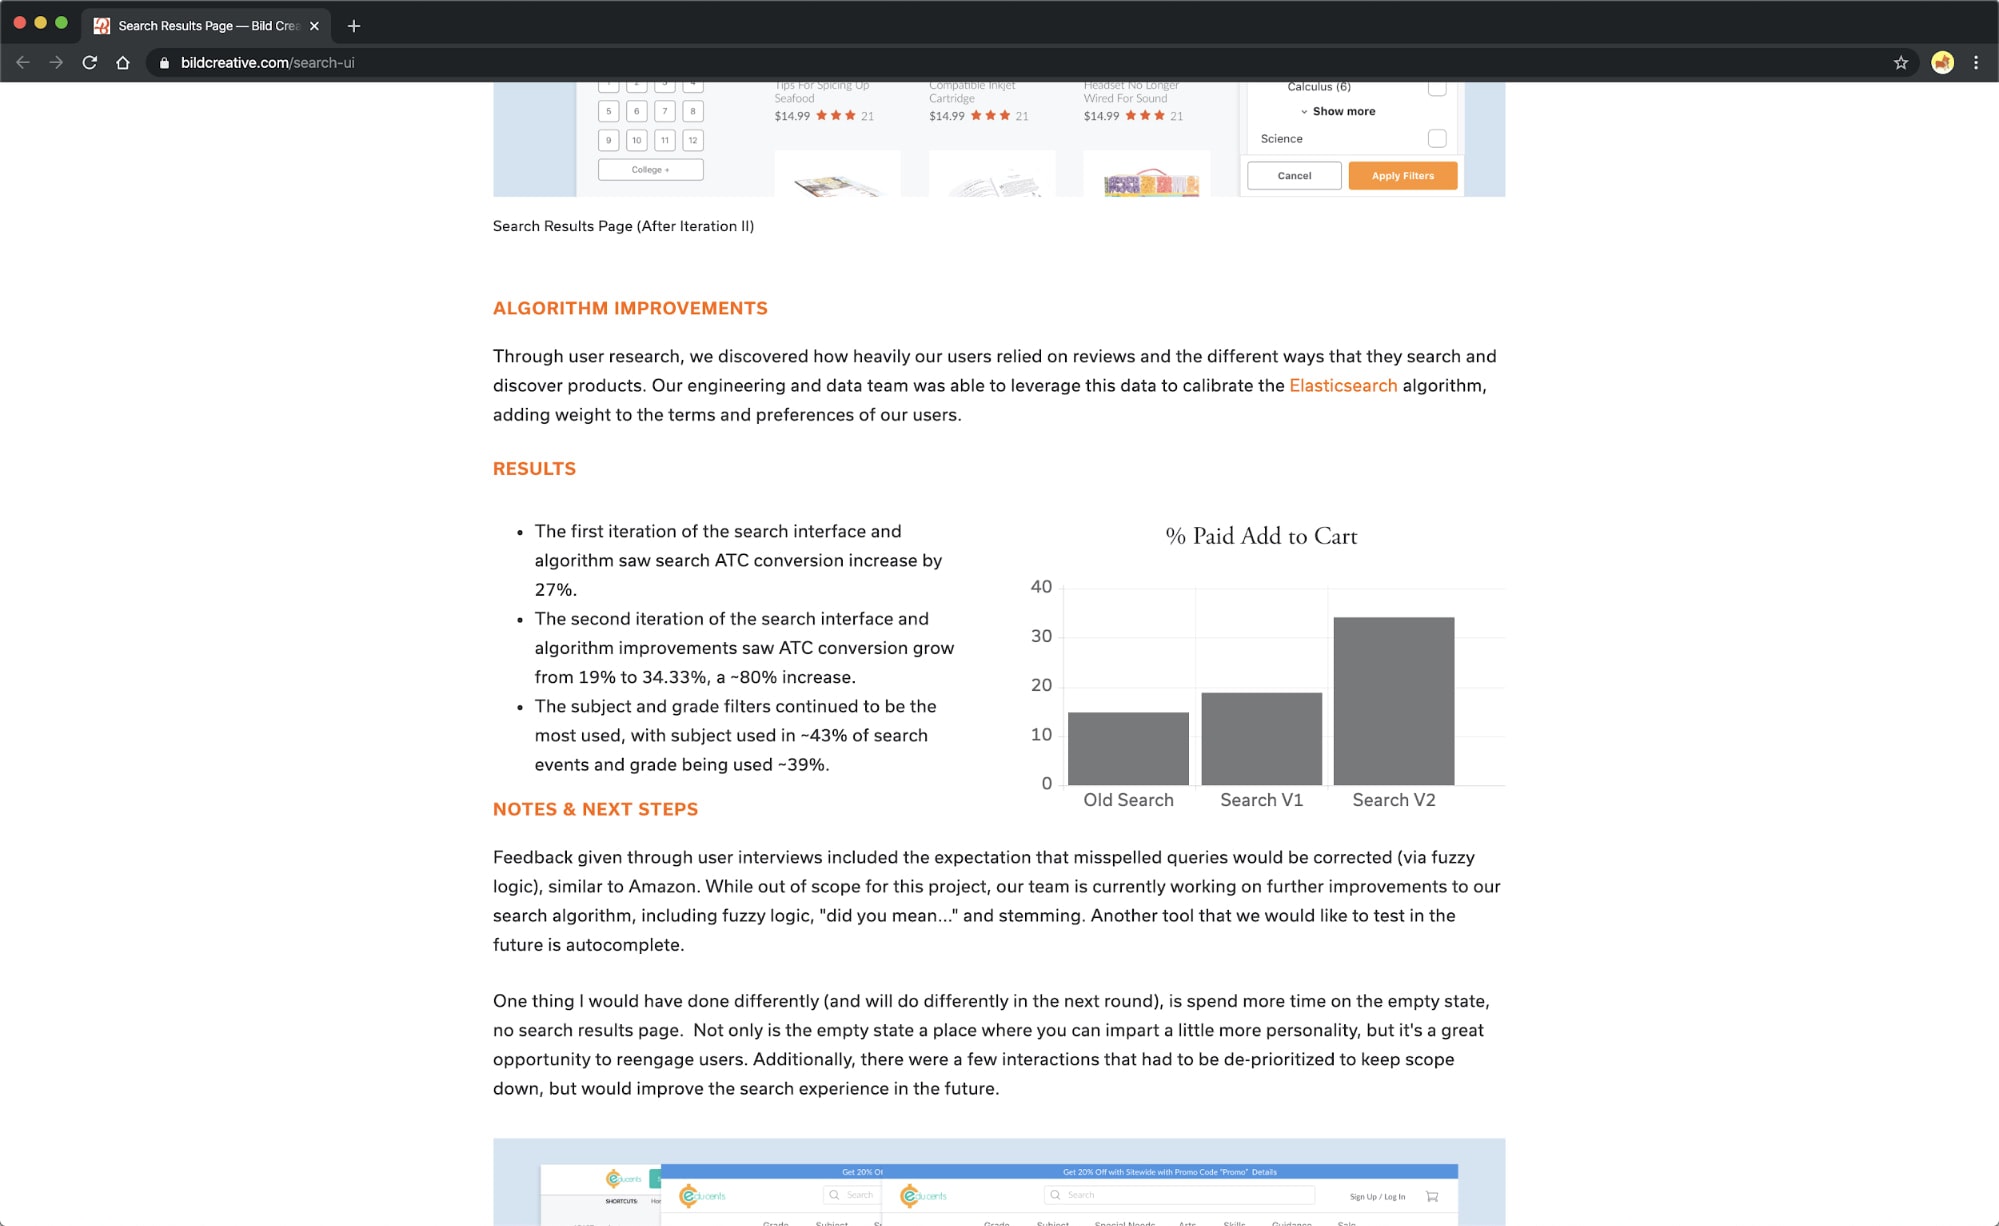
It doesn’t get much better than the detailed results Morgan Gore shares in her Educents case study!
Step 7: Lessons Learned
Tell potential employers what this project taught you. If something went wrong or not according to plan, explain how you handled it.
- What insights have you gathered along the way?
- Especially knowing what you do now, what would you change?
- Did you learn a new method or practice?
- Maybe you figured out a better way to conduct user testing, communicate with project managers?
- How did you handle scope creep or miscommunication between teams?
Share how you are better at your job because of this project.
Lessons learned in practice
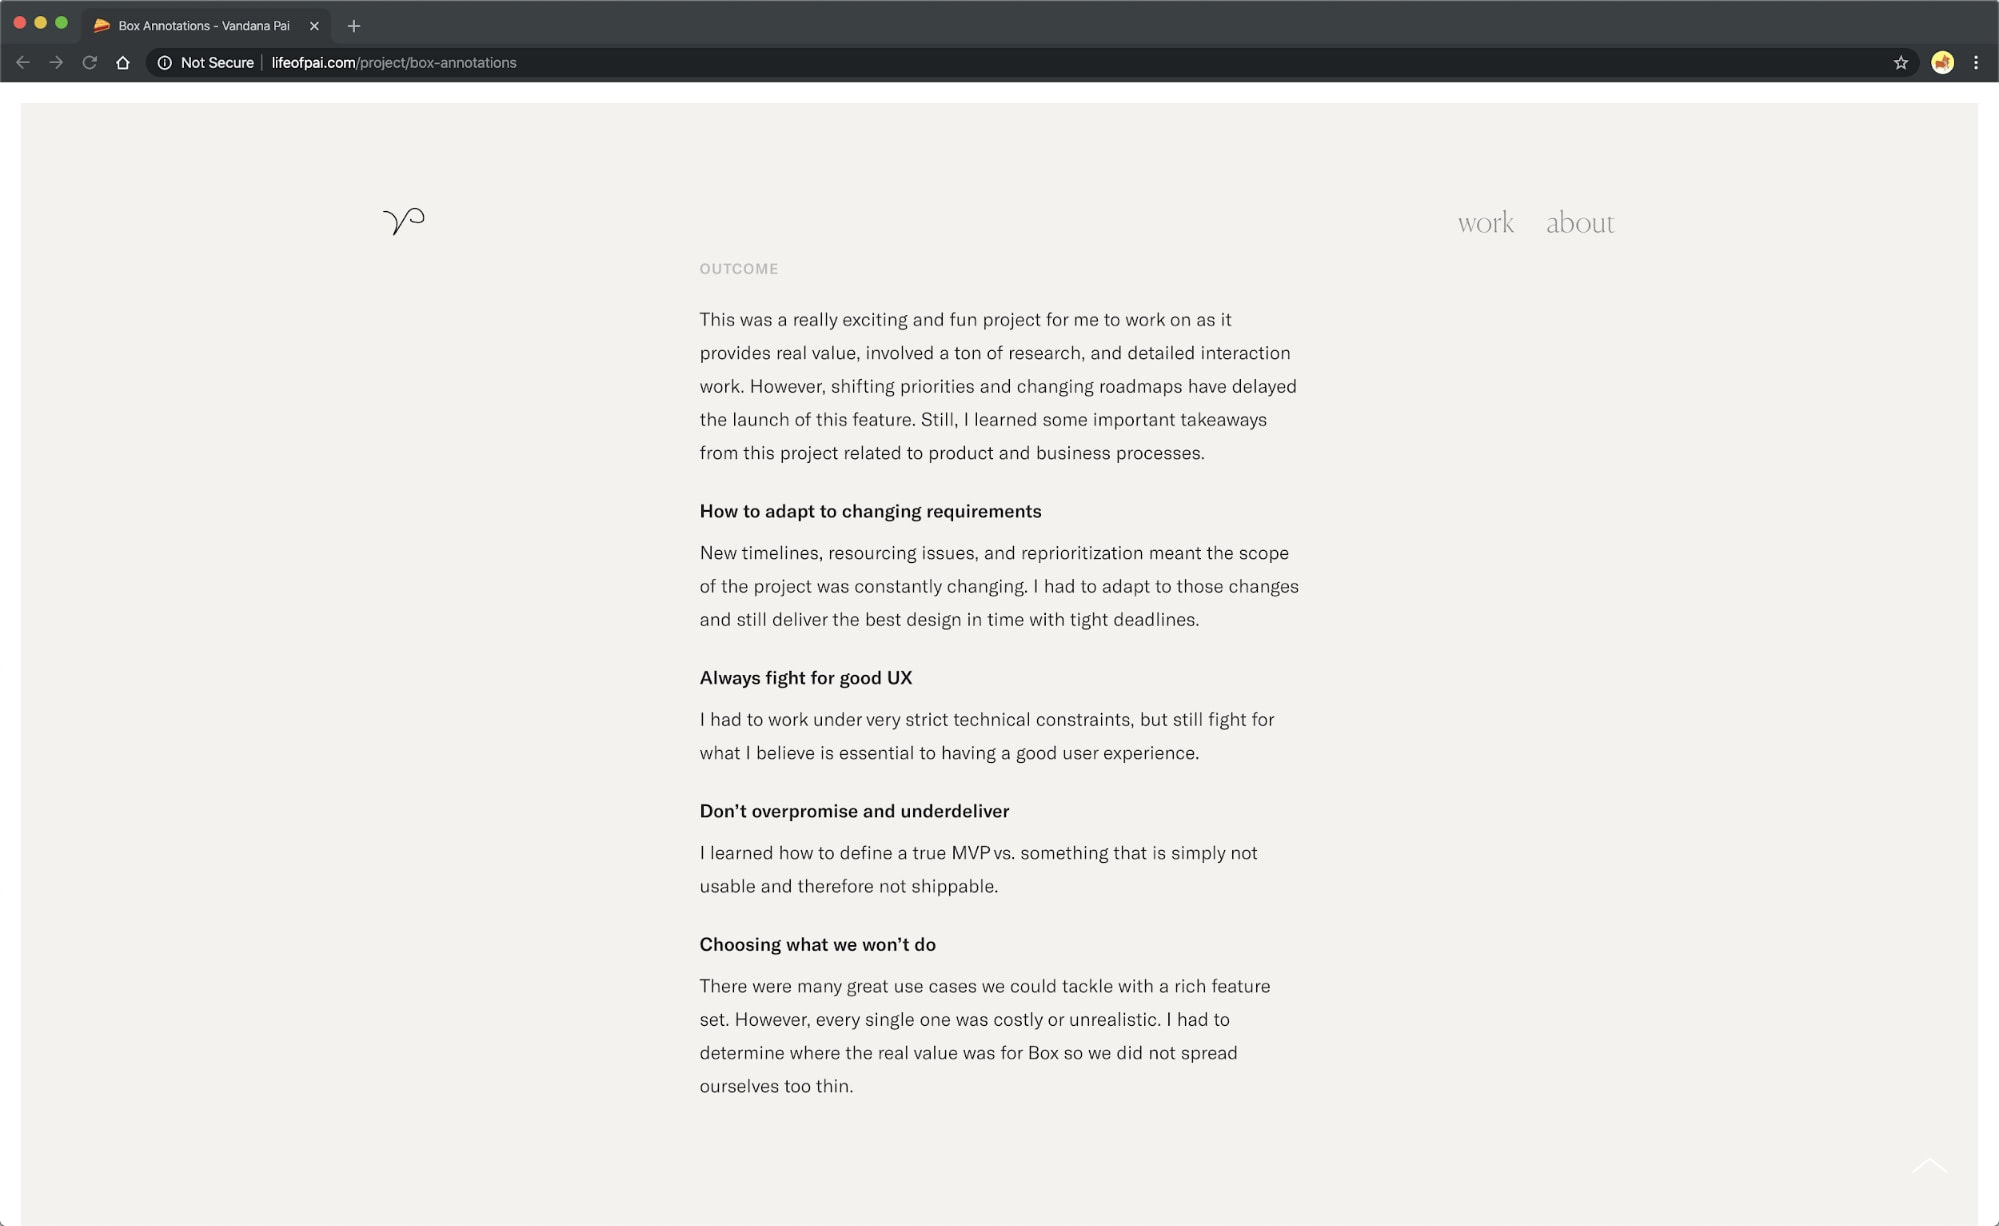
At the end of her Box case study, Vandana Pai shares her four takeaways from working on this project.
Bonus step 8: Visually Design the Case Study
So far, I’ve helped you figure out how to explain the project you’ve worked on and what information to convey. Now, it’s time to put it together in a lovely design. Below are examples of visually captivating case studies to get your inspiration going.
- Moment Brew
- Eleven James
- Slack
- Braze
- Space Design System
- Good Club
Conclusion
When putting together a UX case study, you’re telling a story about your work to potential employers. If you follow these steps, you’re going to showcase your UX design skills in a fantastic light. A well-written case study is a compelling case study. You’re bound to be hired in no time with a handful of these case studies.
You may also want to take a look at:
Improving the UX with Userstack API