How to Create Effective User Flows in Sketch (3 Simple Steps)
A user flow is a visual representation of the different paths a user can take within a product or a website. It’s an excellent user experience (UX) tool that allows designers to evaluate as well as optimize the UX of any given task within a product. Collectively, user flows can be used to improve a product (or website as a whole).
There are three common types of UX flow. They all have different benefits. In this tutorial, you can easily apply the flow to any of the three flow types. (Of course, especially the user flow one!)
What are the three UX flow types?
- Task flows
- Wire flows
- User flows
A task flow is what the name suggests; it documents the different pathways a visitor can take within a product. Since this flow is task-oriented, it’s commonly used to evaluate analyzing specific areas of a product, for example, signing up. It’s a great flow for optimizing task-specific experiences.

A wire flow, on the other hand, is like a flowchart made up of wireframes. Wireframes show off the different layout concepts and are an essential step in UX design. However, by themselves, it’s hard to comprehend a user’s flow from one page to the next. A wire flow is great for showing the linear path of a user throughout a product (or website).

Last, we have user flows, which focus on the user’s interaction with the product in a more holistic way. They identify decision points and variables that affect a user’s path. They also rely on specific personas and scenarios.
What makes user flow a great UX tool?
Like any other UX tool, user flows help designers ensure they’re, in fact, creating a quality experience. User flows do this by allowing designers to have a more precise look, and therefore insight, into how the flow can be optimized further.
With Postcards Email Builder you can create and edit email templates online without any coding skills! Includes more than 100 components to help you create custom emails templates faster than ever before.
Free Email BuilderFree Email TemplatesFlows provide contextual understanding. They highlight inefficiencies, redundancies, roadblocks, or deadends that harm the overall UX. And, poor UX means lower KPIs, such as lower conversion or retention rates.
Additionally, user flows are a great tool in helping everyone involved in a project – especially clients or stakeholders not familiar with UX design – visualize and conceptualize the product. It helps in team communications and comprehension.
Step 1: Choose a user flow kit
There are many different options available. You can go ahead and create your own. But that can be time-consuming if you need to get started right away. Naturally, you can buy a kit as well. There are many great options available for you, including:
- Sketch Sitemapping User Flow Template ($36)
- Liberty Mobile Wireframe Kit ($38)
- Collector iOS Wireframe UI Kit ($38)
- Sked Flowcharts ($38)
- Protogonist Wireframe Kit ($38)
- Flowkit ($49)
- Squid ($36)
The great thing about paying for a user flow kit is that those kits are incredibly robust. Or, at the very least, they ought to be if you’re paying for them.
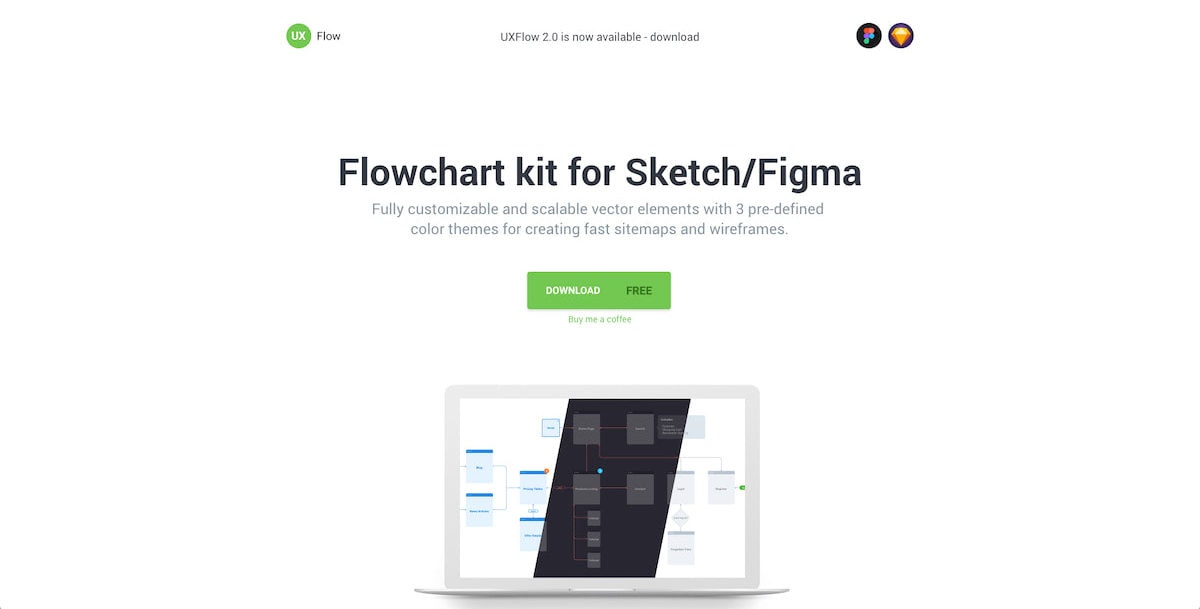
Alternatively, you can download a free kit. I downloaded Greg Dlubacz’s UX Flow to use for this tutorial. It’s a donation-based download. But, there are plenty of other alternatives – especially on Sketch App Resources:
- UX Flow Sample Sketch Resource
- Basic User Flow Template Sketch Resource
- Scheme Flowchart Kit Sketch Resource
- Bazen UX Flowchart Kit Sketch Resource
- Responsive Arrows FlowKit Sketch Resource
I do want to point out that there are user flow options available outside of Sketch. There are apps like FlowMapp, Overflow, and Wireflow. You don’t have to create these flows exclusively in the app. However, this has many benefits because all your files are all in one place. Creating user flows in Sketch is also quite simple, as you will see.
Customizing the visual design of the flow charts
Before we get started in creating user flows, I want to address one more thing: branding customization. If you’re in a hurry and need to whip up something quick, then the branding or color customization doesn’t matter as much. Skip this section and go on to Step 2.
However, if you’re an in-house designer, it might make sense to update the colors, typography, or even spacing of the user flow’s UI. It will go a long way in helping to reinforce the company’s brand, unify the visual of created documents, and make your user flows more professional even. So, in the long term, it’s probably a great idea.
With Pulsetic you’ll be instantly notified the moment your website, API, or server becomes unavailable. Monitor uptime from multiple global locations and respond to incidents before your users are affected.
Create beautiful status pages in minutes to keep customers informed during outages and build trust with transparent communication.
Start Monitoring for FreeSimilarly, if you’re a freelance designer who works on a variety of brands, it will make more sense to have a more neutral styled user flow UI. Or, you can style them to match your branding. Either option is fine. And, either option will impress clients.
- Free iPhone 11, 11 Pro and XR Mockups (PSD, Sketch, AI, Adobe XD)
- Free UI Kits for Sketch App and Website Designers
- Best Websites to Find Design Freebies: The Ultimate Collection
Step 2: Get your artboard ready
Before we start connecting different screens, we need to get the artboards ready.
It’s not recommended to add the user flow UI or annotations within a normal page. It’s going to be hard to continue designing or to make edits on those artboards. User flow elements may end up in the artboards as well, which will make exporting those screens a nightmare. All in all, it’s more trouble than it’s worth.
There are alternatives.
Option 1: Export screens as images
First, export your artboard screens as images and import them back into a Sketch file (new or existing one). This is fine if you’re in a hurry, but it’s not ideal long term as artboards get updated and changed. It’s going to be challenging to keep track of changes, especially small ones.

Option 2: Turn screens into symbols
This may be a bit much if you’re working on a larger project. But, on a smaller project, it might be manageable. This method allows you to edit screens as needed and with updates always updating within your user flow.
Option 3: Create a new page for user flows
You can create one more page within your Sketch file. There you can copy and paste artboards manually each time you update them, or as needed. It might get a bit tedious, but at the very least, there are no weird dependencies, and everything is in one file.

Step 3: Start making connections
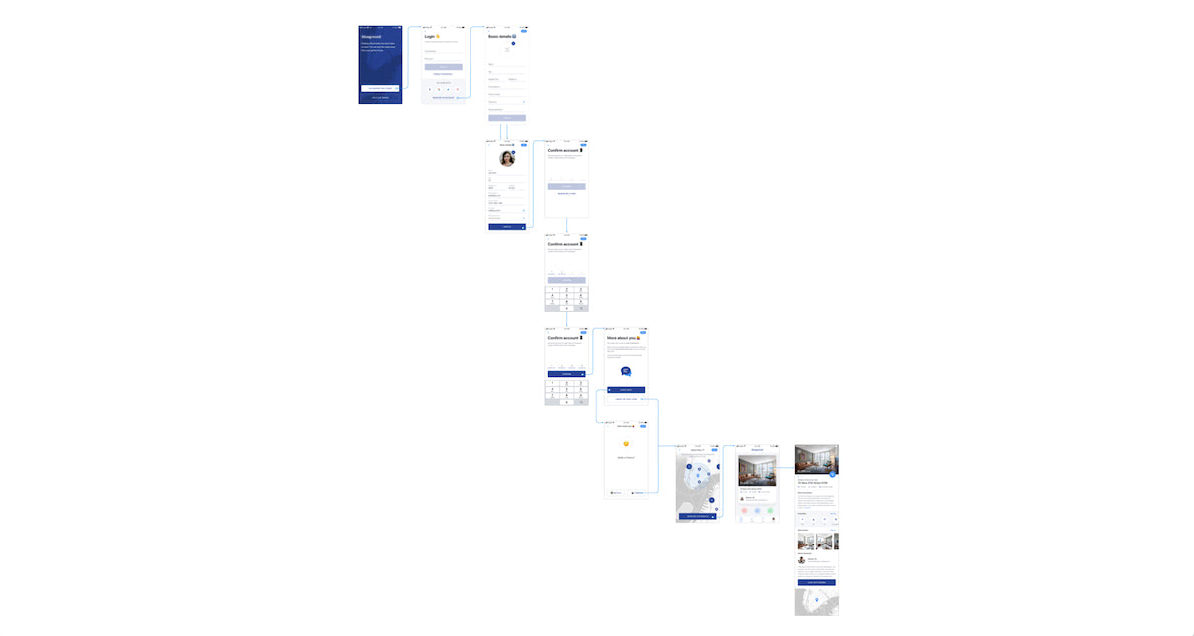
In most user flow kits, different flow elements will come as symbols. Once you have your images ready, place the symbols accordingly to start creating the flow such as in the image below.
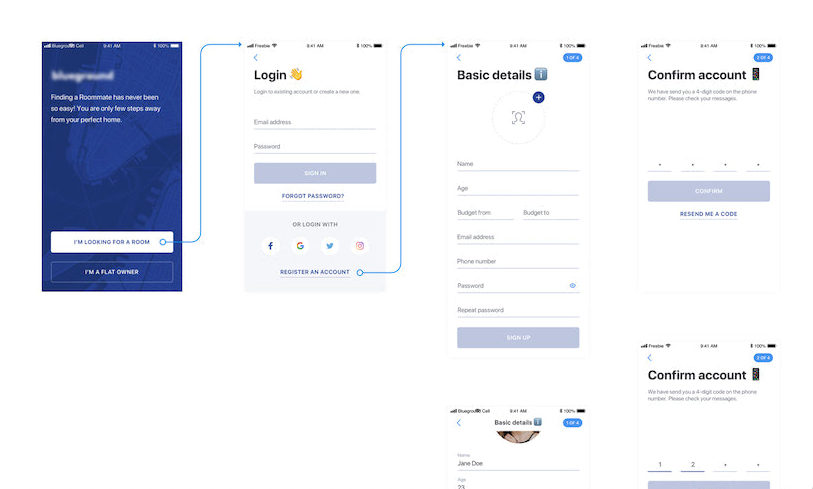
Now, hook up all of the screens like below.
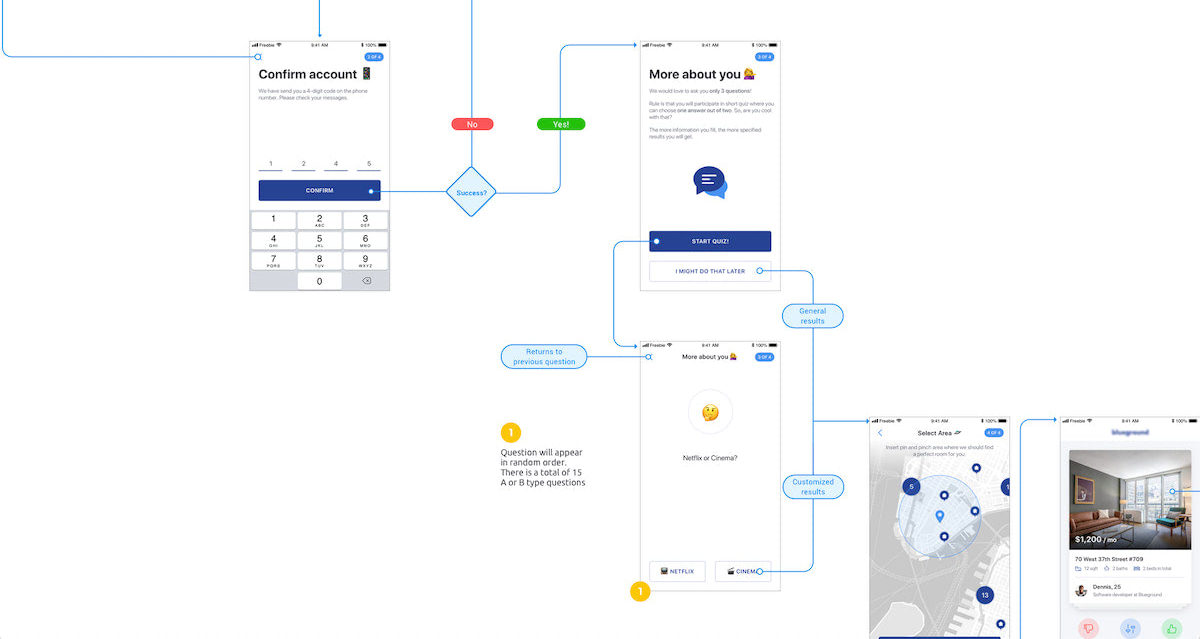
Although adding arrows isn’t too hard, it does take effort to annotate and document the whole user flow well. Arrows alone allow anyone taking a look to understand the general flow of things. However, by adding annotations, descriptions, and the like, you’re going to provide a lot more insight into possible dependencies or alternatives. In turn, you’ll make your user flow a lot more comprehensive.
Adding annotations, descriptions, and the like
What kind of annotations should you be adding? Great question! You can add:
- Labels
- Success/failure indicators
- Footnotes
- Decisions
- External links
- Modals
- Subpages
- Subtasks
- Clarifications
- Indicate missing screens
- Additional states
- Functionality explanations
I can go on, but I think you get the idea. The information will depend on what you want to communicate. Of course, the more information, the better. Take a look below at the example user flow with added annotation.
All that’s left is to save, share, and iterate.
Conclusion
User flows are another tool for UX designers to create better experiences. They help designers and their teammates, such as a project manager, to get a visual representation of a specific experience or flow. They are a valuable tool that provides insights that can help design teams further improve the user experience as it’s being designed.
And, as you just saw, it doesn’t take much to create them either! There are so many different options available for you – many of which are free. However, if you prefer to keep things all in one place, such as Sketch, now you know exactly how to do so with your user flows.