Top Tips & Tricks for Using Outlook Email Templates
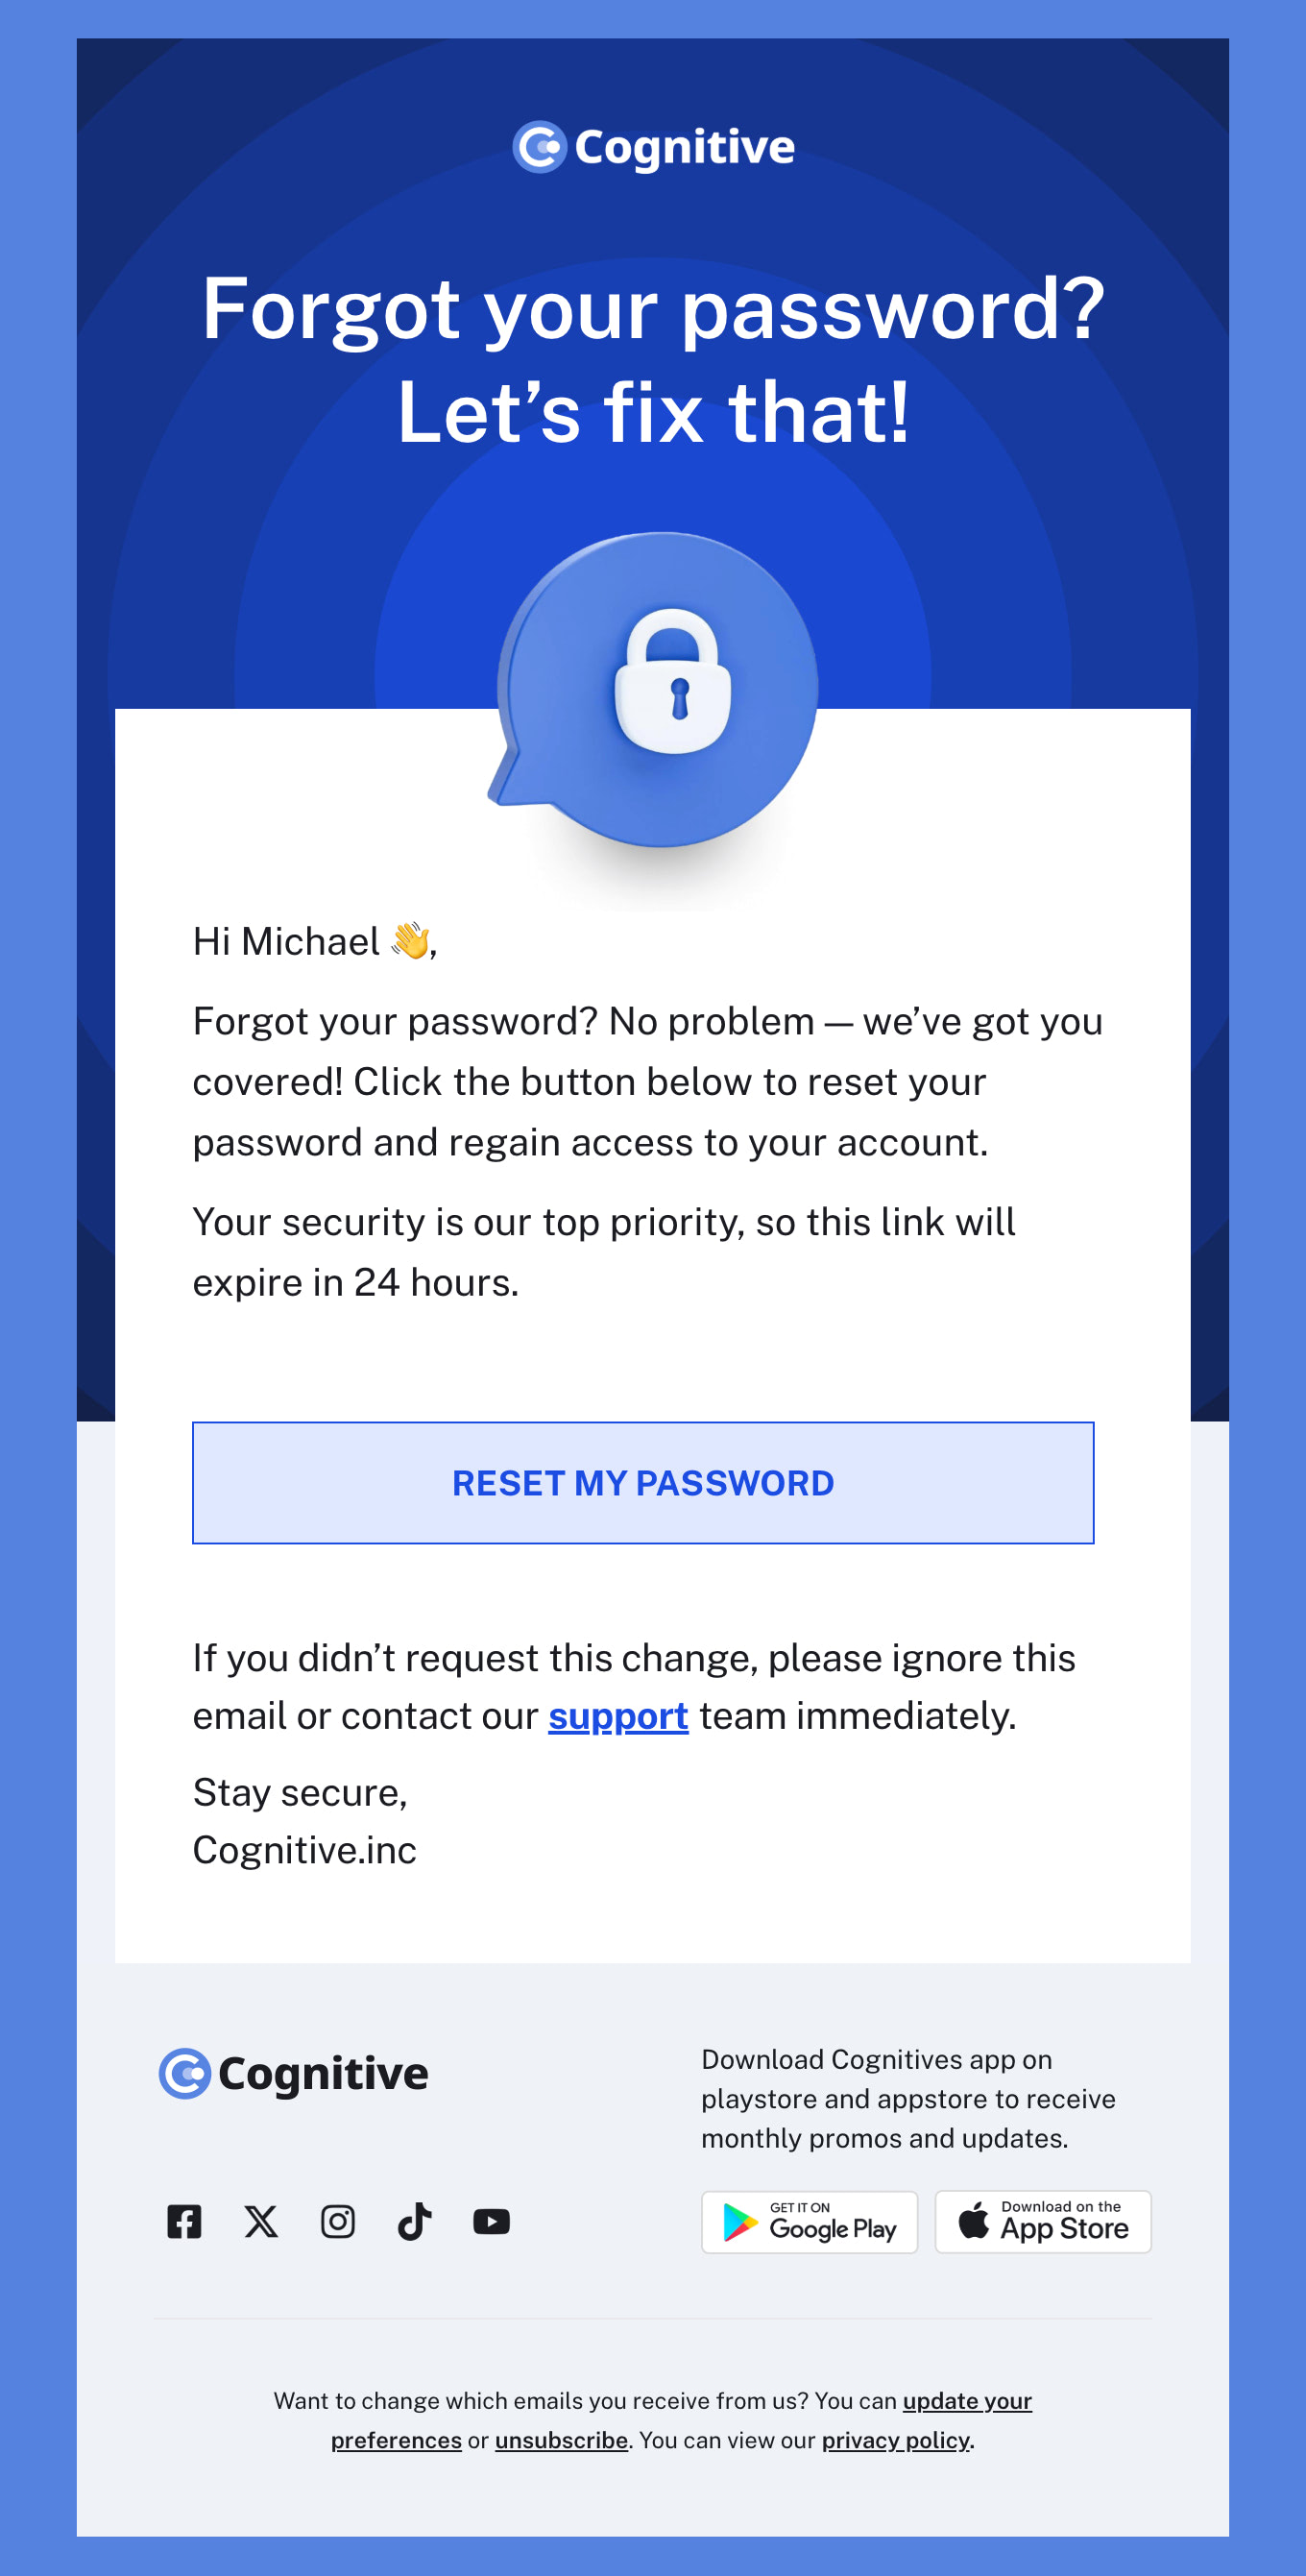
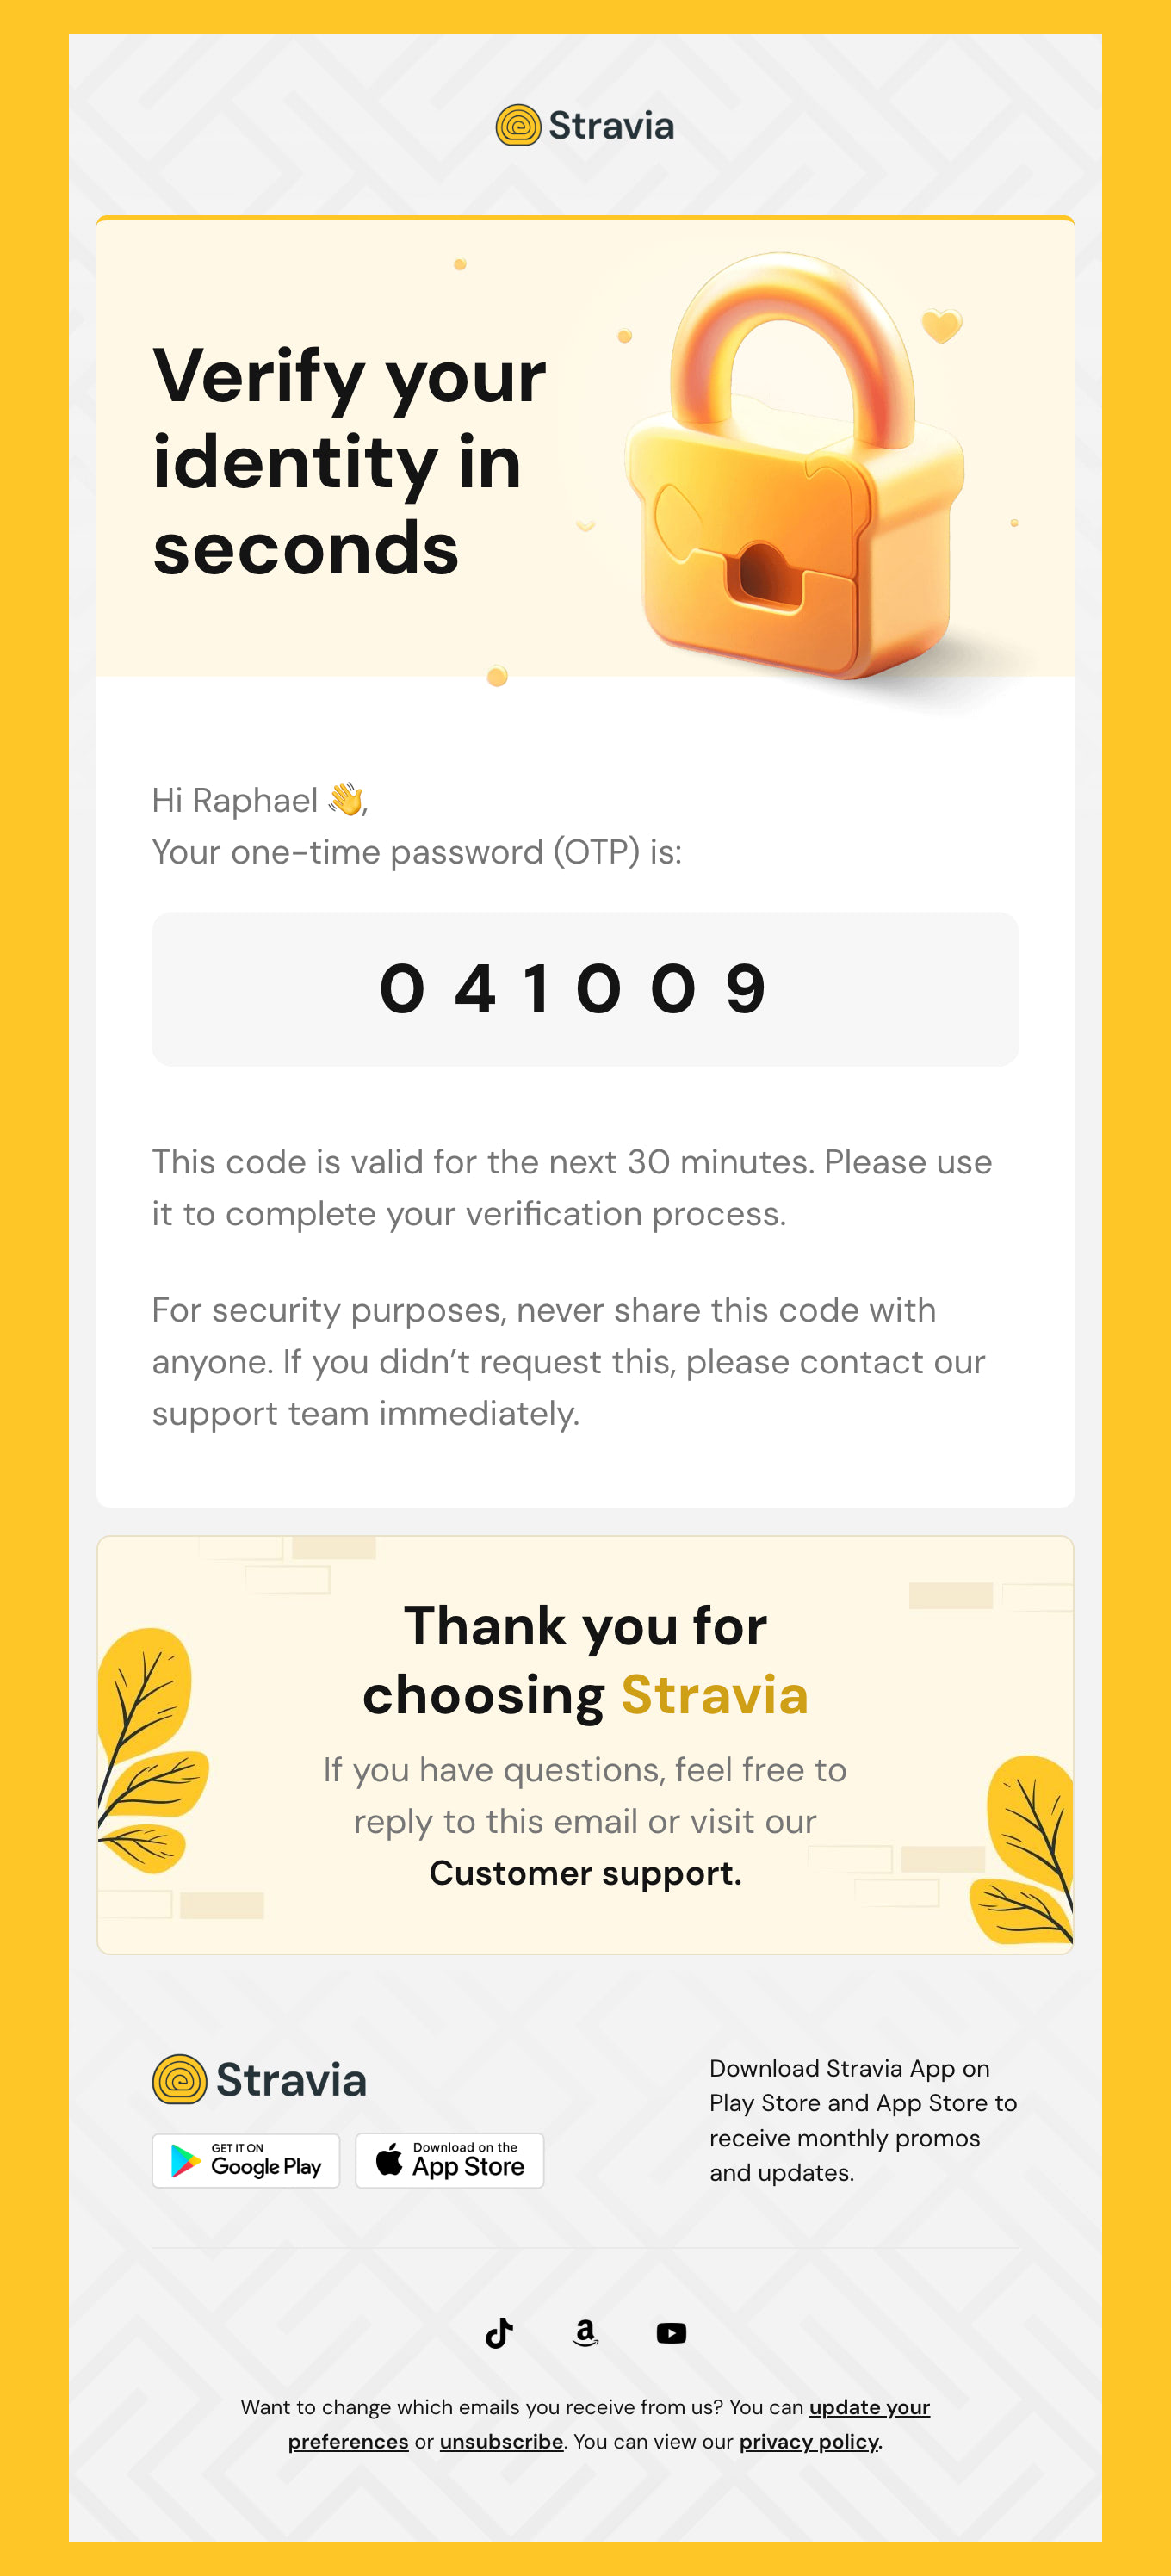
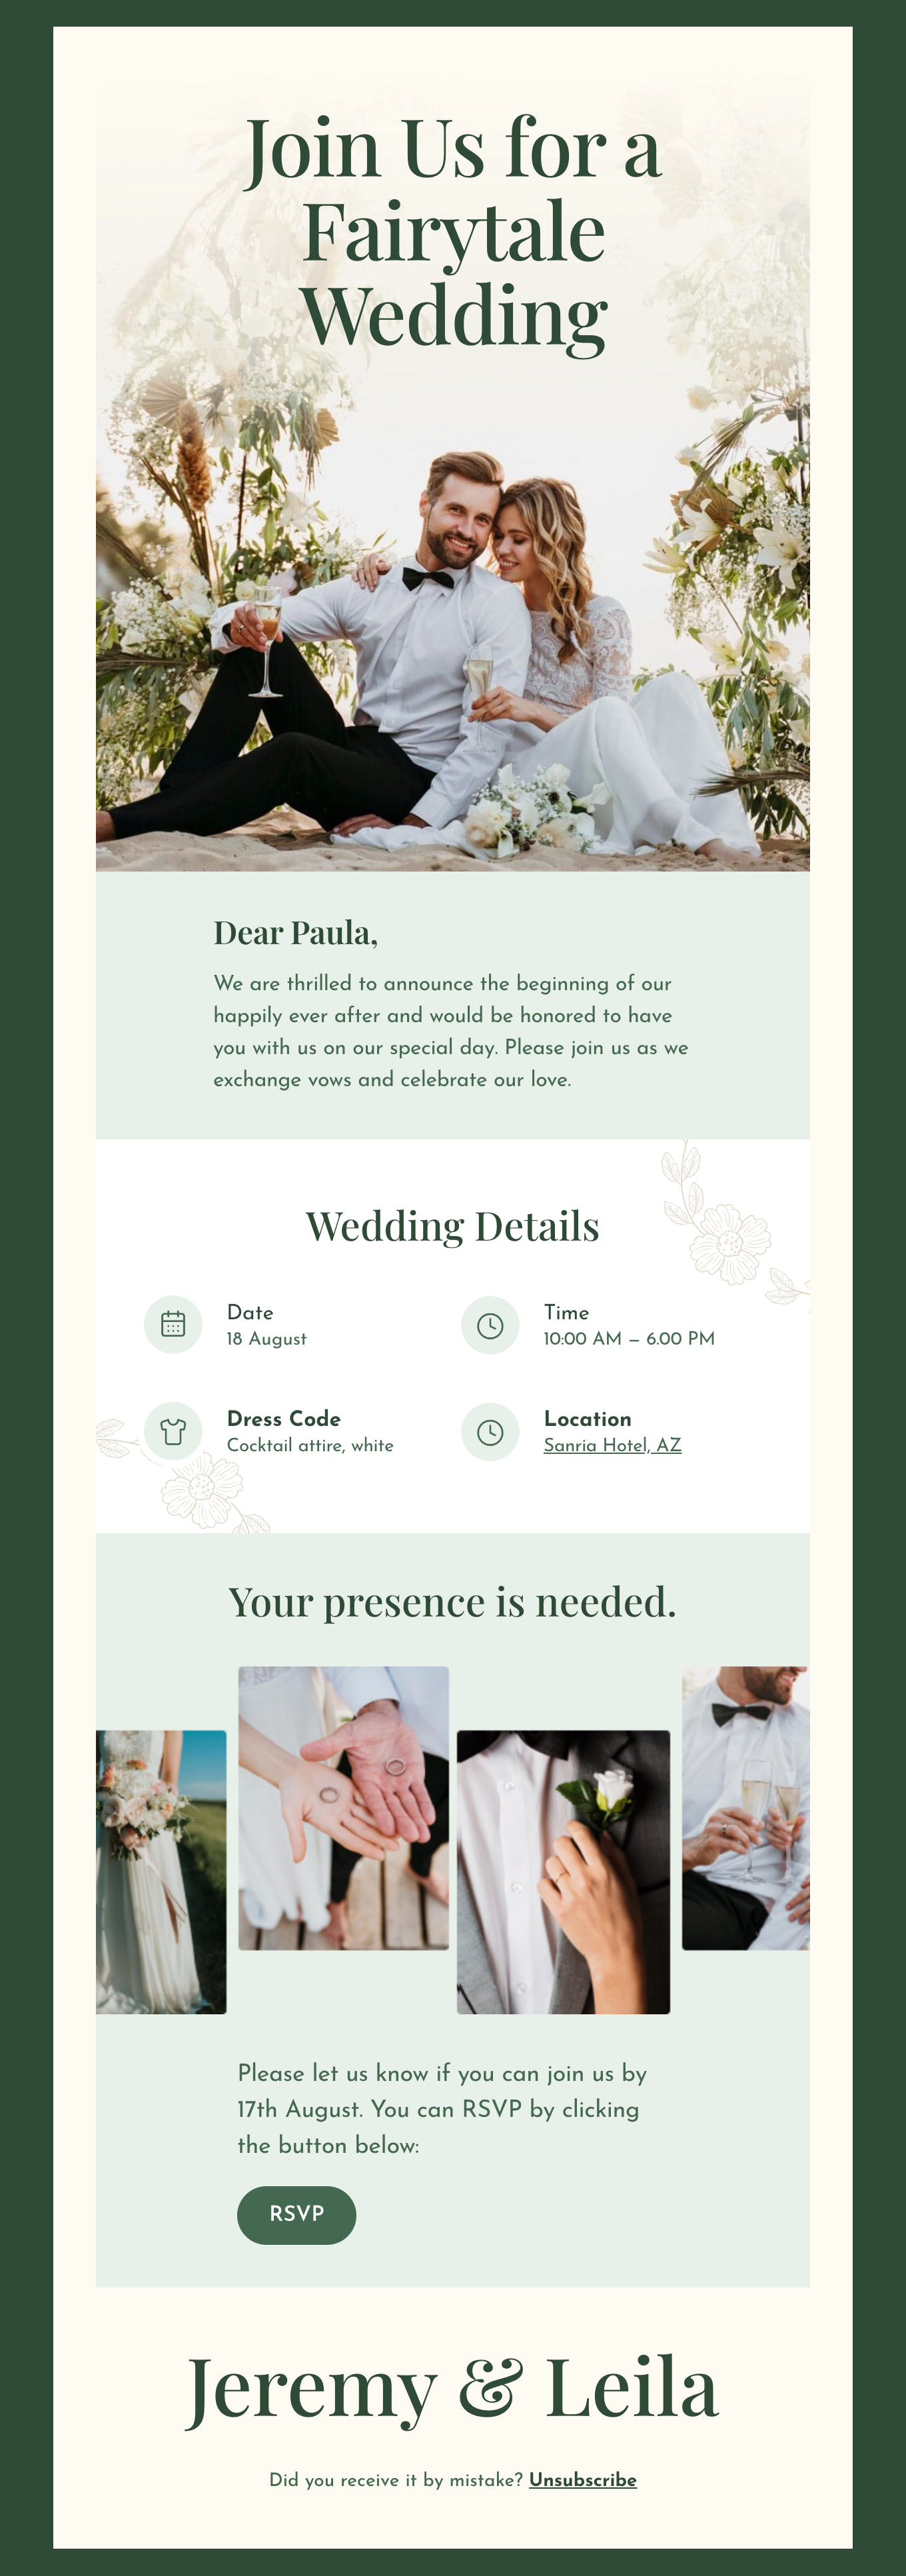
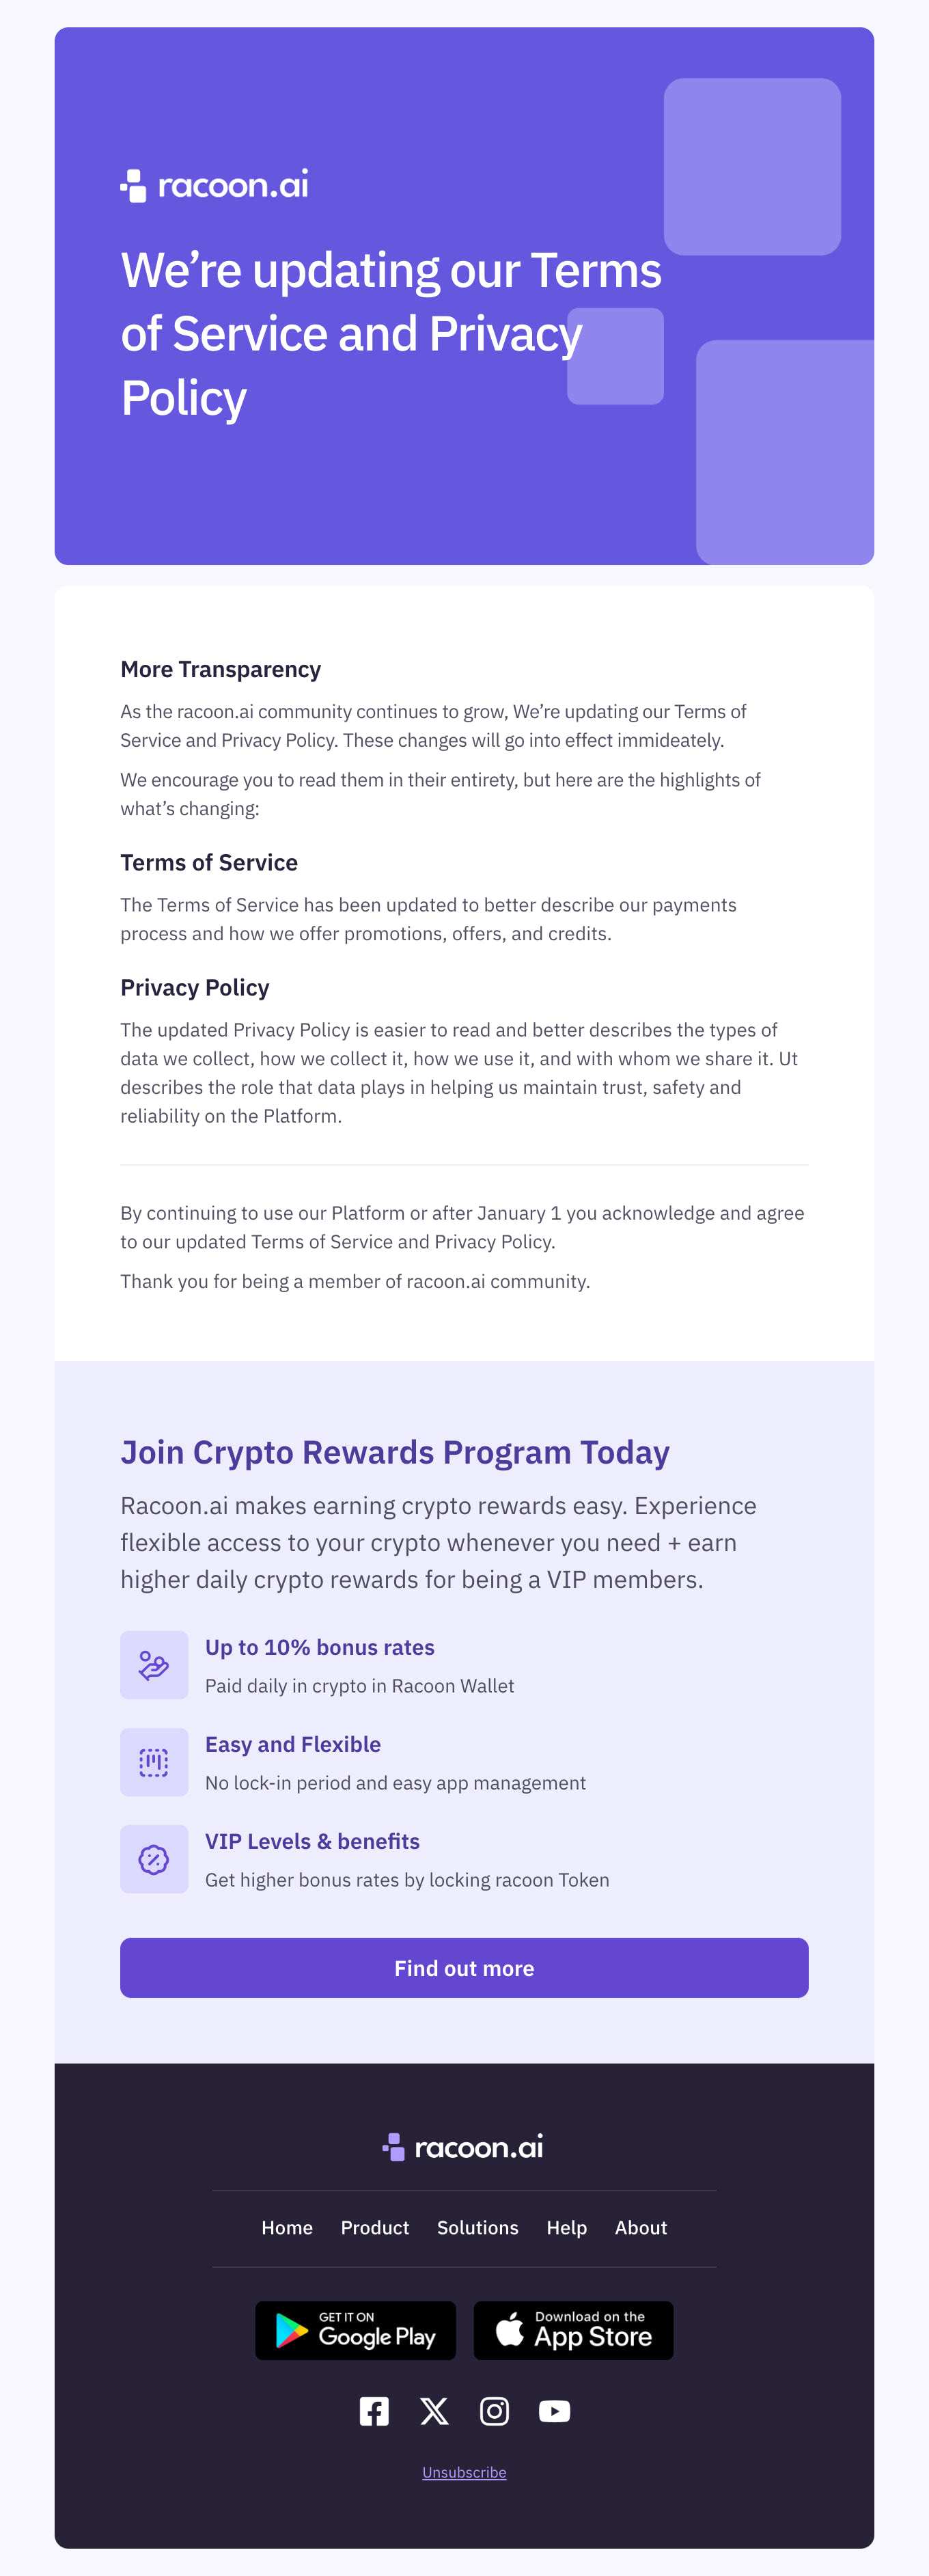
We’re so glad you found our fully optimized templates that work seamlessly with Outlook campaigns. These Outlook templates are a powerful tool for sales teams to streamline the workflow, as well as improve consistency. Here are a few tips for a successful strategy.
Start by identifying your most common scenarios to choose your templates and create your message:
Prospecting: Choose templates and create general messaging to begin sending outreach emails, follow-up messages, and introductions.
Proposal Follow-Up Messages: You’ll find thank-you templates in our complete library and here you can address questions or provide additional communications.
Onboarding Sequences or How-To Guides: You’ll also want to develop templates to welcome new customers and outline the next steps, curate content, and provide important and timely information.
Create Customer Support Messages: You likely have some insights into the common questions your customers may have. Why not create a template to address these and offer troubleshooting or customer support? It’s a great way to build trust and keep your customers and prospects happy.
How to Create an HTML Email Template in Outlook
Creating an HTML email template for Outlook can elevate your email marketing or personal communication by ensuring your messages are both visually appealing and functional. Here’s how you can create one:
1. Choose a Design Tool
Start with an email design tool that offers HTML email templates. Many third-party tools provide a wide selection of templates compatible with Outlook.
2. Select or Design Your Template
Pick a pre-designed template that suits your needs. These templates are often customizable, allowing you to tweak them to align with your brand or message. Alternatively, opt to create a design from scratch using a blank template. This option is great if you have a specific vision in mind.
3. Customizing the Template
Personalize the content by adding your own text, images, and brand elements. Make sure to incorporate your brand’s colors and fonts to maintain consistency. Ensure that your design looks good not only on desktops but also on mobile devices, as Outlook users may access emails on various platforms.
4. Export Template
Once satisfied, save your template. Most design tools allow you to export your template as an HTML file.
5. Import to Outlook
Open Outlook and start a new email. Choose to insert your HTML file into the body of the email. This ensures that all styling is preserved.
6. Test Your Email
Before sending, preview your email in Outlook to check formatting and functionality. Send test emails to ensure everything displays as intended.
7. Tips for Better Design
Keep It Simple: Avoid overly complex designs that may not render well in all Outlook versions.
Use Alt Text: Ensure all images have alternative text for accessibility and when images don’t load.
Limit CSS: Use inline styles since Outlook has limited support for external stylesheets.
By following these steps, you can create a professional HTML email template that looks great in Outlook and keeps your recipients engaged.
When you create your templates, keep the best practices in mind. Start with clear subject lines that grab attention, and create a little intrigue or a sense of urgency. You’ll want to include placeholders for dynamic content like their name, company, or other details that make it feel personalized. And don’t forget - a strong call-to-action tells (and shows) your prospect where to go next.
More Tips for Winning Prospects with Outlook Campaigns
We’ve started with the basics, now it’s time to explore even more tips and tricks to empower your team to make more sales.
Keep Formatting Professional: A professionally formatted email includes consistent brand fonts, colors, and spacing that makes everything easy to digest. Keep in mind that your content should be concise, and easy to skim to gather the most important information.
Organize Your Sales & Marketing Templates: After you have created your templates for your sales and marketing goals, we recommend creating folders grouped by category. That way your team can quickly find and source what they need to keep your sales funnel moving.
Test Each Email: Before sending out a new sequence, email blast, or one-to-one message, we think it’s a great idea to send a test to yourself and have a colleague review your messaging, approach, design, brand consistency, and even tone. Make sure it looks great and avoid any frustrations later.
Keep Emails Value-Focused for Best Results: While it’s tempting to start out with who you are, it’s better to remember who your audience is. What are their pain points?
Can you illustrate that you understand their industry or challenges? We recommend beginning your email by connecting and then building your brand into the solution after laying this foundation.
How to Save Email Templates in Outlook
Creating and saving email templates in Outlook streamlines your messaging and boosts productivity. Follow these simple steps to do it:
1. Compose Your Email:
Start by drafting the email message that you want to save as a template. Write and format it to your satisfaction.
2. Save As Template:
Once you've finished composing, click on 'File' in the top menu.
- Select 'Save As.'
- In the 'Save as type' dropdown menu, choose 'Outlook Template (*.oft).'
- Pick a location to save your template and give it a memorable name.
3. Accessing Your Saved Template:
- To use your saved template, navigate to 'New Items' in the Home tab.
- Click on 'More Items' followed by 'Choose Form.'
- In the 'Look In' dropdown, select 'User Templates in File System.'
- Find your template by name and open it for use.
4. Modifying An Existing Template:
- Open the desired template using the steps above.
- Make any necessary changes.
- Save it again as an Outlook Template to overwrite the existing version or save it as a new file.
By utilizing these steps, you can efficiently manage and use email templates within Outlook, ensuring consistent and professional communication with ease.
Using our free templates and these tips, you can create successful campaigns that build engagement and get results. Not only that, you can streamline your sales process, improve efficiency, and boost your chances of closing the deal. Go ahead find your perfect template, add your brand colors and fonts, and get started.


